Download
1 / 8
0 likes | 17 Views
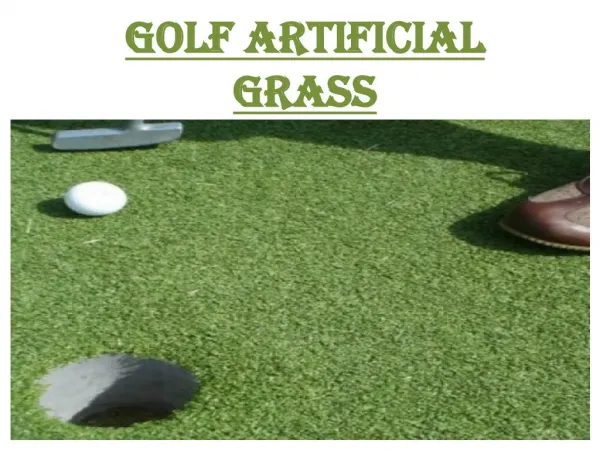
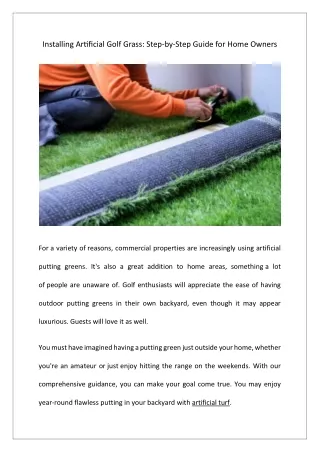
For a variety of reasons, commercial properties are increasingly using artificial putting greens. It's also a great addition to home areas, something a lot of people are unaware of. Golf enthusiasts will appreciate the ease of having outdoor putting greens in their own backyard, even though it may appear luxurious. Guests will love it as well.

E N D
Installing Artificial Golf Grass: Step-by-Step Guide for Home Owners For a variety of reasons, commercial properties are increasingly using artificial putting greens. It's also a great addition to home areas, something a lot of people are unaware of. Golf enthusiasts will appreciate the ease of having outdoor putting greens in their own backyard, even though it may appear luxurious. Guests will love it as well. You must have imagined having a putting green just outside your home, whether you're an amateur or just enjoy hitting the range on the weekends. With our comprehensive guidance, you can make your goal come true. You may enjoy year-round flawless putting in your backyard with artificial turf.
•Layout and Ground Preparations Step 1: Selecting the layout You should first plan out your artificial golf grass. -To make the design, take some rope and roughly lay it down. -Once the dimensions and form are determined, try it out for a short while to see if it suits your needs. -Mark the shape's complete outer circumference using spray paint. This will serve as your edging and base perimeter.
Step 2: Get the Ground Ready -Now that you have your shape established, it is time to cut out the old turf. -Compared to using a shovel, hiring a sod cutter will make this much easier and result in a more level surface. -To provide a strong base for the crushed stone base, we advise using a plate compactor to compact the wet soil once the old grass has been removed. Step 3: Edging -Your putting green's outer circumference should be bordered by edging. -By doing this, the base material will be prevented from leaving the desired location. -There are differences in pile heights for our artificial grass. You should factor this into your edging. •The installation of the base Step 4: Incorporate your base -Now that your pattern is edged, it's time to apply the foundation material.
-Get assistance with this from your local building suppliers by bringing them your design and measurements. -Ensure that the material is distributed equally. Spread out the base evenly and flat with a big rake. -At this point compact. -Continue in this manner until you have a layer that is 40–60 mm deep and has 20 mm separating the base from the edge. -Scissor the weed membrane to fit around your edging after laying it out across the base. Step 5: Put the cups in place -Position the cups onto the base. -Press the cup into the surface to indicate its location. -With a small hand shovel, dig a hole that is deep enough to accommodate the cup and at least 2 inches bigger around (leave 1 inch of the cup exposed). -Surround the cup with fast-drying concrete mix powder, then add water to moisten the mixture.
-Pass the cup through the compactor. It will then be level with the base's top as a result. •Artificial Golf Grass Installation To allow your grass to relax from being rolled up, unroll it and place it flat on top of the base before installing. To complete your design, you'll probably need to link elements together. Step 6: Cutting -Arrange the grass according to your plan, being sure to precisely line out any bends. -Determine the stitching in the third and fourth rows. -Make cuts along the latex layer between the rows with a sharp utility knife. Continue doing this all the way to the joining length's edge. Step7: Connecting the lengths To have the ideal putting green, you have to get this one just right. -Align the grass pieces that have been cut, then fold back the edges. -Intersect the two lengths with the connecting tape, laying it flat.
-Apply adhesive along the tape's edge using a glue gun. -To ensure that the lengths adhere firmly, gently fold them over. -Walk the entire length in order to press the sides down. Step 8: Include the filler -It is suggested that you add a layer of sand that has been dried in a kiln to aid with drainage and to help settle the grass. -About five kilograms per square metre is what we advise. -Use a strong broom to sweep the grass to raise the fibres after the sand has been applied. Step 9: Make the holes -Find the cup hole beneath the grass. -Cut the holes in the lawn carefully with a utility knife (new blade again). -Using scissors, carefully trim any loose fibres. Step 10: Have fun You can now get started with your personal golf course. If you still have energy, enjoy a few practice shots.
Benefits of Artificial Putting Green •Adaptability: Natural grass can be used successfully for greens, but it also depends on the kind of soil, the climate, and the amount of sunlight it gets. It won't work if your lawn doesn't drain properly. Nearly any place may have synthetic turf placed, and it looks best in any shade. This implies that you can place your golf green in portions of your yard that receive little to no sunlight, in shaded spots, or in a section devoid of fertile soil. •Sturdiness: After modest use, artificial putting greens won't have broken blades or appear stomped on. There won't be any barren or dead spots brought on by excessive activity or traffic. The aforementioned issues can quickly arise with natural grass. Furthermore, during play, putters have a tendency to swiftly cause damage to natural grass. The last thing you want to worry about is ruining the surface with a single stroke after investing money and labour in a new putting green.
•Customizable: It's not necessary for your recently installed putting green to be monotonous and level. You can set up the space to make a difficult yet enjoyable course that you can play with your loved ones. •Safe: The playing field made of artificial turf will be level, uniform, and free of clumps, divots, and holes. Natural grass is typically uneven, and keeping it that way can be challenging. Wear, pet relief, environmental changes, or just the natural growth pattern of grass can all contribute to this. Because of this, artificial putting greens are thought to be the less hazardous choice in terms of tripping hazards.