Download
1 / 22
220 likes | 308 Views
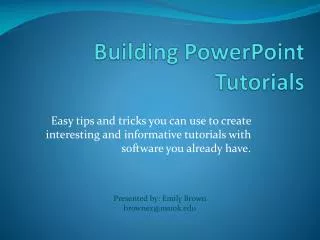
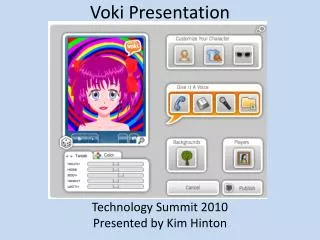
Tutorial for Voki. Log into Voki. Then click on Create a Voki. This is the page you will create your Voki on. Select Customize Your Character. Look through the different characters till you find the one you want.

E N D
This is the page you will create your Voki on. Select Customize Your Character.
Look through the different characters till you find the one you want.
One you select a character you can change their hair by clicking the hair tab under HEAD.
Click on the Clothing Tab to select what your character will wear and the Bling Tab to select accessories.
To add a voice to your character selected through the Text or the Microphone.
You can play it back after you type your text by clicking the play button. You can select your language. You can select a voice style and gender. Adding text – click in the blue area and type what you want to be said. When finished select DONE.
Next, click on Allow and Close. Click the record Button to start. If you decide to Add Voice instead of Text click the microphone.
Click on the play button to hear what you recorded. If you like what you recorded, click on Save. The Click DONE. When finished, click on the Stop button.
Click on Backgrounds to select a background or to use your own picture.
Use the preset backgrounds or upload your own. Click DONE when finished.
Select a color. Then click DONE.
You can use this to adjust the color of the mouth, eyes, skin, and hair. Click on each to change. Adjust the character coloring using the Color Tab.
When finished select Publish. Click on Tweak to change size of characteristics.
You will be prompted to give your creation a name to save it under. For example: material12_14_kbrooks The above is a project title, date and first initial and last name. The hit Save.
If you did it correctly you will see the following transition screen.
This screen will allow you to select a size for your Voki – small, medium or large. The medium is recommended. Use this code to embed it in Schoolwires or Moodle. Or another website.