Download
1 / 15
170 likes | 353 Views
ELFADA project. Voki Speaking Avatars. Micky Lina Zampichelli. Session Objectives. What is Voki ? Create a Voki account Creating your own Voki Embedding Voki in a blog. What is Voki ?. Speaking avatar

E N D
ELFADA project VokiSpeaking Avatars Micky Lina Zampichelli
Session Objectives • What is Voki? • Create a Voki account • Creating your own Voki • Embedding Voki in a blog
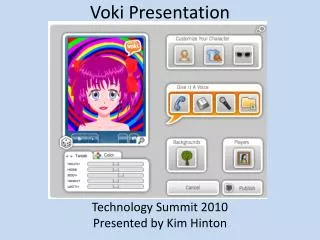
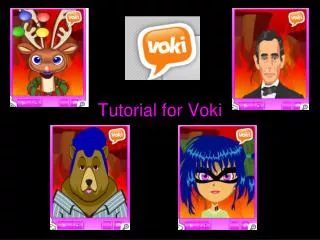
What is Voki? • Speaking avatar • Vokiis a free web tool that allows you to create your own avatar that speaks and says whatever you want it to say. It is very easy to use. • Vox + Loki = Voki • Vox is Latin for voice • Loki is a prankster character in Norse mythology From Wikipedia
Create a Voki account • Go to www.voki.com home page • Click on REGISTER
Fill out the form. • Click on “I accept the Terms of Use” box. • Click on SIGN UP. • Voki will send you an email. To activate your account click on the activation link in the email.
Create a speaking avatar • You can now create your Voki • Click on Create button on menu • Click on Create a New Voki.
Customise Your Character • You can choose a character. You can change the look (e.g. hair, clothing and bling). • Give it a Voice. You can use your own voice using the microphone, or you can type in what you want to say and choose a voice (from drop-down menu). • Click on Publish
Publish your Voki You can • Send your Voki to a friend. • Embed your Voki in your blog. • Adding a Voki to your blog is as simple as grabbing its embed code and adding it to your post.
Adding your Vokito your blog • Completely write your post including adding title, text and images • Click on save draft, preview your post and make all necessary edits. • Once you have published your Voki grab the embed code by clicking on Copy:
Click on HTML Tab on your blog post. • Paste the embed code into your post where you want it to appear. • Save draft • Publish your blog post. • Don’t click back to Visual tab before publishing as it can break the embed code.
For a Voki you’ve created previously, you need to log into your Voki account, click on ‘Publish your Voki’. Locate the embed code and then click on Copy.
Challenge #1 • Create a speaking avatar • Customise your avatar to look like you or take on the identity of a different character • Record a message (in your own voice) that tells something about yourself. • Write a blog post about speaking avatars • Add your avatar to your blog.
Challenge #2 • Create a Voki with a message to your friends. • For example, birthday greetings, party invitation, announcement, a joke … • Send your Voki to friends and/or family via email • Send to your lecturers.
Feedback on today’s session • Very good and interesting • I learnt something new • It was ok • Not very good • Boring and uninteresting