Download
1 / 26
260 likes | 343 Views
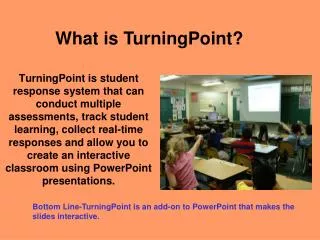
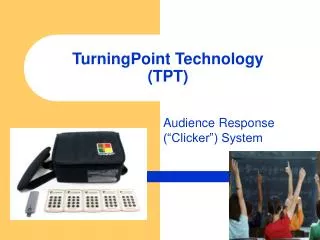
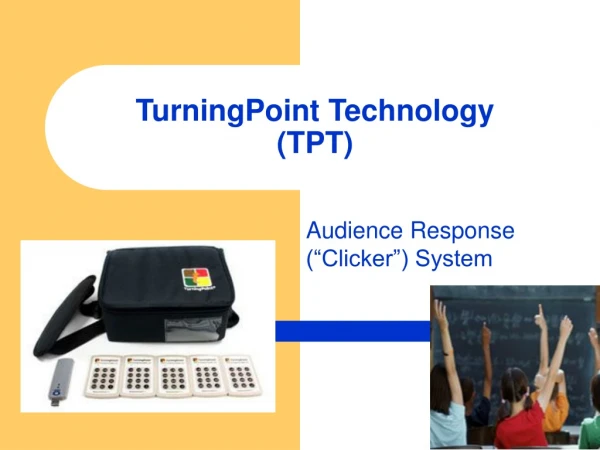
TurningPoint Part 2. Making It All Work Reporting Fuel for Thought (Knowing Your Audience) Overview Troubleshooting Tips. Student Response Clickers. Each kit comes with 32 student response clickers.

E N D
TurningPoint Part 2 Making It All Work Reporting Fuel for Thought (Knowing Your Audience) Overview Troubleshooting Tips
Student Response Clickers • Each kit comes with 32 student response clickers. • Each set of clickers is defaulted to channel 41 (channel has to be set in order to “talk” to the RF receiver). • It is good practice to ensure the clickers are working properly prior to starting any TurningPoint presentation.
Once the RF receiver has been plugged in and the software launched, check the software to ensure the channel is set to 41. From the TurningPoint toolbar, click on “Tools” and “Settings”. TurningPoint allows you to view and modify various settings from the Settings window.
Click on “Response Device” and then locate the receiver ID under “ResponseCard Channels” The RF channel number will appear here.
Polling Test A simple test to verify that there is communication between your student response clickers and the RF receiver. Best practice, conduct a polling test as soon as the kit is received. Loss of momentum occurs in the middle of a presentation when it is time to poll student answers only to find the student response clickers do not work.
Step 1: Still within the TurningPoint Settings menu, click on the “Polling Test” tab. Step 2: Click on “Start Test”
Step 3: Remove several clickers from the kit and randomly click in a response. The device will appear indicating that the clickers are set to the proper channel. Step 4: Click “End Test” and your polling session is over. You are ready to start your presentation!
Changing Channels • Sometimes it is necessary to change the channel of the RF receiver especially in the event that more than one clicker kit will be used for large groups or when there might be “bleed-over” due to close proximity to another kit in use. There is also the chance that a student might be clever enough to change the channel whether by accident or simply because they want to frustrate you (but this is never the case).
Changing the channel within the software….. • From the TurningPoint toolbar, click on “Tool” • “Response Device” • Under “ResponseCard Channel” hover your mouse over the channel (a drop down option will appear) • Set to the desired channel
Remember…. The student response clickers work via radio frequency. If the channel is changed through the tools menu (through the software), the student response clickers also have to be programmed to the same channel.
GO + (CHANNEL NUMBER) + GO Step 1: Press “GO” Step 2: Press “4,1” (default) Step 3: Press “GO” Step 2 Step 1 & 3 A green indicator light will appear when set correctly. An amber light will appear otherwise.
Hands-On • Identify your kit’s radio frequency channel • Change the channel via the software • Re-program three student response clickers from your kit to the new channel • Verify that the student response clickers work in conjunction with the RF receiver. • Stop!
Reports Turning Reports allows you to generate and view a wide variety of reports based on the responses you received during your TurningPoint session. The reports are generated as printable Word documents or Excel worksheets with information about the questions and answers, participants, and responses gathered in your presentation. Turning Reports displays a hierarchical menu of reports organized by category, such as Results by Question Reports and Demographic Reports. If you click on one of these categories, the Turning Reports screen displays subheadings of specific report titles, and shows samples of each selected report. Thirty-one reports are available for reporting on the entire audience, by individual participants, by groups, by standards, and on the basis of demographics. If you have specified correct answers or point values, you can "grade" participants and groups, verify that standards are met, and provide valuable feedback to participants.
Finding the right report… • Unfortunately, as mentioned previously, there are at least 31 available reports. How do you find the right report? • Answer: Spending time going through the different reports to see what is available and which ones meet your needs.
How do I do that? From the TurningPoint Toolbar, click on “Tools” and from the drop-down menu, click on “Turning Reports”
The first prompt will be to select the session you wish to generate a report from….. Note, it will default to the last saved session. Choose the desired session and then click on the “Reports” tab at the top of the window….
From the Reports by Category list, choose the report you wish to run and then click “Generate Report”
Hands-On • Find a TurningPoint report on attendance (generate and view) • Find a TurningPoint report on individual participant results (generate and view) • Stop!
Fuel for Thought As we all know, the students in our class are different from each other as night and day. That also means that they learn differently from each other.
Blooms Taxonomy There are different levels of learning: Creating Evaluation Analyzing Applying Understanding Remembering A.T. Wyatt, Ed.D. McMurry University
Example of taking an objective and creating questions and activities for each of the different levels: Objective: The student will write a compound sentence using conjunctions. • For the Recollection Learners: • What is a compound sentence? • List the conjunctions that you could use to combine sentences into a compound sentence. • For the Comprehension Learners: • What is the difference between a compound and a simple sentence? • Create a compound sentence from two given simple sentences. • A.T. Wyatt, Ed.D. • McMurry University
For the Application Learner: • Write one example of a compound sentence. • Use the conjunction “and” to form a compound sentence. • For the Analytical Learner: • Identify reasons for using conjunctions to form compound sentences. • Compare the three conjunctions “and”, “or”, and “but” and explain the differences between them. • For the Evaluation Learner: • Trade paragraphs with a partner and look for three (3) compound sentences using “and”, “or”, and “but”. • Determine whether or not your partner understands writing a compound sentence and be prepared to defend your answers. • For the Creative Learner: • Write a paragraph that uses each of the three conjunctions to form a compound sentence.
It is important that we know how to meet the needs of each learner in our class. Can one piece of technology meet all of those needs? Perhaps not, but that should be our goal – to determine how to best utilize the technology for each one of our students. There is a component of technology in every instructional classroom that can reach every level of learner.
Overview • Plug RF receiver in prior to launching software • Launch software • Create presentation • Keeping in mind the different types of learners • Using the bells & whistles • Create/select a participant list • Test clickers • Reset • Save • Teach!
Troubleshooting Tips • Turning Point (Student Response Kits) • 1. The student response clickers are not working. • a. Was the RF receiver plugged into the laptop prior to opening the software? • b. Is the software set up to receive the identified channel? The default channel is 41. • c. Are the student response clickers set up to the appropriate channel? • 2. My sides are not interactive. • a. Using the Turning Point software or simply PowerPoint? • b. Using the Turning Point toolbar within the software? • 3. How can I know if my student response clickers are working? • Within the Turning Point software, locate the Turning Point toolbar and click on “Tools”, “Settings” and finally “Polling Test” tab. From there, click on “Start Test” on the lower right corner and press any button on the student response clicker. If both the software and clickers are set to the same channel, the device ID’s should begin to appear. When finished, simply click “End Test”. • 4. Unable to get student specific reports after running an interactive session. • Was a participant list chosen? • If no participant list was chosen, the default participant list is anonymous.
Tracey Prince Clayton County Public Schools Technology Department, Department # 720 tprince@clayton.k12.ga.us 770-472-2476 Blackboard website: http://blackboard.clayton.k12.ga.us/