Download
1 / 6
60 likes | 145 Views
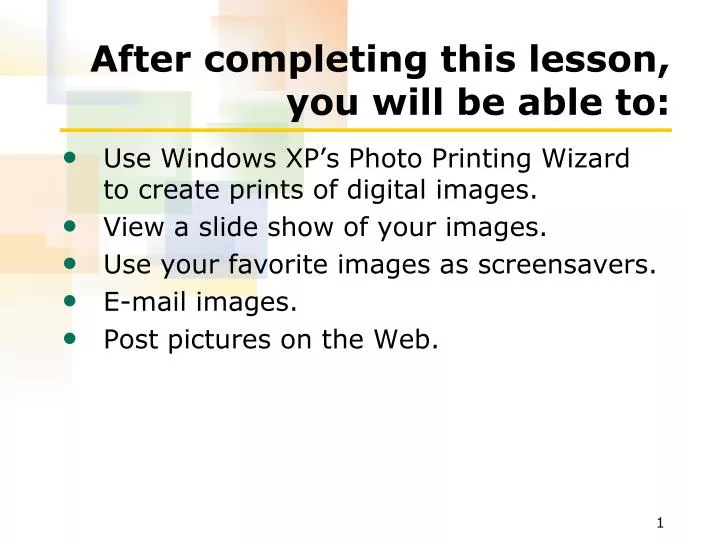
After completing this lesson, you will be able to:. Use Windows XP’s Photo Printing Wizard to create prints of digital images. View a slide show of your images. Use your favorite images as screensavers. E-mail images. Post pictures on the Web. Creating Wallet Prints.

E N D
After completing this lesson, you will be able to: • Use Windows XP’s Photo Printing Wizard to create prints of digital images. • View a slide show of your images. • Use your favorite images as screensavers. • E-mail images. • Post pictures on the Web.
Creating Wallet Prints Wallet prints are the perfect size for sharing on the go.
Creating a Slide Show To create a slide show: • Open the folder Lesson05, which contains the practice files for Lesson 5. • In the Picture Tasks pane, select View As A Slide Show. • To end or pause the slide show, or to move to the next or previous picture, move the mouse pointer to the top-right corner and select the appropriate control button.
Using the Fax and Print Viewer To create a slide show another way: • Open the folder Lesson05. • Right-click the first picture in the folder and point to Open With. Choose Windows Fax and Picture Viewer. • Use the controls to move forward and backward among the pictures or choose Start Slide Show. • Notice that you can also zoom in on any picture by using the Zoom In and Zoom Out icons; rotate, delete, print, save, or copy a picture; or open the program in an image-editing program.
Compressing Images To compress an image (or images) before sending them in an e-mail: • Open the folder that contains the images to send; in our case, the folder Lesson05. • Hover the mouse over the first picture you want to send (to select it), hold down the Ctrl key and select up to three more. • Right-click any selected image, point to Send To, and choose Compressed (Zipped) Folder. • Right-click the new compressed folder, point to Send To, and choose Mail Recipient.
Obtaining a .NET Passport To use MSN’s Free Web-Based Services, MSN Groups, you need a .NET Passport: • Visit http://www.msn.com. Click the Sign In button. • Click Register to create your own .NET passport. • On the Registration page, create an e-mail address and a password to use as your passport.