Download
1 / 16
160 likes | 358 Views
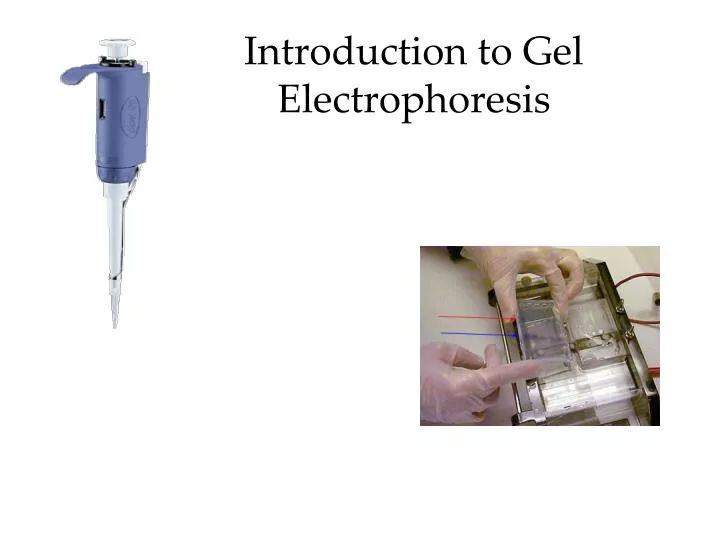
Introduction to Gel Electrophoresis. Outline. How to prepare a gel How to micropipet Practice setting up electrophoresis Discussion viewing of gel In a later lab you will view and photograph your results. Agarose is weighed out. Agarose is diluted and boiled in buffer solution.

E N D
Outline • How to prepare a gel • How to micropipet • Practice setting up electrophoresis • Discussion viewing of gel • In a later lab you will view and photograph your results
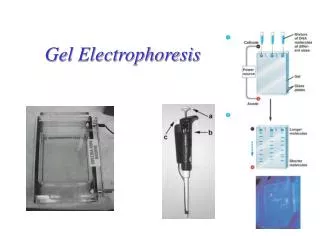
Agarose solution is poured into gel holder This is a “comb”
Agarose cools and solidifies Notice the “sample wells” comb
Select either a 100 or 200 ul micropipet from your lab station (1000 ul= 1 ml) Set at 25 ul Place on a yellow tip
Push plunger to “first stop” Place tip in solution Aspirate sample by releasing plunger
Carefully place the tip of the micropipet just inside the well Dispense solution by pushing to second stop Release tip by “ejection button”
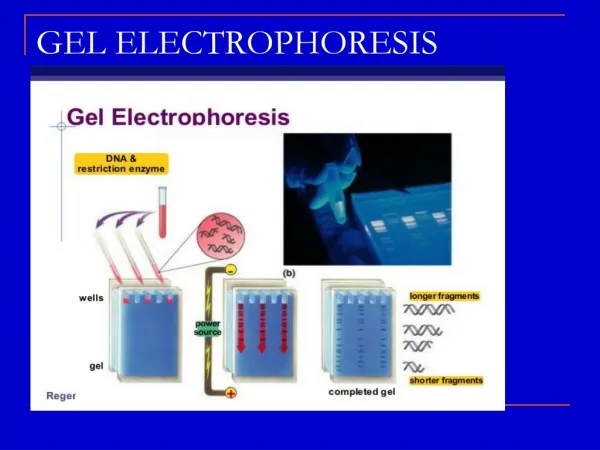
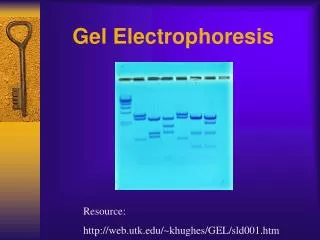
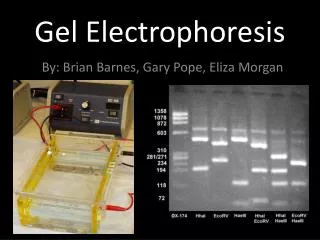
Samples migrate through the gel at different rates Negative electrode Positive electrode