Download
1 / 1
10 likes | 148 Views
“How to make a pinch pot.” It is widely accepted by potters that the beauty of a pinch pot is in its organic form an extremely thin wall. Take wedged clay and weigh out 1/2 to 2/3 lb. Rewrap your extra clay. Form weighed clay into a round ball like you were making a meatball.

E N D
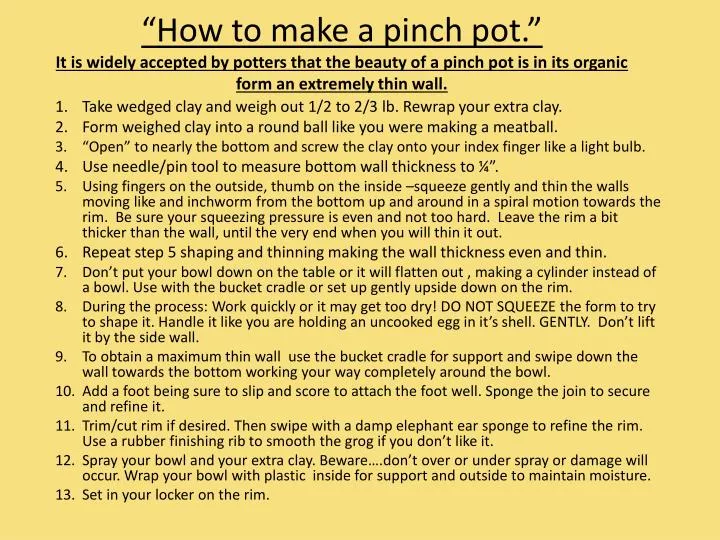
“How to make a pinch pot.”It is widely accepted by potters that the beauty of a pinch pot is in its organic form an extremely thin wall. Take wedged clay and weigh out 1/2 to 2/3 lb. Rewrap your extra clay. Form weighed clay into a round ball like you were making a meatball. “Open” to nearly the bottom and screw the clay onto your index finger like a light bulb. Use needle/pin tool to measure bottom wall thickness to ¼”. Using fingers on the outside, thumb on the inside –squeeze gently and thin the walls moving like and inchworm from the bottom up and around in a spiral motion towards the rim. Be sure your squeezing pressure is even and not too hard. Leave the rim a bit thicker than the wall, until the very end when you will thin it out. Repeat step 5 shaping and thinning making the wall thickness even and thin. Don’t put your bowl down on the table or it will flatten out , making a cylinder instead of a bowl. Use with the bucket cradle or set up gently upside down on the rim. During the process: Work quickly or it may get too dry! DO NOT SQUEEZE the form to try to shape it. Handle it like you are holding an uncooked egg in it’s shell. GENTLY. Don’t lift it by the side wall. To obtain a maximum thin wall use the bucket cradle for support and swipe down the wall towards the bottom working your way completely around the bowl. Add a foot being sure to slip and score to attach the foot well. Sponge the join to secure and refine it. Trim/cut rim if desired. Then swipe with a damp elephant ear sponge to refine the rim. Use a rubber finishing rib to smooth the grog if you don’t like it. Spray your bowl and your extra clay. Beware….don’t over or under spray or damage will occur. Wrap your bowl with plastic inside for support and outside to maintain moisture. Set in your locker on the rim.