Download
1 / 11
130 likes | 143 Views
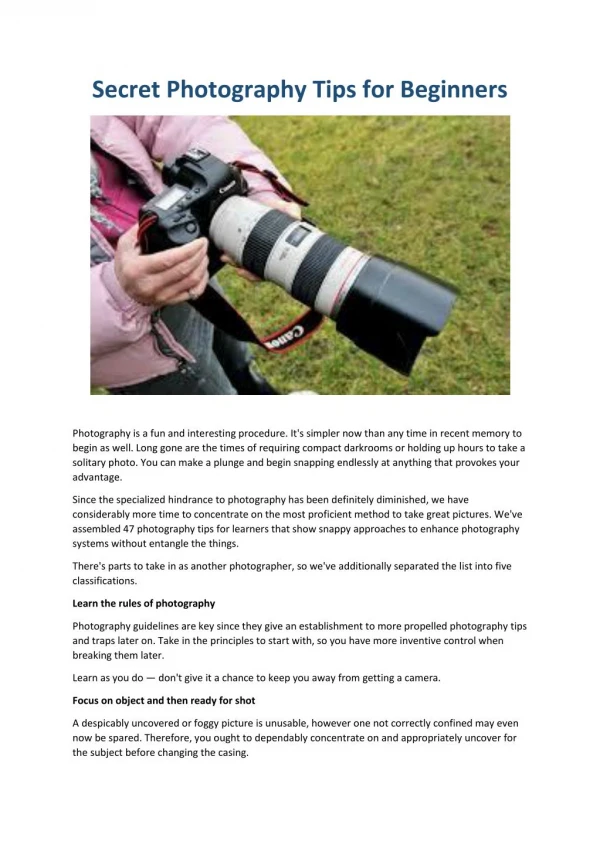
Photography is an art that cannot be assimilated by everyone. Uplist.lk a interactive local business directory and media is here to help with the photography tips for the absolute beginners. Get start your photography skills by going through this tips and become a professional by training. visit this website - https://www.uplist.lk/listing/a-m-studio/

E N D
1. Composition • Composition is the part of photography that you can learn without a camera. However since almost everybody on this planet has access to a camera or smartphone, it's a good place to start for us here. • Correct composition is responsible for the placement of the subject (or point of interest) and proper placement of other elements in such a way that they will guide and aid the viewer into perceiving the photograph properly. Uplist.lk
2. The Rule of Thirds • Simple as the name itself. You separate the image into thirds, both horizontally and vertically. The intersecting points are the points of interest. If you are shooting portraiture, you would be placing the eyes along one of the points of intersection, preferably the top ones. • However, if you're shooting landscapes, you would separate sky/earth with the thirds, and place the point of interest (imagine a sunset, in this case, the sun) at one of the points of interest. • Also, even smartphones can show you the grid as an overlay, to make it easy for you until you get used to the framing – of course, this can be activated on DSLRs and Mirrorless systems. Uplist.lk
3. Symmetry Within Your Composition • If you don’t fancy the rule of thirds for certain composition, you’d probably want to do it symmetrically. However, symmetrical composition is quite tricky. • Firstly, you'll have to place the subject in the center, the light must guide the eye towards the center, and all the lines must be straight and symmetrical. It takes both a lot of attention to detail and getting used to having everything straight and parallel in your frame. • You can use the rule of thirds guidelines to align the image properly and symmetrically – so both techniques go hand in hand nicely. Uplist.lk
4. Guiding (or Leading) Lines • This rule can be used in conjunction with the rule of thirds or the symmetrical approach. The goal is to have lines (either real or simulated with light and trickery) to guide the eye toward the point of interest in the photograph. • This applies to both portraiture and landscape (to choose two contrasting photography interests). Uplist.lk
5. Selective Focus • This depends largely on what type of camera you're using, as although it is harder to achieve with a smartphone, you can still try it out by focusing closer (i.e. performing a macro shot with your smartphone). • On the other hand, with a DSLR you can achieve this quite easily. Selective focus will create blur in the background and foreground of the picture, thus shifting the attention of the viewer on the element in focus. Uplist.lk
6. Your Light • Light is the crucial factor in photography. Photography itself is essentially capturing light, therefore, no light = no photo. However, the quality and position of light is absolutely imperative too. • The end goal of using light is to add depth to the image, to make it pleasing to the eye and bring out your intended elements. Uplist.lk
7. Shooting Angle • Often when you're photographing portraits, you’d want the light to be slightly angular and avoid having it top down. This is the primary reason why photographers avoid portraiture at noon. • The sun is high up and creates shadows that aren’t flattering. The same applies for landscapes, there is no depth in the image when it is evenly lit with harsh shadows, essentially making it messy. Uplist.lk
8. Diffusion • Light creates shadows, that's how we perceive depth. • However, on a picture, which is 2-dimensional, (rather than the 3-dimensional vision we have), you need some more trickery to be able to induce depth. • Harsh light often stimulates the 2D look more, making the image look more like a drawing rather than a photograph – if that makes sense? Uplist.lk
9. Color Temperature • As you might have noticed by now, not all light is created equal. Thus different light sources have different color temperatures, and if you don’t use the proper white balance the image can be too blue, too orange, or get pulled towards green and magenta Uplist.lk
Thank you Uplist.lk