Download
1 / 14
140 likes | 300 Views
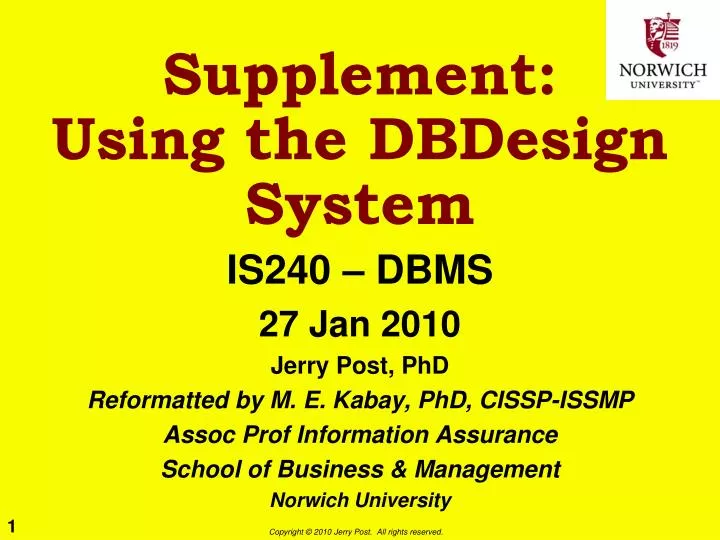
Supplement: Using the DBDesign System. IS240 – DBMS 27 Jan 2010 Jerry Post, PhD Reformatted by M. E. Kabay, PhD, CISSP-ISSMP Assoc Prof Information Assurance School of Business & Management Norwich University. Topics. DB Design System Typical Customer Order DB Design Screen

E N D
Supplement: Using the DBDesign System IS240 – DBMS 27 Jan 2010 Jerry Post, PhD Reformatted by M. E. Kabay, PhD, CISSP-ISSMP Assoc Prof Information Assurance School of Business & Management Norwich University
Topics • DB Design System • Typical Customer Order • DB Design Screen • Adding a Table and a Key • Two Tables • Relationships—Linking Tables • Creating Problems • Detecting Problems (Grading) • Testing a Change • A Solution • Data Types
DB Design System • http://JerryPost.com/DBdesign • Students and instructors need only an Internet connection and a Java-enabled Web browser. • Instructor can sign up free by sending email to: jpost@time-post.com • Instructors set up the class and select assignments. • Students create accounts and work on the assignments. • The system provides immediate feedback in the form of comments and questions for each proposed table.
Menu Title box (can be moved) Drawing area Scroll bars to display more of the drawing area Status line Feedback window DB Design Screen Column list
1 2 3 4 Adding a Table and a Key • Right click in the main drawing window and select the option to Add table. • Right click the gray bar at the top of the table, select the Rename table option and enter “Customer” • Drag the Generate Key item onto the new Customer table. • Right click on the new column name, select the Rename option and enter “CustomerID”
The Customer table has a generated key of CustomerID Each column in the table represents data collected for each customer. Each column depends completely on the primary key. Each Order is identified by a unique OrderID generated by the database system. The CustomerID column is used because the customer number can be used to look up the corresponding data in the Customer table. Two Tables
Relationships—Linking Tables • Drag the CustomerID column from the Customer table and drop it on the CustomerID column in the Orders table. • For the Min value in Customer, select One instead of Optional. • Click the OK button to accept the relationship definition.
A Mistake Note from Prof Kabay: • Putting the OrderID in the Items table is an error • Why? Because it would be impossible to keep a list of items in which we store an Order #; how would we manage with more than one order? • The items in an order should be in a separate table.
Detecting Problems (Grading) Double click a line to mark the errors.
Testing a Change • Attempted fix • Make the relationship many-to-many • Make OrderID a key • But, the score went down!!!
A Solution • The intermediate table OrderItem converts the many-to-many relationship into two one-to-many relationships. • Both OrderID and ItemID are keys, indicating that each order can have many items, and each item can be sold on many orders.
Data Types Right click the column names and set the data type.