Download
1 / 24
310 likes | 928 Views
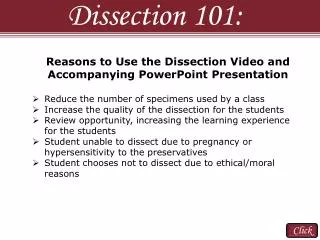
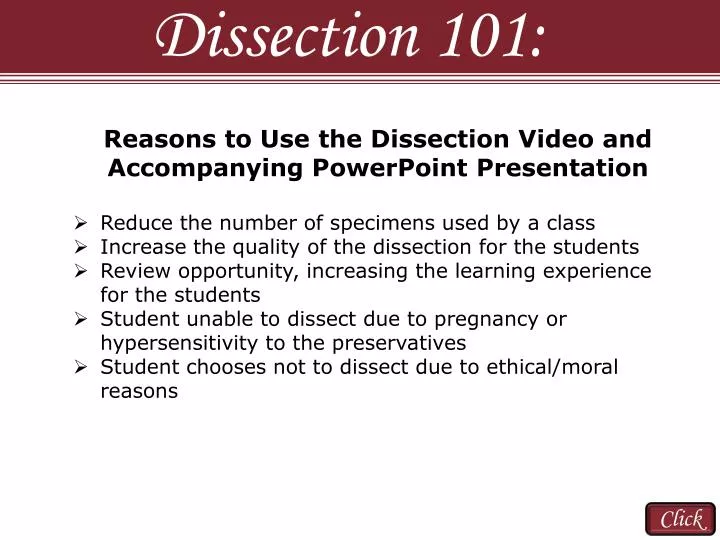
Dissection 101:. Reasons to Use the Dissection Video and Accompanying PowerPoint Presentation Reduce the number of specimens used by a class Increase the quality of the dissection for the students Review opportunity, increasing the learning experience for the students

E N D
Dissection 101: • Reasons to Use the Dissection Video and • Accompanying PowerPoint Presentation • Reduce the number of specimens used by a class • Increase the quality of the dissection for the students • Review opportunity, increasing the learning experience for the students • Student unable to dissect due to pregnancy or hypersensitivity to the preservatives • Student chooses not to dissect due to ethical/moral reasons Click
Dissection 101: As an educator you are responsible for the implementation of the dissection activity described in the video and PowerPoint. You must have safety procedures and rules established for your classroom and make sure all of the students follow the rules to ensure a safe environment. South Dakota Public Broadcasting and Dakota State University cannot in any way be responsible or liable for any injury as a result of performing the described dissection. Complete the dissection if you feel it is appropriate and safe for your individual class. Have fun and stay safe! • Safety Considerations • Age appropriate activity for the children in your care • Material Safety Data Sheet (MSDS) available for accident reference • Poison control number/phone readily available • Latex free gloves, eye protection and apron/lab coat • Eyewash station, shower and sink • Sharp instruments (cut away from self and others) • Sharps and specimen(s) disposal • Encourage students to report all accidents • Basic science laboratory rules (strictly enforced) Click
Dissection 101: Cow Eye Click
Exterior of the Cow Eye External Orientation Cornea: Anterior protective covering of the eye; transparent allowing light to enter; appears cloudy due to preservation process Essential Fat: White/grey in color; provides protection/cushion Side view Click
Dissection 101: Cow Eye Getting Started Optic nerve Extrinsic muscles • Student Cuts: • YouTube • SDPB • Use a scissors or scalpel to remove the excess fat from the eyeball (capsule); always cut away from yourself • The extrinsic muscles, which are used to move the eye, should also be removed (appear marbled, similar to the look and texture of a raw steak or roast) • Do not remove the optic nerve Click
Dissection 101: Cow Eye Optic nerve, chord-like structure protruding from the back of the eye; carries nervous signal from the retina to the posterior (occipital) region of the brain Click
Dissection 101: Cow Eye • Continue using a scissors or scalpel to remove the fat, connective tissue and muscle from the back of the eye Click
Dissection 101: Cow Eye • Student Cuts: • YouTube • SDPB Figure 1 Figure 2 • Use the point of a scissors or a scalpel to make an incision through the layers of the eye capsule (similar to figure 1); there are three layers from the exterior: sclera, whitish/grey, continuous with the transparent cornea, choroid, thin dark black layer and the retina, thin greyish/pink layer • Use a scissors to dissect the entire circumference of the capsule (see figure 2); do not cut toward the cornea Click
Dissection 101: Cow Eye Vitreous humor: Jelly-like material, provides shape/support for the eyeball; helps hold retina in place • Using steady pressure, pull the two sections slowly apart Click
Dissection 101: Cow Eye Vitreous humor removed, retina against the back of the eye • Student Cuts: • YouTube • SDPB • Using your finger or a forceps, carefully scrape any of the jelly-like vitreous humor that is attached to the front of the eye Many times the greyish/pink retina is attached to the vitreous humor, carefully remove/scrape the retina from the vitreous humor and lay it on the back of the eyeball. Click Click Click
Dissection 101: Cow Eye Retina: Nervous tissue, location of the photo receptors (cones for sharp color vision and rods for night, dark/shaded vision); light energy converted to electrical impulse; the retina is continuous with the optic nerve which leaves the back of the eye carrying the nervous impulse to the brain Click
Dissection 101: Cow Eye Optic nerve Retina Optic disc (blind spot): location on the retina where the retina attaches to the optic nerve, sight does not occur at this location because there are no cones or rods present Click
Dissection 101: Cow Eye Many laboratory books label the fovea centralis/macula, which is the location in eye where the sharpest vision occurs; the fovea centralis/macula is dense with cones and is the location of focus during lighted conditions, like reading; the fovea centralis/macula appears as a depression in the retina, but it is very difficult to find (Note: know the function for the quiz, identification is not required ) Click
Dissection 101: Cow Eye Choroid: Dark layer of the eye, rich with blood vessels; reduces scattering of light and provides nourishment for the eye Many vertebrates like the cow, deer and cat have a tapetum lucidum which is an iridescent, reflective layer found on the choroid; the tapetum lucidum aids in the reflection of light toward the retina, increasing the ability to see at night; the human choroid does not have a tapetum lucidum Choroid shown folded forward in this image Click
Dissection 101: Cow Eye Cornea Sclera: Tough protective outer layer of the eye which gives the eyeball its shape; the white part of the human eye; continuous with the transparent cornea; the sclera has blood vessels (may appear bloodshot); the cornea does not have blood vessels Click
Dissection 101: Cow Eye Anterior Identification Lens Note: Aqueous humor, a transparent fluid produced by the ciliary body is located between the lens and the cornea; the fluid provides shape for and nourishes the cornea and it also provides nourishment for the lens; the fluid will release as the lens is removed Suspensory ligaments: Hold the lens in place, attaches lens to ciliary body • Student Cuts: • YouTube • SDPB • Using a dissection probe, carefully remove the lens from the anterior of the eye Click
Dissection 101: Cow Eye • Using a dissection probe, carefully remove the choroid, ciliary body, and iris from the anterior of the eye; these structures will be removed as one unit Click
Dissection 101: Cow Eye Cornea: Anterior protective covering of the eye; transparent allowing light to enter; appears cloudy due to preservation process; lacks blood vessels, nourished by aqueous humor; continuous with sclera Click
Dissection 101: Cow Eye Lens: Biconvex structure that focuses light on the retina through a process called accommodation Click
Dissection 101: Cow Eye Iris Far Object Lens Retina Figure 2 Close Object Lens Ciliary Body Retina Pupil Figure 1 Muscles of the ciliary body contract toward the lens (Figure 1), resulting in less pull on the lens. The lens bulges to its natural form resulting in the light rays bending more for closer objects. The muscles of the ciliary body relax pulling away from the lens causing the lens to flatten for distant objects (Figure 2). Click
Dissection 101: Cow Eye Ciliary body Pupil: Opening of the eye, allows light to enter. The diameter of the opening is controlled by the iris. The pupil is the dark center of the eye; the pupil is black because light enters but it does not leave. Iris: Structure of the eye which controls the size of the opening into the eye which is called the pupil. The pupil gets larger when the radial muscles of the iris contract in dim light. The circular/sphincter muscles of the iris contract to reduce the size of the pupil for brighter light. The iris is the colored structure of the human eye. Click
Dissection 101: Cow Eye Microscopic View of the Iris, Ciliary Body and Pupil Anterior view, closest to the cornea Posterior view, closest to the lens Pupil Pupil Iris Ciliary body Click
Dissection 101: Cow Eye Review Main Structures Optic nerve Choroid with tapetum lucidum Lens Cornea Pupil Iris Sclera Retina Vitreous humor Click
Dissection 101: Cow Eye Produced by Dakota State University and South Dakota Public Broadcasting