Download
1 / 18
180 likes | 185 Views
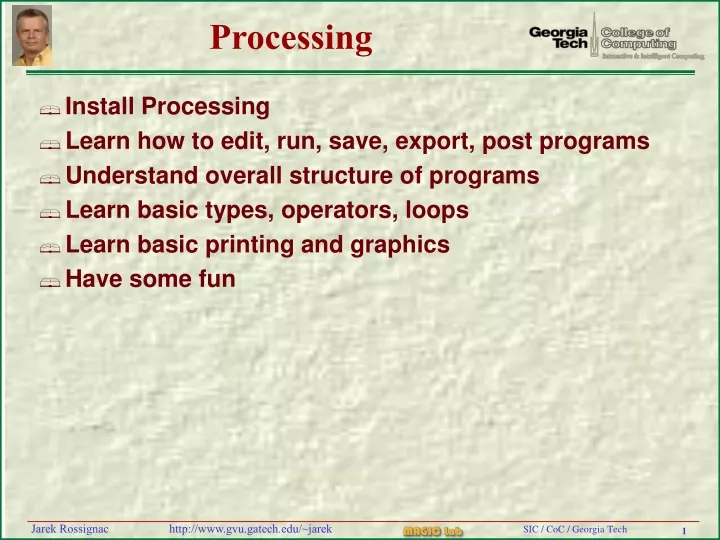
Processing. Install Processing Learn how to edit, run, save, export, post programs Understand overall structure of programs Learn basic types, operators, loops Learn basic printing and graphics Have some fun. Download. Go to http://processing.org/ Download the latest version.

E N D
Processing • Install Processing • Learn how to edit, run, save, export, post programs • Understand overall structure of programs • Learn basic types, operators, loops • Learn basic printing and graphics • Have some fun
Download • Go to http://processing.org/ • Download the latest version
Run processing Export into Java Applet save stop run Type your program here Print here
Write and run program 3) Default graphics window opens 2) Press run 1) Type in your program 4) Print appears here
Preferences Save As Save it • Choose default folder where programs should be saved • Save your program as P1 • It creates a FOLDER P1 and saves your program as P1.pde • To see it: Show Sketch Folder
Try an example program Mouse2D
Understand the overall structure // Mouse 2D THIS IS A COMMENT void setup() // EXECUTED AT INITIALIZATION { // BEGIN OF SETUP size(200, 200); // SIZE OF SCREEN IN PIXELS noStroke(); // DON’T DRAW LINES (OR RECTANGLE BORDERS) colorMode(RGB, 255, 255, 255, 100); // MAX FOR R, G, B, OPACITY rectMode(CENTER); // FIRST 2 PARAM OF rect SPECIFY CENTER } // END OF SETUP void draw() // EXECUTED ALL THE TIME TO REFRESH WINDOW { background(51); // SETTS GRAY BACKGROUND fill(255, 80); // FILL COLOR WHITE, A BIT TRANSPARENT rect(mouseX, height/2, mouseY/2+10, mouseY/2+10); // DRAW RECTANGLE fill(255, 80); rect(width-mouseX, height/2, ((height-mouseY)/2)+10, ((height-mouseY)/2)+10); }
Check commands on reference page • Browse reference page • Or • Highlight a command • Check its description
Try changing the program changed window size draw borders black background fill solid green reduce y (which goes down) for the center of circle Draw circle
Make a header in the file • Course name • Project number and title • Your name • Date created
Save and export • Save As “MyMouse2D” • Creates a MyMouse2D folder • Saves your program in it as MyMouse2D.pde • Export • Creates an applet folder in the MyMouse2D folder • Go there and click on index.html • It will open a web page • With your applet running • Click in the window to activate it
Edit the index.html web page • Open it in some html editor • Dreamweaver • Taco HTML Edit • Change title • Insert (as shown in the next slide) • Course name • Project number and title • Your name (with link to home page), • Email link • Date submitted
Upload to a web server • Upload the whole MyMouse2D directory • Try it by accessing your version of: http://www.gvu.gatech.edu/~jarek/courses/1050/processing/MyMouse2D/applet/
data folder *IMPORTANT* In the folder of your applet, create a folder called data Copy there: - The data files that your program reads - The font files your program uses for writing in the window Tools > Create Font…. will create the font you want in the data folder of your sketch You must copy it to the data folder of your applet
Make your PPP • Create your Personal Project Page, with • Course title • your picture • First then last name (linked to your home page), • Email • Add an entry for new your project • Project number <linked to the applet’s index.html> • Title • Completion date • Name of partner(s) if team project • Email the TA with • course number and project number (for example “CS4450-P1”), in the subject line • Your name (and the names of other team members) • Which email you want to be contacted at • The URL of your PPP
Assigned Reading • http://processing.org/reference/index.html • setup, draw, size, width, height, mouseX, mouseY • boolean, true, false, Logical Operators • if, else, Relational Operators • int, for • print, println • Boolean(), byte, binary(), unbinary(), String(), char, charAt() • color, rect • text, PFont, loadFont