Download
1 / 17
170 likes | 174 Views
This video showcases the transperitoneal robotic pyeloplasty procedure in a 3-year-old boy with a previous open pyeloplasty via a dorsal lumbotomy approach. The video highlights key steps of the procedure and provides important case caveats.

E N D
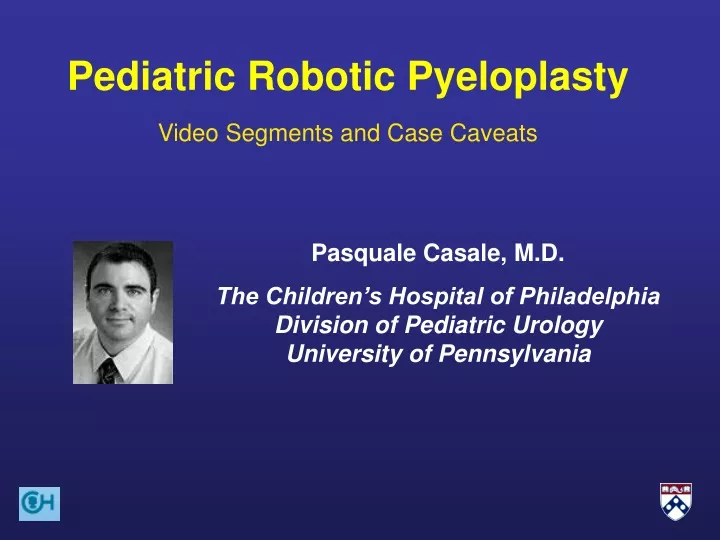
Pediatric Robotic Pyeloplasty Video Segments and Case Caveats Pasquale Casale, M.D. The Children’s Hospital of PhiladelphiaDivision of Pediatric UrologyUniversity of Pennsylvania
Robotic Transperitoneal Pediatric Pyeloplasty 3 year old boy who underwent a previous open pyeloplasty via a dorsal lumbotomy approach. The patient presented with left flank pain and pyelonephritis. After treatment of pyelonephritis, subsequent work up revealed a left ureteropelvic junction (UPJ) obstruction.
Patient Positioning Legs in “Figure of 4” position 45 to 60 Degree Decubitus depending on body habitus We utilize sequential compression boots, especially in the spina bifida population Ipsilateral arm placed in a relaxed position at the ipsilateral side. Foley catheter can be placed sterile in the filed or before. If placed before, access is needed for clamping to ensure antegrade stent placement into bladder. If prepped into the field, instill indigo carmine to ensure stent position into bladder.
Port placement and robot docking Lateral Working Port at the level of the Anterior Superior Iliac Spine lateral to the rectus muscle Midline Subxyphoid Working Port Posterior Side Anterior Side Umbilical Camera Port * Central body of robot must be in line with camera arm and camera port during docking for optimal positioning
The Intracorporeal Steps The following slides will delineate key steps of the procedure with video depictions and key points emphasized.
Trans-mesenteric Approach • Easily utilized when descending colonic mesentery thin. • Visualize the Marginal Artery of Drummond • Robotic Instrumentation: • Utilize Bipolar Maryland as a grasper • Either hook device or “hot” scissors • Click here to view video of creation of trans-mesenteric window (#1)
Opening of Gerota’s Fascia • Full mobilization of renal pelvis is paramount • A renal pelvis hitch stitch can be placed to help with visualization. I typically do not place a hitch stitch unless there is an intra renal pelvis. • Click here to see video (#2)
Dissection of Crossing Vessels • Even though the patient had a previous pyeloplasty, the anterior plane is undisturbed. • The Robotic Maryland dissector is optimal to manipulate the renal pelvis. Note how robotic visualization and instrumentation allow grasping of the ureteral adventitia so manipulation of the ureter is minimized. • Click here to see video (#3)
UPJ Dismemberment • Note that first incision of the UPJ incorporates part of the renal pelvis that will act as a handle for ureteral manipulation. IT MUST BE EXCISED AND NOT INCORPORATED INTO THE ANASTOMOSIS. • Spatulation is typically one of the rate limiting steps in laparoscopy. It is facilitated during robotic surgery. • The caliber of the ureter should always be assessed. • Click here to see video (#4)
Ureteral Crotch Stitch • A critical manuever • A 6-0 absorbable monofilament suture seems the best on an 11mm, 1/2 curve needle. • “Outside” to “in” is easier. • Click here to see video (#5)
Placement of First Stitch on the Renal Pelvis • Also known as the renal pelvis crotch stitch. • Best placed in the lateral dependent portion 1cm away from the lower pole of the kideny. • This is where a hitch stitch may be useful as long as the orientation is not changed with the stitch. • Suture should be at least 10cm in length, but will vary according to the defect. • Click here to see video (#6)
Posterior Anastomosis • The crotch stitch that was just placed is utilized as the posterior anastomosis. • It is performed in a running fashion. • The video will show a part of the anastomisis should be continued until the posterior UPJ is complete. • Click here to see video (#7)
Guide Wire and Stent Placement • Place the stent after the posterior and prior to the anterior anastomisis • The urethral catheter should be clamped during the posterior anastomosis. • Our Guide wire preference is hydrophilic at the tip or completely hydrophilic. • After the wire is removed, make sure to check for urine back flow. If this seems difficult, place Indigo Carmine via the urethral catheter prior to clamping. • Click here to see video (#8)
Anterior First Stitch • Best to start lateral to medial. • “Outside” to “in” on the pelvis with “inside” to “out” for the ureter. • The stitch should be placed as close to the posterior crotch stitch as possible without violating it. • Again, the same 6-0 monofilament absorbable suture is utilized. • Click here to see video (#9)
Anterior Anastomosis • Performed after the stent is in place. • The video will show the first stitch of the anastomisis. The maneuver is repeated until the approximation is complete. • We do not perform renal pelvis tapering, but it can be done prior to the anterior anastomosis. • Remember – Do NOT incorporate ureteral “handle” into anastomosis! • Click here for video (#10)
Completed UPJ • Ensure that ureter is not rotated. • Note how the mesentery is easily approximated. • I close the mesenteric defect with 2-0 braided absorbable suture. It has more friction to help with approximating wider gaps in the mesenteric defect, if present. • Click here to see video (#11)
Conclusion • We close all fascia defects greater than 3mm. • The stent can be removed 3 to 4 weeks later in typically every case. • If no stent is left in place, closing the mesenteric defect and placing a drain behind that closure is helpful if a leak should develop. In our experience the drain would need to come out through a separate site than one of the port sites.