Download
1 / 11
110 likes | 286 Views
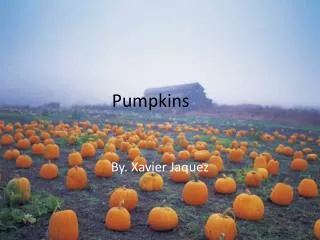
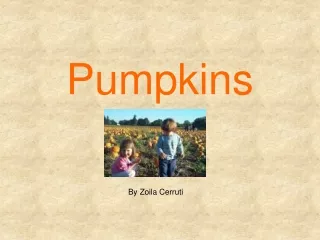
Pumpkins. Painted Pumpkins. From “Deep Space Sparkle” Retrieved Sept. 2012 from http://www.deepspacesparkle.com/2011/10/13/painted-pumpkin-art-project/. “I Can” Skills:. I can mix colours with a paint brush. I can use scissors to cut paper. I can use paste to attach paper.

E N D
Painted Pumpkins From “Deep Space Sparkle” Retrieved Sept. 2012 from http://www.deepspacesparkle.com/2011/10/13/painted-pumpkin-art-project/ “I Can” Skills: • I can mix colours with a paint brush. • I can use scissors to cut paper. • I can use paste to attach paper.
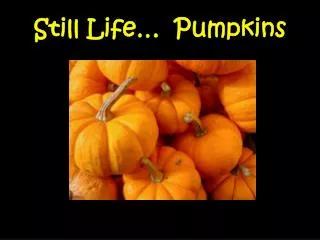
Painted Pumpkins INTRO… Explore and handle real pumpkins: • Notice the SHAPES. • Follow the LINES with your finger. What LINES do you see? • What TEXTURES do you notice?
Painted PumpkinsSession 1 MATERIALS… -orange construction paper (e.g., 12”x18”) -white oil pastels -red, orange and yellow liquid tempera paint -paint brushes
Painted PumpkinsSession 1 CREATE… • Pretend to draw a BIG pumpkin shape in the air. Try using your whole arm as you make the shape. • Using a white oil pastel, draw a BIG pumpkin shape. (e.g., oval or circle, tall or wide…) • Add DETAILS based on your observations (e.g., stem; lines arching downwards from stem to bottom) • Print your name in the bottom corner of the paper
Painted Pumpkins DEMONSTRATIONS… • Practice holding/handling a brush. “Just like my pencil in my printing hand.” 2. Demonstrate how to: • ‘scoop’ paint with the brush and apply it to the paper • mix the yellow, red and/or orange on the paper 3. Distribute the supplies Each artist decides what colours to use, and how much paint to use for their pumpkin.
Artists’ Clean-Up 123 Brush in water Painting to dry Wash hands
Jack-O’LanternsSession 2 MATERIALS… -scissors -pencils -white and black construction paper (e.g., 4”x9”) -white glue
Jack-O’Lanterns Session 2 CREATE… • Review “Scissor Safety”! • Demonstrate cutting skills (e.g. ‘gliding’ vs ‘snipping’) • Cut out your painted pumpkin & print your name on the back.
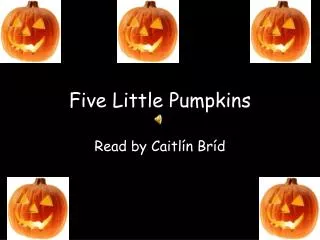
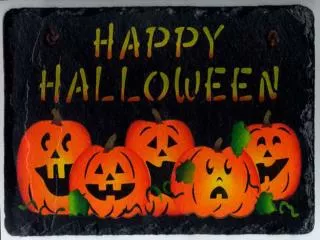
Jack-O’LanternsSession 2 CREATE… Cut & Paste • Discuss FACIAL FEATURES and imagine your pumpkin as a Jack-O’Lantern… What SHAPES could you use? • Demonstrate paper techniques/tips & gluing skills • Create your own Jack-O’Lantern using cut & paste skills
Artists’ Clean-Up 123 Supplies Away Artwork to dry Wash hands