Download
1 / 2
20 likes | 33 Views
Select your image from its original orientation Here we will take a screenshot of an image. To select your image, you need to press the u201cSelectu201d button, and then press u201cMu201d from the drop-down

E N D
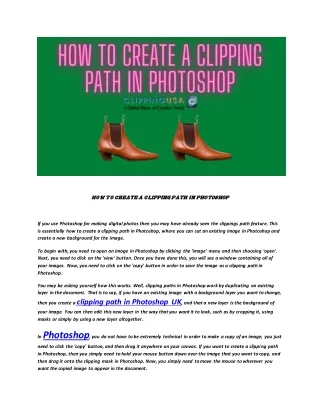
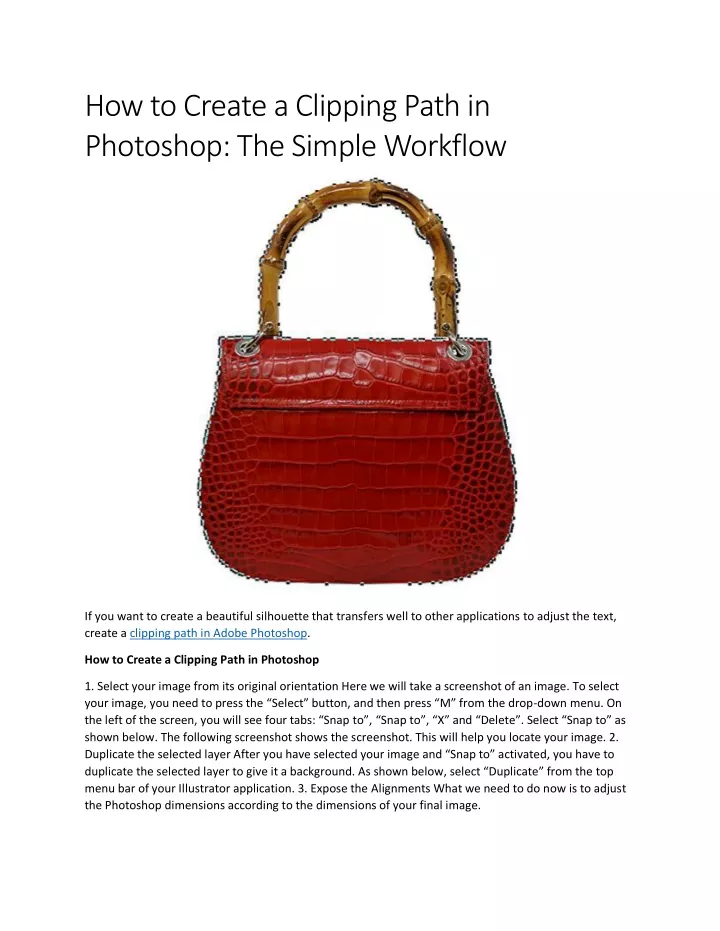
How to Create a Clipping Path in Photoshop: The Simple Workflow If you want to create a beautiful silhouette that transfers well to other applications to adjust the text, create a clipping path in Adobe Photoshop. How to Create a Clipping Path in Photoshop 1. Select your image from its original orientation Here we will take a screenshot of an image. To select your image, you need to press the “Select” button, and then press “M” from the drop-down menu. On the left of the screen, you will see four tabs: “Snapto”, “Snap to”, “X” and “Delete”. Select “Snap to” as shown below. The following screenshot shows the screenshot. This will help you locate your image. 2. Duplicate the selected layer After you have selected your image and “Snap to” activated, you have to duplicate the selected layer to give it a background. As shown below, select “Duplicate” from the top menu bar of your Illustrator application. 3. Expose the Alignments What we need to do now is to adjust the Photoshop dimensions according to the dimensions of your final image.
What is a Clipping Path? What is a clipping path? A clipping path or guide is used to adjust the positioning of an object within a photograph by either cropping the background or shifting an object closer to the center. That can easily be seen in a photograph such as the one below. Why do we use a clipping path in Photoshop? It’s an interesting question, why do we need to create a clipping path? It’s easier than you may think, as shown below: Before you begin creating a clipping path, it’s important to determine what type of clipping path you would like to create. Choosing the appropriate type of clipping path will give you more control over how it appears in the finished photograph. 1. Purpose of Clipping Paths Clipping path makes use of subtle edge transparency to separate the background from a shape so that the object in the image looks sharp. Now that you know how to create a clipping path in Photoshop, learn how to create a path for your text. The steps below are best for editing images and web design. How to Create a Path in Photoshop: The Basic Steps Step 1 Open the picture file that you want to edit with the option of working with a vector shape. You can also work with a bitmap file if you want to. Step 2 To create the clipping path, right click on the image, select paths and then create a new shape with the path tool (File > New Shape). Step 3 Now, we want to create the perimeter of the shape which will be placed over the background image, and fill it with black. Final Thoughts Creative Clipping Paths really can be used for all sorts of purposes. They’re useful for any of the professional and amateur designers to apply in their work. Create them manually or using Photoshop plugin. Here is a complete tutorial for creating a clip path in Photoshop. Conclusion Yes, it is not an easy job to create the clipped shape and it needs a lot of patience but after you get the hang of the process, you can do it with ease in no time. You can make it simple by utilizing the same method of creating multiple shapes. Be advised to create more than one clipping path, as each one of the shapes are small and simple compared to the larger shape which are more complex and time- consuming to draw.