Download
1 / 7
70 likes | 73 Views
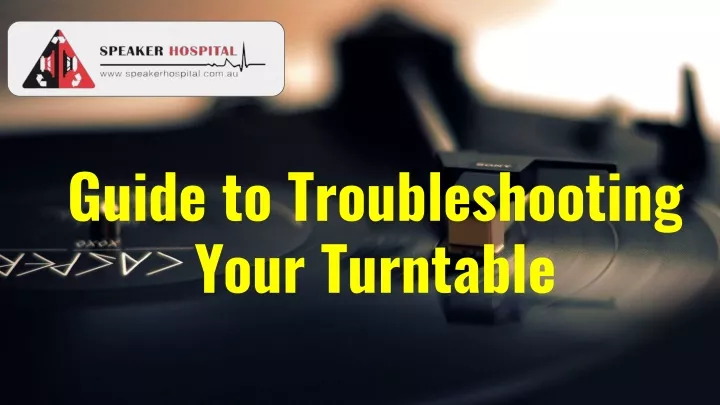
- General inspection of the player<br>- Cleaning the turntable properly<br>- Cleaning the stylus<br>- Replacing the cartridge<br>- Replacing the needle as well<br><br>For turntable repair services in Sydney get in touch with us: https://www.speakerhospital.com.au/<br>

E N D
Guide to Troubleshooting Your Turntable
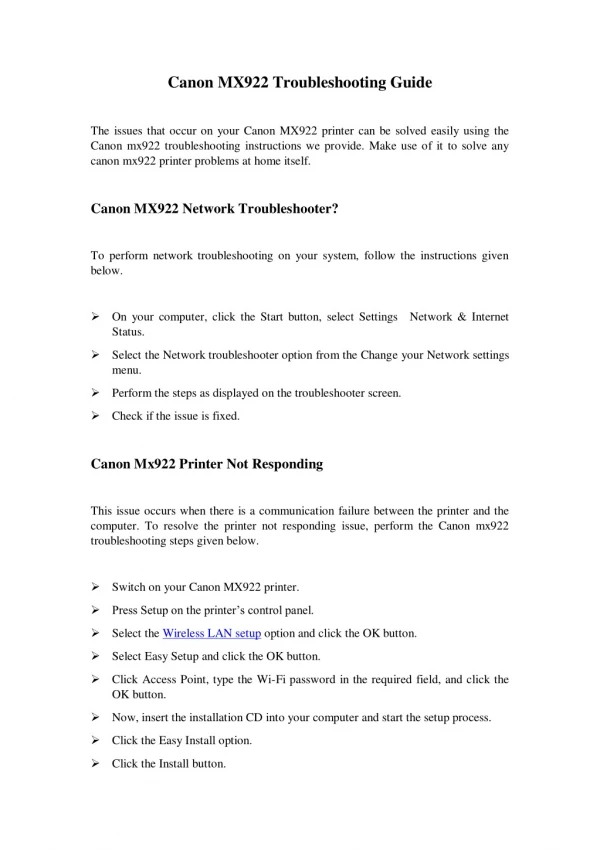
General inspection of the player Switching off and disconnecting the turntable is the first step in the inspection. Examine the turntable for any signs of wear and tear. Examine the item for any damaged or missing components, dents, or chips. Compare the issue at hand to the owner's handbook or an image of the turntable when it was new.
Cleaning the turntable properly The last thing you want with your record player is getting dirt on it. Although many of them come with dust seals and covers to prevent these component-damaging materials from dealing their damage, we strongly recommend you do manual cleaning. This is because dust and grime can still settle on the seals.
Cleaning the stylus Experts highly recommend you clean your stylus after every playing session to keep your turntable in top shape. However, since we’re in real life, you could clean yours after every two or three playing sessions. You could use a paintbrush or a brush made for this purpose. You could also use a brush with soft bristles to get the job done well.
Replacing the cartridge If, during your inspection, you notice all other components working in good condition, check out the cartridge. Unknowing to some, the cartridge is usually where most issues arise with a turntable. To confirm your suspicions, all other connections would be operational but the cartridge fails to produce a working signal.
Replacing the needle as well Just like the cartridge, the needle also needs replacing as well. And while at it, it’s recommended you check the model of your needle so you don’t get the wrong replacement for your turntable repairs. Next, check through the manufacturer’s manual and follow the outlined steps. Feel free to seek help from professionals if you can’t do things yourself.
Contact Us For turntable repair services in Sydney get in touch with us. Phone: 02 9797 1800 Email: info@speakerhospital.com.au www.speakerhospital.com.au Disclaimer : This is a generic Information & post; content about the services can be changed from time to time as per your requirements and contract. To get the latest and updated information, contact us today or visit our website.