Download
1 / 19
1.28k likes | 3.65k Views
Shot Put. John Kenneson TCU National Throws Coaches Association. Basic Keys To All Throwing Events. Balance Eyes/Focal Points Tempo/Rhythm 4. Finish Technique. Heel to toe Relationship-Standing Throw. Right heel to left toe. Ring Orientation. Using the clock method

E N D
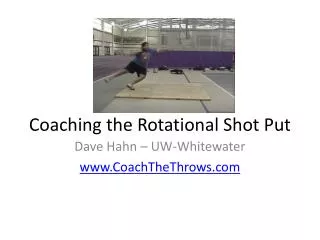
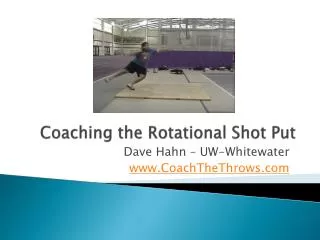
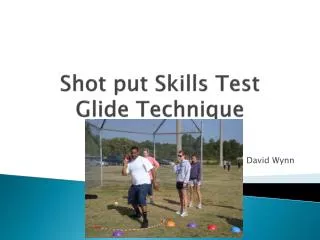
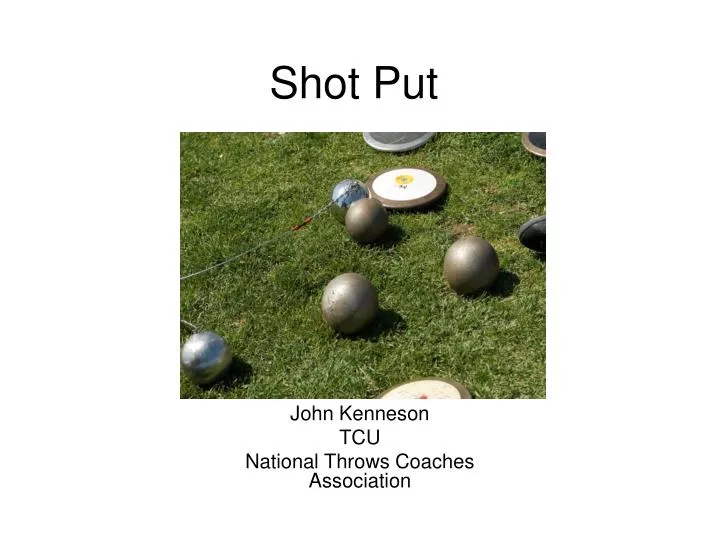
Shot Put John Kenneson TCU National Throws Coaches Association
Basic Keys To All Throwing Events • Balance • Eyes/Focal Points • Tempo/Rhythm 4. Finish Technique
Heel to toe Relationship-Standing Throw Right heel to left toe
Ring Orientation • Using the clock method • Learning various positions with proper timing • Use of focal points
Shot Put/Standing Throw • Heel to toe relationship • Proper Grip/Base of fingers • Proper neck placement/under ear • Throwing arm relaxed and slightly down/elbow out
Initiation of Standing Throw • Ring orientation/the clock system • Throw begins from 11 o’clock • Use rhythmic start not static start • Flex right leg/left arm back • Bridged back • Ball behind right knee • Proper focal points beyond circle • Track eyes horizontally
Long path of ball Finish feet/hip/shoulder rotation Right knee/left arm work as unit Drive ball over toe board under control Stay on feet. Throw through the face Finish Techniques/Standing Throw
Glide Technique • Ideal candidates are taller athletes with leverage • Athletes with limited pivoting skills • Athletes with limited body control skills
Essentials of the Glide • Smooth transition across the circle • Creating momentum into the power position • Using the right leg effectively • Finish techniques/must face your throw
Glide Start/Entry • Traditional start vs. dynamic start • Relax the back/bridged back • Proper focal points beyond circle at 12 o’clock • Roll off the heel
Landing in the Center of the Circle • Shoulders, hips and right foot 11 o’clock • Left arm behind hips but in motion • Ball behind knee • Feet land in quick sequence • Orbit/pathway of ball is 42 degrees • Right foot underneath center of mass
Middle to Front of Circle • Right foot/left arm work as a unit – rotate • Stay off the heel – use ball of foot • Active left side – back slapping arm motion • Face your throw – release over the toe board • Throw through the face – 42 degrees
Exchange • Naturally exchange feet with proper timing • Do whatever you can to stay in the ring • It helps to lower center of mass/bend knees • DO NOT watch the ball!
Setting Your Stance • Feet slightly wider than shoulder width • Toes pointed slightly out • Weight in the middle of the body • Shoulders relaxed • Bend the knees and stack the vertebrae
Entry • Slower the better • Short wind up or limited wind up • Activate with both feet • Open left leg • Rotate on ball of left foot • Pivot around the left foot • Maintain depth/initiate orbit
Air Pivot • Right knee to the middle • Look down the left sector • Rotate hips and release shoulders to 3 o’clock • Right foot rotates from 2 o’clock • Upon left foot contact, shoulders will rotate to 11 o’clock
Middle to Front of Circle • Rotation continues from 11 o’clock • Left arm constantly in motion • Active left side/left arm motion • Face your throw • 42 degree release angle