Download
1 / 24
450 likes | 1.08k Views
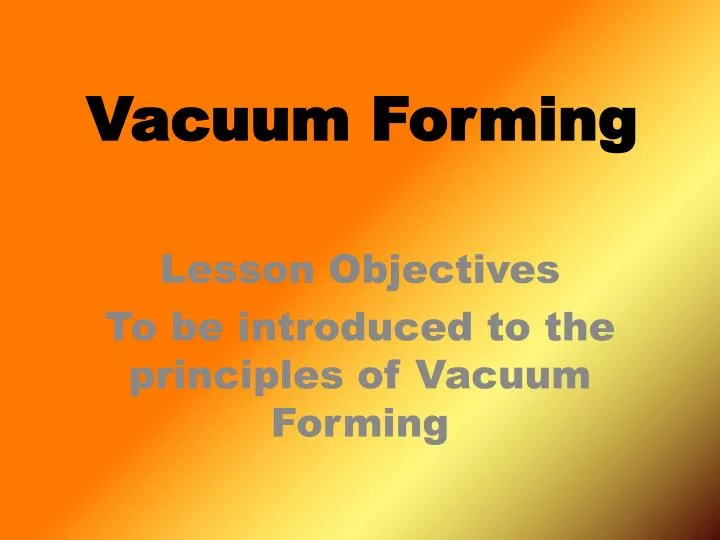
Vacuum Forming. Lesson Objectives To be introduced to the principles of Vacuum Forming.

E N D
Vacuum Forming Lesson Objectives To be introduced to the principles of Vacuum Forming
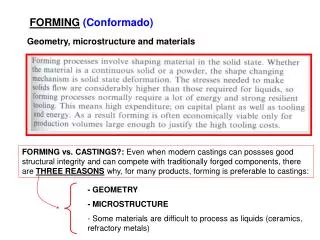
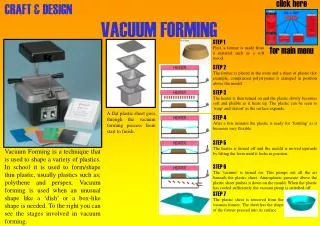
Vacuum forming is a technique that is used to shape a variety of plastics. In school it is used to form/shape thin plastic, usually plastics such as; High impact Polystyrene, polythene and perspex. Vacuum forming is used when the design of the component will lend itself to the limitations of Vacuum Forming. Vacuum Forming Machine
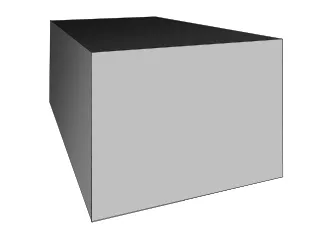
1. First, a former is made from a material such as a soft wood. The edges or sides are shaped at an angle so that when the plastic is formed over it, the former can be removed easily.
3. A sheet of plastic (for example, compressed polystyrene) is clamped in position above the mould.
4. The heater is then turned on and the plastic slowly becomes soft and pliable as it heats up. The plastic can be seen to 'warp' and 'distort' as the surface expands.
5. After a few minutes the plastic is ready for ‘forming’ as it becomes very flexible.
6. The heater is turned off and the mould is moved upwards by lifting the lever until it locks in position.
7. The 'vacuum' is turned on and this pumps out all the air beneath the plastic sheet. Atmospheric pressure above the plastic sheet pushes it down on the mould. At this stage the shape of the mould can be clearly seen through the plastic sheet. When the plastic has cooled sufficiently the vacuum pump is switched off.
8. The plastic sheet is removed from the vacuum former. The sheet has the shape of the former pressed into its surface.
Write you name on the A3 sheet. • Organise the eight cards into the right order on your sheet of A3 paper to demonstrate Vacuum Forming. • Draw a square round each card and copy the picture into the square you have just drawn. • After this add a series of sequence arrows to show the order of progress. • If time allows – Colour In / Add Drop Shadows to Box / Add a Background Item / Add Animators.
Check all eight pictures are present and not mixed up with another group. • Place elastic band around the pictures and return to Mr Smith.
1. First, a former is made from a material such as a soft wood. The edges or sides are shaped at an angle so that when the plastic is formed over it, the former can be removed easily.
3. A sheet of plastic (for example, compressed polystyrene) is clamped in position above the mould.
4. The heater is then turned on and the plastic slowly becomes soft and pliable as it heats up. The plastic can be seen to 'warp' and 'distort' as the surface expands.
5. After a few minutes the plastic is ready for ‘forming’ as it becomes very flexible.
6. The heater is turned off and the mould is moved upwards by lifting the lever until it locks in position.
7. The 'vacuum' is turned on and this pumps out all the air beneath the plastic sheet. Atmospheric pressure above the plastic sheet pushes it down on the mould. At this stage the shape of the mould can be clearly seen through the plastic sheet. When the plastic has cooled sufficiently the vacuum pump is switched off.
8. The plastic sheet is removed from the vacuum former. The sheet has the shape of the former pressed into its surface.