Download
1 / 17
170 likes | 252 Views
Podcasts. A Self-Guided Instructional Presentation. Getting Started. Follow the links to get detailed descriptions on how to do each step. Each slide contains a link back to the previous slide as well as links to other slides. What are podcasts? Equipment Make a podcast.

E N D
Podcasts A Self-Guided Instructional Presentation
Getting Started • Follow the links to get detailed descriptions on how to do each step. • Each slide contains a link back to the previous slide as well as links to other slides. • What are podcasts? • Equipment • Make a podcast
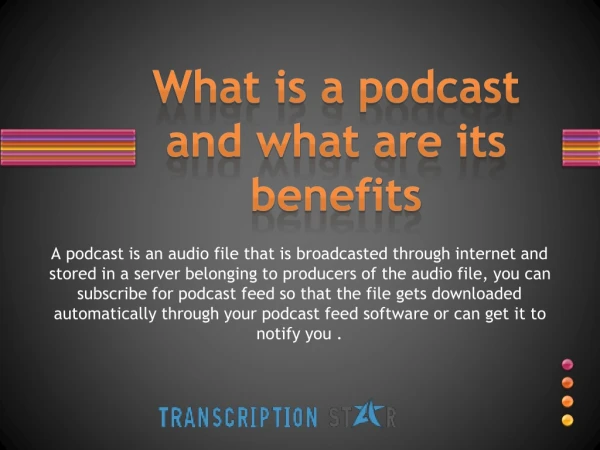
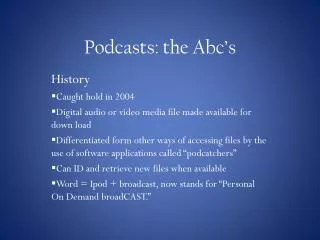
What are podcasts anyway? • A series of audio only segments on a theme • Length: 1 minute to 1 hour • Tied together by an intro and outro • Variety of formats: interview, instruction, etc. • Click here for sample Getting Started Equipment List
Equipment Needed • Hardware • Computer • Microphone • Headphone or speaker • Software • Audacity (free download) • LAME encoder ( free download - bundled with Audacity on LCPS machines) • Other • Music clips for intro & outro (if desired) • Sound effects (if desired) Getting Started Create a Podcast
Steps for Podcast Creation • Decide on a topic, audience and length • Determine treatment • Format type • Intro – sound, speaking or both • Outro – sound, speaking or both • Write a script • Create a folder in which to save ALL files • Record • Edit • Other Notes Getting Started
CREATE A FOLDER - Important • Make a single folder to save ALL files for your podcast. • As you merge, trim and edit, EXPORT EVERY FILE AS AN MP3 with a different name. This allows you to easily move the files from computer to computer and revert to earlier versions if needed. • If you save a project instead of exporting, you will have files that make it difficult to change computers. Back to steps Recording
RECORD - Equipment Check • When plugging in the headset, notice that both the computer and the microphone have symbols on them – make sure you have them matched up. • Make certain that you don’t have anything on your computer muted. This Not this Run a test Previous Back to steps
RECORD - Run a test • Hit the red circle to record, the blue lines to pause, the brown square to stop, and the green arrow to playback. • It should look like this: • If the line in the recording area is straight, the microphone did not pick up any sound. • Check your equipment, move the mic closer to your mouth and try again. Important notes Previous Back to steps
RECORD – Important notes • When you do a test or a practice run, you will need to close that track without saving before you do your final version. To close, click on the small “x” in the corner of that track. • If you are recording several pieces, you should pause, rather than stop between recordings. If you forget and stop, when you start again, you will have a second line under the first one. DO NOT EXPORT if this happens – it will be unintelligible. Finishing Previous Back to steps
RECORD - Finishing • Do not SAVE your project – choose “export as MP3”. • Make certain you save everything to the folder you created. • MINIMIZE the audacity screen, and go to your documents. Check and make certain that the file contains data – view “details” and make certain the file size is not zero. After you have verified that, go ahead and close audacity without saving! Editing Previous Back to steps
Editing - Basics • Use the zoom to manipulate with precision. • This timeline is visible in increments of 15 seconds. • This one is in increments of ½ a second. Previous Back to steps More Editing Basics
Editing - Basics • Use the selection tool to choose a specific area. • Once you have an area selected (darker grey) you can copy, cut or add effects to that part. Previous Back to steps Editing – Putting It Together
EDITING – Putting it together • To insert a clip within an existing clip - listen and hit “pause” where you want to insert – then click your selection tool to create a green arrow. • Use your selection tool to make a line at the green arrow. • Hit stop. It will not let you do anything while you are paused! • Copy the clip you want inserted and paste – it will go directly where the line is. • You can do the same to add to the beginning or end. Previous Back to steps Editing – Cutting & Trimming
EDITING – Cutting & Trimming • Use the zoom tool so you can “fine tune” your trim points to fractions of a second. • Use the selection tool to choose what you don’t want and delete it. • Using this helps eliminate “dead air” time. Previous Back to steps Editing – Adding Effects
Editing – Adding Effects to Voice • Use the selection tool to choose the piece to which you want to add an effect. • Under Effect, choose the one you want to use – some of the commonly used ones are: • Change pitch • Change speed • Change tempo • You can preview any change. Previous Editing – Adding Music Back to steps
Editing – Adding Music • Open your music in Audacity. • Copy and paste the piece you want into your voice file. • You can use effects to have the music fade in or fade out for use in your intro or outro. Other Notes Previous Back to steps
VARIOUS & SUNDRY • Make certain that you export your final product as a .mp3 • This presentation was designed to enable you to create a basic podcast using equipment available through LCPS. • There are many features that it did not attempt to teach – including how to add voice over music and sound effects. • The screen shots are the version of Audacity on the LCPS computers as of April 2012. • The method chosen is only one of the methods available in Audacity to edit audio. Previous Back to steps