Download

1 / 10
110 likes | 318 Views
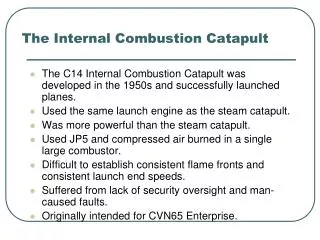
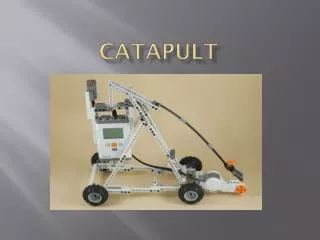
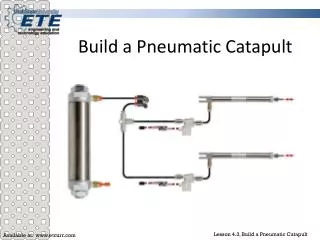
Catapult Project . We started with just a ¾ inch piece of pvc pipe and decided we needed it more rigid. So we put a piece of ½ inch pipe inside along with a fiber glass rod. Adding these two improvements made our pressure go from 5lbs to 11lbs of pressure.

E N D
We started with just a ¾ inch piece of pvc pipe and decided we needed it more rigid.
So we put a piece of ½ inch pipe inside along with a fiber glass rod.
Adding these two improvements made our pressure go from 5lbs to 11lbs of pressure.
We then cut the ring off of our cup to reduce weight and to reduce friction between the cup and the tennis ball.
Then we added a 2X4 on the front of the frame to make it more stable on the launch and we strengthened our latching mechanism so it wouldn’t flex upward on launch.
After that we decided to put a piece of 1” pipe over the ¾ and tested to be 14lbs of pressure. With the extra pressure the frame started lifting with our shots so we added ballast with sand bags.
Then we added another piece of pvc pipe which moved our pressure to 25lbs.
Together this piece of pipe didn’t launch as good as we liked so we duplicated it so we would have double the force at launch.