Download

1 / 4
40 likes | 350 Views
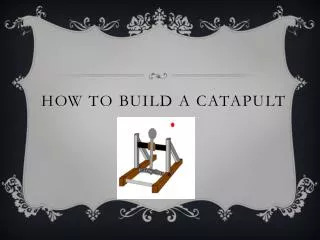
Creating a Catapult. Learning Intention I know and understand the weapons which were used in the Scottish wars of independence. I am able to describe the benefits of using a catapult over other types of weaponry. Core Skills Developing an interest and awareness of forces

E N D
Creating a Catapult • Learning Intention • I know and understand the weapons which were used in the Scottish wars of independence. • I am able to describe the benefits of using a catapult over other types of weaponry. • Core Skills • Developing an interest and awareness of forces • Understanding design • Following instructions • Success Criteria • Try to remember what you have seen in the video and follow the written and pictorial instructions given to you • Ensure you have the correct amount of tension and angle in your catapult
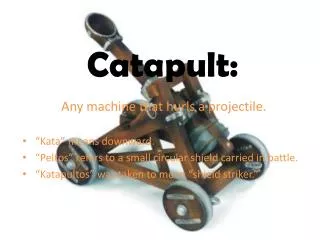
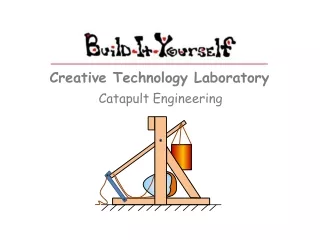
Example of a thirteenth century catapult as used in the Scottish wars of independence.
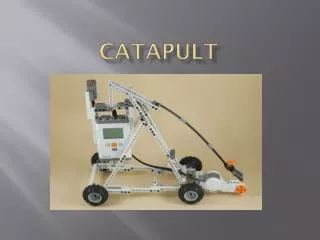
How to create a Catapult Watch YouTube video or follow the instructs below: 1. Place two soda cans next to each other–one standing up and one on its side. (figure 1) 2. Secure the cans in this position with two rubber bands: stretch one around the upper portion of the standing can and wrap it around the lower portion of the bottom can. Stretch the other around the upper portion of the standing can and wrap it around the upper portion of the bottom can. (figure 2 and 3) 3. Repeat step two. 4. Turn the standing can toward you. Insert a fork beneath the belt of rubber bands. The bottom side of the fork should be pressed against the surface of the can. (figure 4) 5. Make sure the belt of rubber bands are pushed to the upper part of the fork prongs to make room for the next step. (also figure 4) 6. Loop a rubber band between the last two left fork prongs and wrap it around the nearest (left) end of the bottom can. (figure 5 and 6)
7. Now loop a rubber band between the last two right fork prongs and wrap it around the nearest (right) end of the bottom can. (figure 5 and 6) 8. Push the fork and rubber bands to the top third portion of the can. (figure 7) 9. Create the catapult launch cup by attaching the cap (from a plastic 2-liter bottle) to the upper portion of the fork handle. Do not attach the cap to the very tip of the handle–leave approximately 3/4 inch free. Attach the cap by placing it against the handle and wrapping it with masking tape. Be sure to press the tape into the bottom of the cup as you loop around, so that the cup maintains its cavity. Make sure cap is securely in place. (figure 8 and 9) 10. Rubber band two pencils together (pencils should be equal length). Do this with two rubber bands–one left of center and one right of center. Do not over-fasten the pencils together. (figure 10) 11. Create the arc stop: Insert the fork prongs between the two pencils and slide the pencils approximately half way up the fork prongs. (figure 11) 12. Repeat steps 6 and 7 to secure the arc stop. (After using the catapult a few times, adjust the pencils up or down to achieve optimal arc.) 13. Your catapult is now complete. (figure 12)