Download
1 / 27
270 likes | 430 Views
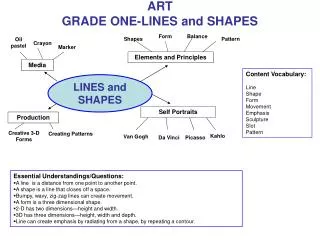
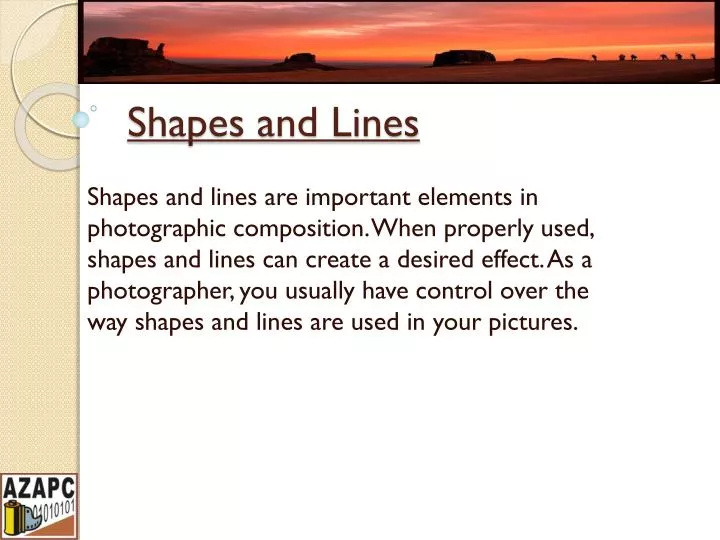
Shapes and Lines. Shapes and lines are important elements in photographic composition. When properly used, shapes and lines can create a desired effect. As a photographer, you usually have control over the way shapes and lines are used in your pictures. Shape.

E N D
Shapes and Lines Shapes and lines are important elements in photographic composition. When properly used, shapes and lines can create a desired effect. As a photographer, you usually have control over the way shapes and lines are used in your pictures.
Shape Shape is a two-dimensional element basic to picture composition. Form is the three-dimensional equivalent of shape. Even though shape is only two-dimensional, with the proper application of lighting and tonal range, you can bring out form and give your subjects a three-dimensional quality. Lighting can also subdue or even destroy form by causing dark shadows that may cause several shapes to merge into one.
Line Lines can be effective elements of composition, because they give structure to your photographs. Lines can unify composition by directing the viewer's eyes and attention to the main point of the picture or lead the eyes from one part of the picture to another. They can lead the eyes to infinity, divide the picture, and create patterns. Through linear perspective, lines can lend a sense of depth to a photograph. (Linear perspective causes receding parallel lines to appear to converge in the picture. This allows you to create an illusion of depth in your pictures.)
Subjective The purpose of this assignment is to train our eye to simplify the elements ( lighting, color, pattern) within your composition of your design. Always remembers two things – isolate and simplify. Try to make your picture in an abstractform.
Equipments to use For this assignment, you can use point and shoot camera, or DSLR camera. Use auto setting, or any setting you prefer. ( we are not looking into any technical aspect.)
How to submit your works *You can submit no more than five photos of your works via E-Mail to your assigned instructor. *Each assignment allows two weeks time to complete. *Comments will send back to you within one week via E-Mail. *Instructors will choose some of the pictures and discuss in the next meeting.
How to submit your works You also can choice not to discuss your photo in the class. But you need to let your instructor know ahead when you submit your photo. My E –Mail address: wong1668@hotmail.com
Portrait ( people ) Portrait photography or portraiture is the capture by means of photography of the likeness of a person or a small group of people (a group portrait), in which the face and expression is predominant. The objective is to display the likeness, personality, and even the mood of the subject. Like other types of portraiture, the focus of the photograph is the person's face, although the entire body and the background may be included. A portrait is generally not a snapshot, but a composed image of a person in a still position. A portrait often shows a person looking directly at the camera.
Portrait ( people ) People pictures fall into two categories: portraits and candid. Either can be made with or without your subject's awareness and cooperation. you always need to keep in mind the elements of composition and the technique that will best help you communicate what you are trying to say. A good portrait will contain at least one element that reveals the subject’s personality, attitude, unique mannerisms or any of the other features that form the individual nature of the person. It will tell us something about the subject.
Inspirational Portrait Photography Techniques TEXTURE If texture is a big part of your subject, make it stand out and make it obvious. Match up the textures between your subject and your background.
Overexpose Blowing out the highlights or making a high-key image makes a nice soft portrait with kind of a light airy feeling. Another advantage of high-key photos is that the smaller details and defects are blown away, making the image look much smoother
Underexpose A dominantly dark or low-key image will naturally draw your eyes to the lighter parts. These tend to have a grittier and harder look to them than the high-key images.
GET CLOSE There’s no rule against cropping out most of the subject’s face. This draws more attention to the parts that are left in the frame.
CAPTURE THE MOMENT Catch somebody doing something they love, even if it’s not staged. Street photography is one of the favorite subject because it captures life as it happens — unstaged and unposed.
GET SERIOUS Not all portraits need to have a smile, capture the serious emotions too. Some of the favorite portraits have no hint of a smile in them, and they’re highly emotional.
Samples from your Instructor Candid
Equipments to use *We suggest to use DSLR camera. *Lens to use- Zoom Lens 18mm – 200mm 70mm- 200mm, or 28mm-105mm. *Fixed Lens – 85mm or 105mm. *It can be either outdoor or indoor. *Lighting- Try to be more creative………..( think what will be the best lighting for your subject )
How to submit your works *You can submit no more than five photos of your works via E-Mail to your assigned instructor. *Each assignment allows two weeks time to complete. *Comments will send back to you within one week via E-Mail. *Instructors will choose some of the pictures and discuss in the next meeting.
How to submit your works You also can choice not to discuss your photo in the class. But you need to let your instructor know ahead when you submit your photo. My E –Mail address: wong1668@hotmail.com