Download
1 / 20
200 likes | 437 Views
Features. Configuration. Software. Diagnose. FAQ. AD-1 Auto Scanner. Features. 1.Universal. 2.Wireless. 3. Remote diagnosing. Home. Features.

E N D
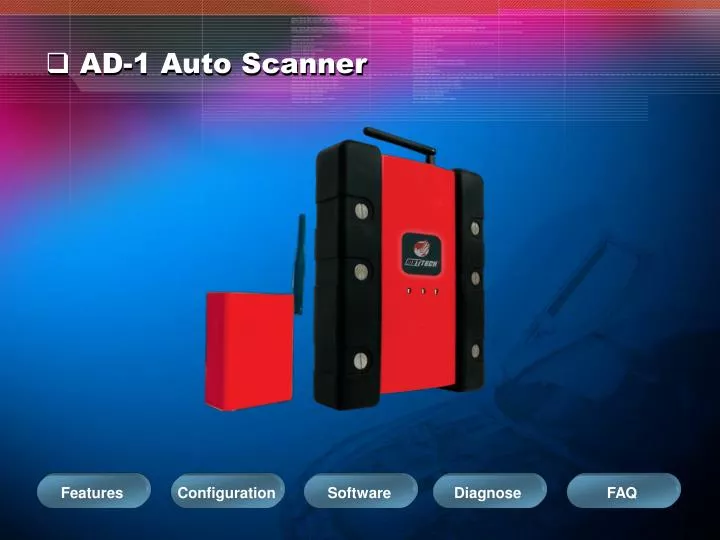
Features Configuration Software Diagnose FAQ • AD-1 Auto Scanner
Features 1.Universal 2.Wireless 3.Remote diagnosing Home
Features 4.Platform: Operates on either XP or Vista operating systems.5. Interface: USB "plug-and-play" technology and high baud transceiver for faster data transfer.6. Report: Results can be saved and printed for later reference.7. Upgrading: Software can be upgraded anywhere via internet. 8. Hardware: Anti-shock rubber guards for stronger, more durable usage. … Home
Configuration AD-1 Multiplexer Transceiver Main Cable USB Line Battery Clips Ignition Lighter Cable Adaptor Storage Case Home
Software Download AD-1 Client Software AD-1 USB Driver Download Page: http://www.autoobd.net/english/download/download.asp Home
Software Setup Install the AD-1 client software. Home
Main Interface If use the software at first time, please click the SETTING buttonand set COM port.. Home
Check COM Port Check the CP210XUSB COM port fromDevice Manager. And then set the same com port in the AD-1 software as above. Home
Wireless Connection Wireless communication can reach from 20 to 50 meters. Home
Connection with wire You may operate the device based on any laptop or desktop. The diagnostic connectors would be different due to the vary vehicle. Home
Diagnose Select the model of the car you want to diagnose ( JAPAN – TOYOTA ) Home
Diagnose Select Connector type [ OBDII-16A ] Home
Diagnose Select the system( ENGINE ) Home
Diagnose DIAGNOSE ITEM:Diagnostic Trouble Codes Information;Data Stream List;Active Test. Home
Diagnose Test result: No fault code Home
Diagnose Data stream list(Simulation Testing result ) Home
Diagnose Read ECU Memory(Audi/VW Testing result ) Home
FAQ What can we do if the system still in wait state? Home
FAQ Click RESET back to initial state. Home
FAQ It is due to the software com port setting failed. Go back to thesoftware main page, click button “ SETTING”, and then selectthe correct com port. ( You may refer to the USB driver installation in this manual). If still same problem, re-plug the USB line and try it again. Home