Download
1 / 19
190 likes | 294 Views
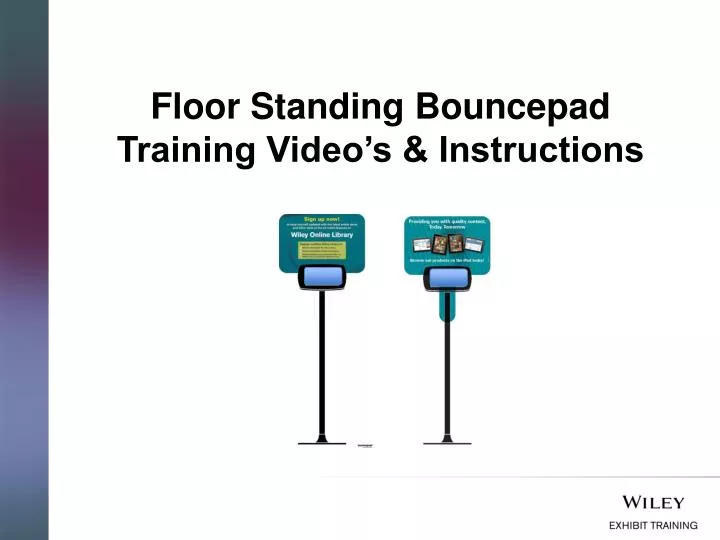
Floor Standing Bouncepad Training Video’s & Instructions. What’s in the box:. Contents :. What’s in the box Step 1: Attach the F loorstanding Pole to the Floorstanding base Step 2: Slide the Base Cover over the Floorstanding Pole Step 3: Clip the Base Cover collar together

E N D
Contents: What’s in the box • Step 1: Attach the Floorstanding Pole to the Floorstanding base • Step 2: Slide the Base Cover over the Floorstanding Pole • Step 3: Clip the Base Cover collar together • Step 4: Attach the secure case to the Floorstanding Pole • Step 5: Feed the supplied cable through the Floorstanding Pole • Step 6: Complete the alignment of the Bouncepad • Step 7: Unlock and remove the face of the secure case • Step 8: Connect cable to Table and place into Secure case • Step 9: Lock the face of the Secure Case back into place Placard Board Attachment: Assembly Instructions • Step 1: Slide the Bottom Bracket over the Pole • Step 2: Attach the Top Bracket • Step 3: Affix your Placard board to the Brackets How to Pack the FloorstandingBouncepad
Step 1:Attach the floorstanding pole to the floorstanding base. • Ensure the cable channel is positioned towards the rear of the unit. • If you wish to secure the unit to the floor, use the four M6 sized countersunk holes in the floorstanding base, using a screw that is suitable for your floor material. 1 2
Step 2:Slide the Base Cover over the Floorstanding Pole • Align the cable notch in the Base Cover with the cable channel in the Floorstanding base, then use the adhesive tabs to afix the Floorstanding cover to the Floorstanding base. • Removable cover lid: remove this lid when plugging iPad charger into floor socket. 1 2
Step 3:Clip the Base Cover collar together • Clip the base cover collar together. • Slide down to fit securely into the Base cover. 1 2
Step 4:Attach the secure case to the Floorstanding Pole • Be sure to fully engage all screws in their threads before tightening. Always use a hand screwdriver for this step. If a Placard Board is being used please refer to the instructions on Slide 15 1
Step 5:Feed the supplied cable through the Floorstanding pole • Feed the supplied cable through the Floorstanding pole. • Connect to your power supply. 1 2
Step 6:Complete the alignment of the Bouncepad 1 • Firstly loosen the two screws (shown left) slightly and align the case to be horizontal. • When the case is aligned, tighten screws up again using a hand screwdriver. 2
This video clip will demonstrate how to remove the iPad from the Secure Case, simply click on the image below:
This video clip will demonstrate how to lock your tablet into the BouncepadSecure Case, simply click on the image below:
Placard Board Attachment: Assembly Instructions What’s included in the box: • Placard Board • Bottom Bracket • Top Bracket • M4 x 200mm Screw (x4) • M4 Plastic Washer (x4) 2 1 3 4 5
Step 1:Slide the Bottom Bracket over the Pole • If you have already attached the secure case to the pole, remove it using a hand screwdriver. • Then slide the bottom bracket from the top, to the bottom of the floorstanding pole, letting it rest on the Floorstanding cover. 2
Step 2:Attach the Top Bracket • Whilst the Secure Case is still off, affix the Top Bracket using the M4 x 25mm Buttonhead Security Screws, clamping it between the Secure Case and the pole. 1
Step 3:Affix your Placard Board to the Brackets • Align with the holes on the Placard Board with the top and Bottom Brackets. • Affix the Placard Board to the Top and Bottom Brackets using the M4 x 20mm Plastic Screws • Place M4 Plastic Washers at the back of the Placard Board and attach securely to the board. 2 3
How to pack the Floorstanding Bouncepad Keys & Screws Foam Insert Overlay Secure Case & Long USB Cable Floorstanding Base Floorstanding Pole Base Cover