Download
1 / 38
460 likes | 899 Views
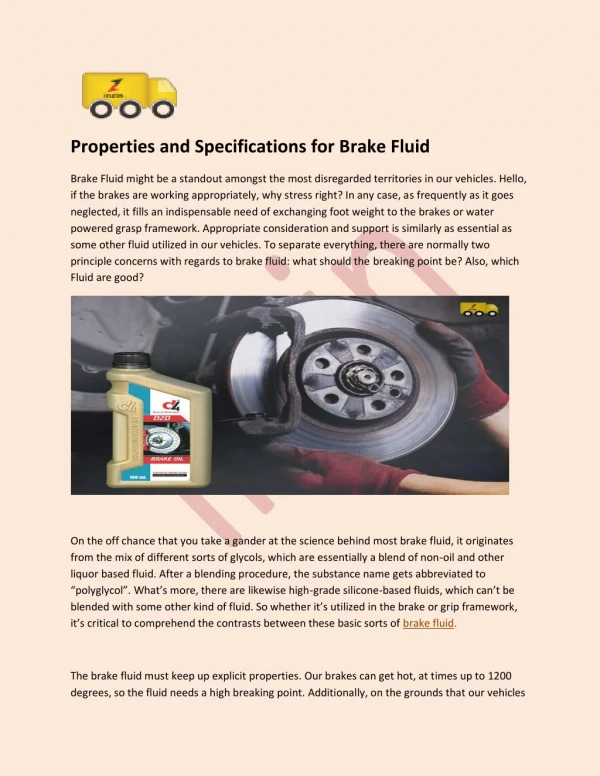
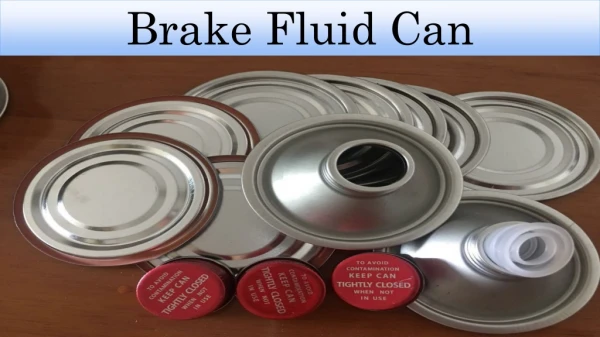
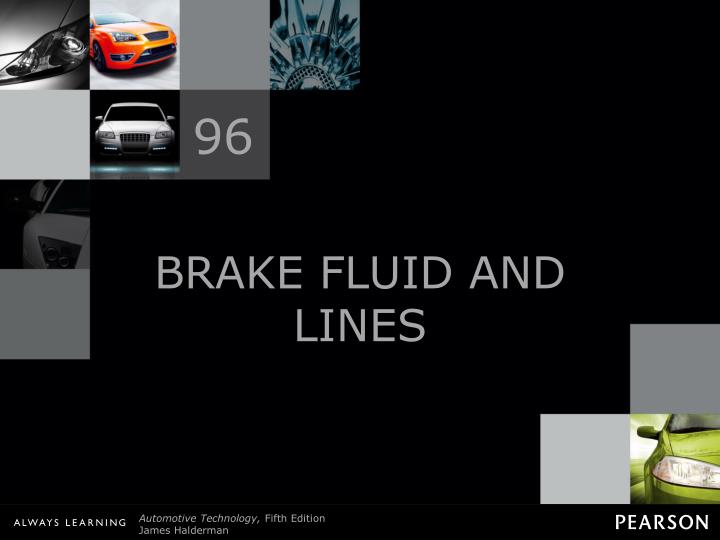
96. BRAKE FLUID AND LINES. Figure 96-1 Brake fluid can absorb moisture from the air even through plastic, so many experts recommend that brake fluid be purchased in metal containers, if possible.

E N D
96 BRAKE FLUID AND LINES
Figure 96-1 Brake fluid can absorb moisture from the air even through plastic, so many experts recommend that brake fluid be purchased in metal containers, if possible.
FREQUENTLY ASKED QUESTION: What Is Blue Brake Fluid? Some brake fluid vendors market a high-performance DOT 4 brake fluid that is dyed blue and is called super blue while others market a super DOT 4 that is yellow. These brake fluids are designed to be sold in Europe. The advertising states that the bright color of the brake fluid makes it easy to see when all of the old fluid has been purged from the system during a brake fluid replacement procedure.
Figure 96-2 Brake fluid absorbs moisture from the air at the rate of about 2% per year. As the brake fluid absorbs water, its boiling temperature decreases.
Figure 96-3 DOT 5 brake fluid is used mostly in motorcycles because if spilled, it will not hurt painted surfaces.
Figure 96-4 Both rubber sealing cups were exactly the same size. The cup on the left was exposed to mineral oil. Notice how the seal greatly expanded.
FREQUENTLY ASKED QUESTION: What Is Hydraulic Brake System Mineral Oil? Some French-built Citroen and British-designed Rolls- Royce vehicles use hydraulic system mineral oil (HSMO) as part of their hydraulic control systems. The systems in these vehicles use a hydraulic pump to pressurize hydraulic oil for use in the suspension leveling and braking systems. CAUTION: Mineral hydraulic oil should never be used in a braking system that requires DOT 3 or DOT 4 polyglycol-based brake fluid. If any mineral oil, such as engine oil, transmission oil, or automatic transmission fluid (ATF), gets into a braking system that requires glycol brake fluid, every rubber part in the entire braking system must be replaced. Mineral oil causes the rubber compounds that are used in glycol brake fluid systems to swell ( - SEE FIGURE 96–4 ). To help prevent hydraulic system mineral oil from being mixed with glycol brake fluid, hydraulic mineral oils are green.
Figure 96-5 If the brake fluid is black in color, it should be replaced.
REAL WORLD FIX: The Sinking Brake Pedal This author has experienced what happens when brake fluid is not changed regularly. Just as many technicians will tell you, we do not always do what we know should be done to our own vehicles. While driving a four-year-old vehicle on vacation in very hot weather in mountainous country, the brake pedal sank to the floor. When the vehicle was cold, the brakes were fine. But after several brake applications, the pedal became soft and spongy and sank slowly to the floor if pressure was maintained on the brake pedal. Because the brakes were okay when cold, I knew it had to be boiling brake fluid. Old brake fluid (four years old) often has a boiling point under 300°F (150°C). With the air temperature near 100°F (38°C), it does not take much more heat to start boiling the brake fluid. After bleeding over a quart (1 liter) of new brake fluid through the system, the brakes worked normally. I’ll never again forget to replace the brake fluid as recommended by the vehicle manufacturer.
Figure 96-6 (a) A brake fluid test strip is being used to test the condition of the brake fluid.
Figure 96-6 (b) The color of the test strip is then compared with a chart on the package, which indicates the condition and if the fluid should be replaced.
Figure 96-7 An electronic tester that measures the boiling temperature of the brake fluid is useful to help determine if the brake fluid needs to be replaced.
REAL WORLD FIX: The Pike’s Peak Brake Inspection All vehicles must stop about halfway down Pike’s Peak Mountain in Colorado (14,110 ft [4,300 m]) for a “brake inspection.” When this author stopped at the inspection station, a uniformed inspector simply looked at the right front wheel and waved us on. I pulled over and asked the inspector what he was checking. He said that when linings and drums/rotors get hot, the vehicle loses brake effectiveness. But if the brake fluid boils, the vehicle loses its brakes entirely. The inspector was listening for boiling brake fluid at the front wheel and feeling for heat about 1 ft (30 cm) from the wheel. The inspector used an infrared pyrometer to measure the front wheel brakes and if the brakes were too hot to continue, you would be instructed to pull over and wait for the brakes to cool. The inspector recommended placing the transmission into a lower gear, which uses the engine to slow the vehicle during the descent without having to rely entirely on the brakes.
CHART 96–1 Notice that if a rubber is OK to use for brake fluid it is not OK to use for oil or grease.
Figure 96-8 The master cylinder piston seals are usually constructed from EPDM rubber, and the diaphragm of the vacuum power brake booster is usually made from SBR.
Figure 96-9 Cross-sectional view of a typical drum brake wheel cylinder. Most wheel cylinder boots and cups are either SBR or EPDM rubber.
Figure 96-10 Exploded view of a typical disc brake caliper. Both the caliper seal and dust boot are constructed of EPDM rubber.
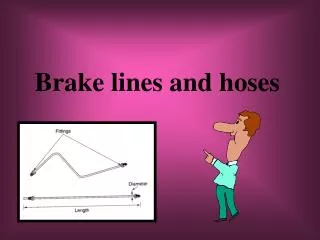
Figure 96-11 Steel brake tubing is double-walled for strength and plated for corrosion resistance.
Figure 96-12 An SAE flare brake line fitting. Because of the slight difference in flare angle, double-flare fitting seals cause a wedging action.
Figure 96-13 An ISO fitting, also called a bubble or ball-type flare.
TECH TIP: Bend It Right the First Time Replacing rusted or damaged brake line can be a difficult job. It is important that the replacement brake line be located in the same location as the original to prevent possible damage from road debris or heat from the exhaust. Often this means bending the brake line with many angles and turns. To make the job a lot easier, use a stiff length of wire and bend the wire into the exact shape necessary. Then use the wire as a pattern to bend the brake line. Always use a tubing bender to avoid kinking the brake line. A kink not only restricts the flow of brake fluid, but also weakens the line. To bend brake line without a tubing bender tool, use an old V-belt pulley. Clamp the pulley in a vise, lay the tubing in the groove, and smoothly bend the tubing. Different diameter pulleys will create various radius bends. - SEE FIGURE 96–20 on page 1059.NOTE: Always use a tubing cutter instead of a hacksaw when cutting brake line. A hacksaw will leave a rough and uneven end that will not flare properly except when forming an ISO flare. A hacksaw is used to provide a rough surface to allow the flaring tool to grip the line during the procedure. Always check the instructions that came with the flaring tool for the exact procedure to follow.
Figure 96-14 A tubing cutter is the preferred tool to use to cut brake line because it leaves a clean edge.
Figure 96-15 (a) Double flaring the end of a brake line. (a) Clamp the line at the correct height above the surface of the clamping tool using the shoulder of the insert as a gauge.
Figure 96-15 (b) Double flaring the end of a brake line. (b) The insert is pressed into the end of the tubing. This creates the first bend.
Figure 96-15 (c) Double flaring the end of a brake line. (c) Remove the insert and use the pointed tool to complete the overlap double flare.
Figure 96-15 (d) Double flaring the end of a brake line. (d) The completed operation as it appears while still in the clamp.
Figure 96-16 (a) Making an ISO flare requires a special tool. (a) Position the brake line into the two-part tool at the correct height using the gauge end of the tool.
Figure 96-16 (b) Making an ISO flare requires a special tool. (b) Assemble the two blocks of the tool together and clamp in a vise. Turn the tool around and thread it into the tool block. The end of the threaded part of the tool forms the “bubble” or ISO flare.
Figure 96-17 Whenever disconnecting or tightening a brake line, always use the correct size flare-nut wrench. A flare-nut wrench is also called a tube-nut wrench or a line wrench.
Figure 96-18 The coils in the brake line help prevent cracks caused by vibration.
Figure 96-19 Armored brake line is usually used in the location where the line may be exposed to rock or road debris damage. Even armored brake line can leak and a visual inspection is an important part of any brake service.
Figure 96-21 Flexible brake hoses are used between the frame or body of the vehicle and the wheel brakes. Because of suspension and/or steering movement, these flexible brake lines must be strong enough to handle high brake fluid pressures, yet remain flexible. Note that this flexible brake hose is further protected against road debris with a plastic conduit covering.
Figure 96-22 (a) Typical flexible brake hose showing the multiple layers of rubber and fabric.
Figure 96-22 (b) The inside diameter (ID) is printed on the hose (3 mm).
Figure 96-24 Typical flexible brake hose faults. Many faults cannot be seen, yet can cause the brakes to remain applied after the brake pedal is released.
Figure 96-25 Flexible brake hose should be carefully inspected for cuts or other damage, especially near sections where the brake hose is attached to the vehicle. Notice the crack and cut hose next to the mounting bracket.