Download
1 / 41
410 likes | 541 Views
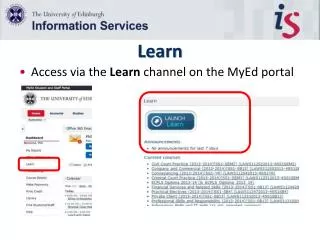
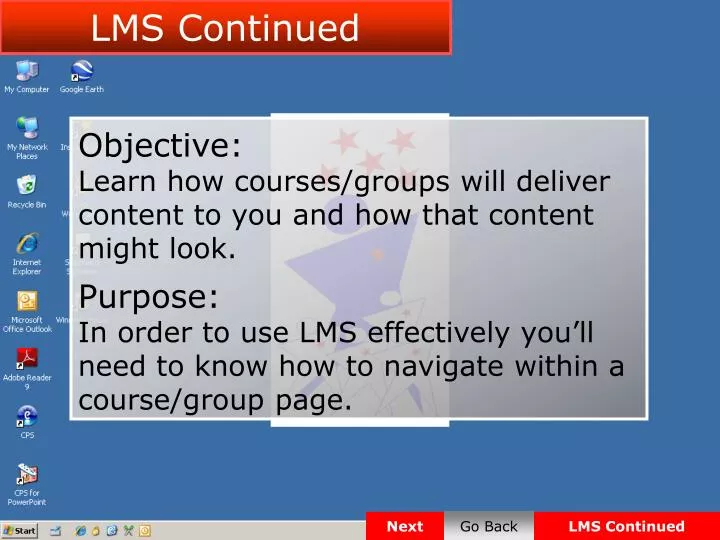
LMS Continued. Objective: Learn how courses/groups will deliver content to you and how that content might look. Purpose: In order to use LMS effectively you’ll need to know how to navigate within a course/group page. Next. Go Back. LMS Continued. Select Internet Explorer. Go Back.

E N D
LMS Continued Objective: Learn how courses/groups will deliver content to you and how that content might look. Purpose: In order to use LMS effectively you’ll need to know how to navigate within a course/group page. Next Go Back LMS Continued
Select Internet Explorer. Go Back LMS Continued
Select Favorites on your Toolbar. Go Back LMS Continued
Select LMS. Go Back LMS Continued
Normally you log on with your Klein ISD username and password. Since this is an example, just click Log On. Go Back LMS Continued
Most of the time when you go to LMS, you’ll be going to courses, but today you’ll be viewing content from the “Campus” Community Group. (Courses and Community Groups work in similar ways so this will be good practice for navigating your courses.) Math Chapter 11 Test Category: Announcements Science Ecology Project Category: Assignment Next Go Back LMS Continued
Math Chapter 11 Test Category: Announcements Science Ecology Project Category: Assignment Select Campus Group. Go Back LMS Continued
Group/Course pages are set up by your teacher so each page might look different. Next Go Back LMS Continued
Breadcrumbs Navigation Tabs When you access a course/group, a set of navigation tabs appear across the top of the LMS window. As you navigate through the tabs, the breadcrumbs frame will update to show your current location. Next Go Back LMS Continued
Select Calendar on the navigation tab. Go Back LMS Continued
Algebra quiz This tab allows you to view course and group-specific items for the day, week, month, or year. You have the ability to change your calendar view. Select Day to change your view. Labor Day English pg. 25-50 English pg. 25-50 Vocab quiz Go Back LMS Continued
Vocabulary quiz Select Week to change to Week view. Algebra review Biology Simulation Go Back LMS Continued
Algebra quiz Biology Test Algebra #3, 7 12 Now change your calendar view to month by selecting Month. Algebra review Biology Simulation English – novel Q&A Go Back LMS Continued
Algebra quiz Biology Test Labor Day English pg. 25-50 To view by year, select Year. English pg. 25-50 Vocab quiz Go Back LMS Continued
To exit your calendar, select Content on your navigation tab. Go Back LMS Continued
The bulk of your instructional material is located on the Content tab. In your courses this will be called Lessons. On this tab, your instructor can place lecture notes, links, assessments, discussion forums, and drop box assignments. To open any content item, simply click its name. Next Go Back LMS Continued
In this example, you will practice downloading a file. Select LMS Student Guide. Go Back LMS Continued
Sometimes a Launching Link timer will appear in red. You can disregard this message by selecting the file. Select LMS_Student_Guide.doc. Go Back LMS Continued
You will be prompted to Open or Save the file. Select Open. Go Back LMS Continued
Opening a file only allows you to view the document. Any changes you make within this window can not be saved. In order to edit a file, you first must save it to your tablet. Next Go Back LMS Continued
Let’s practice Saving the document. Select the breadcrumb LMS Student Guide. Go Back LMS Continued
Select LMS_Student_Guide.doc again to Save. Go Back LMS Continued
Select Save. Go Back LMS Continued
To keep your files organized, select your Classes folder in My Documents. Go Back LMS Continued
For this example, select Period 1. Go Back LMS Continued
You will receive a Download Complete message. From here you will be able to open the file and edit. Let’s go back to the Content page to look at a drop box. Go Back LMS Continued
Now that you know how to download a file, let’s practice submitting to a drop box. Select Drop Box. Go Back LMS Continued
A drop box is a place to submit work to your teachers. Next Go Back LMS Continued
When submitting to a drop box you’ll need to enter a title and a message. In this example both have already been entered. Next Go Back LMS Continued
Select Attachments to attach a document to your submission. Go Back LMS Continued
An attachment window will appear. Select Browse to find your file. Go Back LMS Continued
For this example select My Documents to find the file you’ll need to submit. Go Back LMS Continued
Select Assignment 1. Go Back LMS Continued
Then select Open. Go Back LMS Continued
The path to the assignment will be shown, but you still need to select Upload File. If you select Finished without Uploading File, your attachment will not be submitted. Go Back LMS Continued
Once the file is uploaded, it will appear in the Uploaded Files box. Select Finished. You can attach multiple documents to one submission. Go Back LMS Continued
Your attachment will be displayed. The last step is to select Submit to turn your work into the drop box. Go Back LMS Continued
You will receive a Submission Successful message. Select OK. Go Back LMS Continued
After you submit, you will be taken back to the drop box and your work will be displayed with a date and time stamp. It is your job to make sure you submit the correct assignments. Always make sure to check your work. Next Go Back LMS Continued
To get out of the drop box, use the breadcrumb and select Group to go back to the Group home page. Go Back LMS Continued
Congratulations! You’ve completed LMS Continued. Display this screen to your teacher to verify that you’ve completed the lesson and then select End Show. Go Back LMS Continued End Show