Download
1 / 41
420 likes | 458 Views
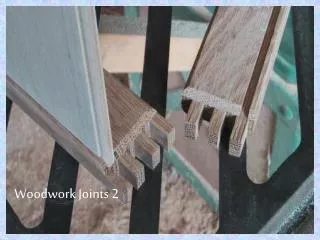
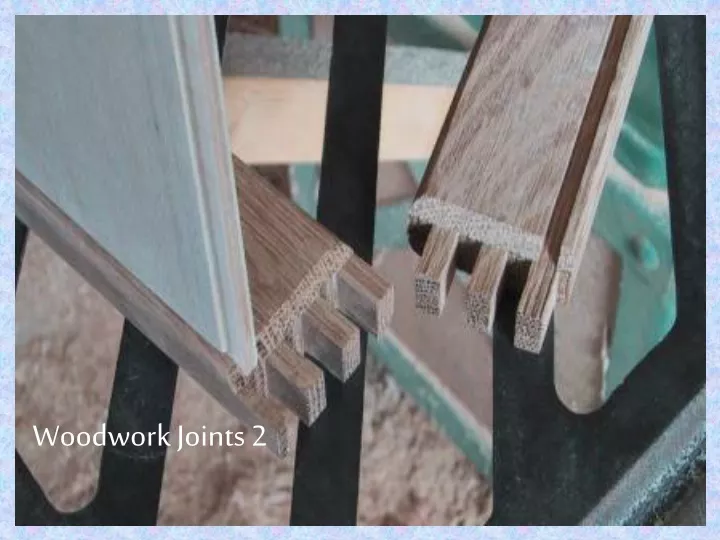
Woodwork Joints 2. Dowel Joint. Dowel joints have now replaced many traditional joints in factory made furniture where holes can be drilled accurately by machine. Dowelling jigs are often used in the school workshop ensure greater accuracy.

E N D
Dowel Joint Dowel joints have now replaced many traditional joints in factory made furniture where holes can be drilled accurately by machine. Dowelling jigs are often used in the school workshop ensure greater accuracy. Dowel pegs are generally made from Ramin and have grooves cut along the sides to allow excess glue to escape when the dowel peg is inserted into a hole. “Flat Pack” Kitchen Drawer Dowel Jig Ramin Dowel Pegs
Through Housing Joints Through Housing Joint The Through Housing Joint is one of the simplest carcase construction joints to cut. It is generally used for shelving or in this case to give extra strength to the treads on the stepladder.
Cutting a Through Housing Joint 1) Mark the position of the joint. Next Joint
Cutting a Through Housing Joint 2) Use a Try Square to mark the edges of the joint.
Cutting a Through Housing Joint 3) Square round both edges
Cutting a Through Housing Joint 4) Set your Marking gauge ½ the thickness and mark the depth of the joint.
Cutting a Through Housing Joint 5) Mark on the waste wood.
Cutting a Through Housing Joint 6) Use a Tenon saw to cut on the waste wood side of the lines.
Cutting a Through Housing Joint 7) Take care to make sure you cut as near as you can to the lines.
Cutting a Through Housing Joint Remember to keep 10 fingers behind the blade when using a chisel 8) Using a Bevel Edged Chisel (flat side up) carefully cut one side of the joint
Cutting a Through Housing Joint 9) Turn the wood round and use the same technique to cut the second half of the joint.
Cutting a Through Housing Joint 10) Now use a Bevel Edged Chisel (flat side down) to remove the high ridge in the centre of the joint.
Cutting a Through Housing Joint 11) The joint should now be ready for fitting.
Cutting a Through Housing Joint 12) Fit the Joint together.
Stopped Housing Joint The Stopped Housing Joint is again used in carcase construction generally where you want to hide the front edge of the joint
Cutting a Stopped Housing Joint 1) Mark the position of the joint Next
Cutting a Stopped Housing Joint 2) Use a Try Square to mark the sides of the joint.
Cutting a Stopped Housing Joint 3) Square round both edges
Cutting a Stopped Housing Joint 4) Gauge the depth of joint on back edge only
Cutting a Stopped Housing Joint 5) Mark on the front edge of the joint.
Cutting a Stopped Housing Joint 6) Mark on the waste wood
Cutting a Stopped Housing Joint Scrap Wood 7) Use a G Cramp and scrap wood to fix the workpiece to the desk
Cutting a Stopped Housing Joint Flat side out 8) Use a Bevel Edged Chisel to cut a square slot at the front of the joint. (Remember to keep 10 fingers behind the blade)
Cutting a Stopped Housing Joint 9) When chiselling with the grain remember to tap lightly to avoid the risk of splitting the wood.
Cutting a Stopped Housing Joint 10) Carefully chisel out a square
Cutting a Stopped Housing Joint 11) Repeat this process until you are ½ way through
Cutting a Stopped Housing Joint 12) Use a Tenon Saw to carefully cut the sides of the joint.
Cutting a Stopped Housing Joint 13) Cut both sides (just inside the line)
Cutting a Stopped Housing Joint 14) Use a Bevel Edged Chisel (flat side up) to remove the bulk of the waste wood.
Cutting a Stopped Housing Joint 15) Finally use the Bevel Edged Chisel face down to finish the bottom of the joint.
Cutting a Stopped Housing Joint 16) When finished the pencil lines you used to mark out the joint should be just visible.
Cutting a Stopped Housing Joint 17) Next mark out the length of the joint.
Cutting a Stopped Housing Joint 18) And the depth
Cutting a Stopped Housing Joint 19) Use a Try square to mark out the joint as shown above.
Cutting a Stopped Housing Joint 20) Remove the waste wood with a Tenon Saw.
Cutting a Stopped Housing Joint 21) Fit the joint then clean off all pencil marks.
Cutting a Stopped Housing Joint The completed joint
For further information on these, or any other woodwork joints use the “Focus on Wood Joints” software