Download
1 / 24
330 likes | 804 Views
CRIME SCENE PROCESSING. Forensics 352 – O’Dette. The Crime. What are the top reasons for committing a crime? Money Revenge Emotion – love, hate, anger. POST – Crime Scene Investigation. P rotect the Scene O bserve (notes/photo/sketch) S earch & Secure (evidence) T ake (evidence).

E N D
CRIME SCENE PROCESSING Forensics 352 – O’Dette
The Crime What are the top reasons for committing a crime? • Money • Revenge • Emotion – love, hate, anger
POST – Crime Scene Investigation • Protect the Scene • Observe (notes/photo/sketch) • Search & Secure (evidence) • Take (evidence)
Crime Scene Team • Team Members: • First Police Officer on the scene • Lead Investigator • Field Evidence Technicians • Photographer • Evidence Recorder/Collector • Medical Examiner & Medics (if necessary) • Lab Experts
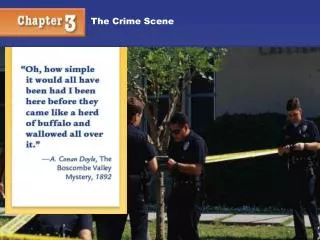
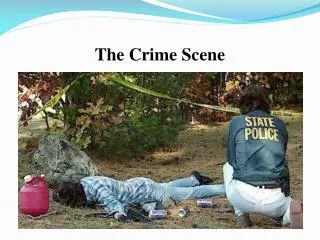
Protect the Scene • Duties of 1st Responding Officer • Check safety of scene (control threats) • Tend to the injured • Separate witnesses and suspects • Secure the scene • Barricade boundaries • Exclude unauthorized personnel
Observe the Scene • Initial Walk Through • performed by lead investigator & field evidence technicians • establish safe route through scene, no disturbance to evidence!!!!
Documentation 1. Notes The following should be included in notes: -Date -Location of crime -Time -Weather conditions -Description of crime -Location of evidence -Names of all people involved – Points of entry/exit -Type of Scene
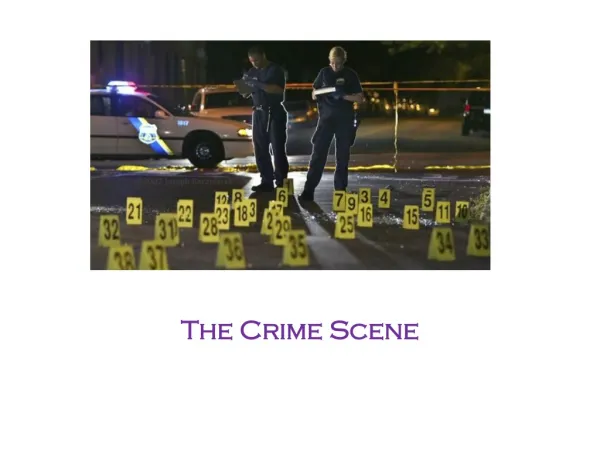
Documentation 2. Photography • Each photo must be numbered and written down in a photo log • No personshould be in any photo except adead body (or bodies) • Place evidence numbers to mark the location of evidence
Documentation 2. Photography • Photos should include: • Overall view of scene • At various angles • Include near by areas • Evidence • Start with general photos and get more detailed • Include rulers for scale (if size is significant) • Videography can also be used with narration.
Documentation 3. Sketches • Done after photos are taken • Used to supplement photos • Rough Sketch • drawn at the crime scene • contains an accurate depiction of the dimensions of the scene • Finished Sketch • precise rendering of the crime scene • drawn to scale
Documentation Measurement Method – Baseline • Choose a reference point and line • Locate items based on their distance and compass direction in relation to reference • Record distances in a measurement reference table
Documentation 3. Sketches (continued) Rough Sketches MUST include: • Dimensions of rooms, furniture, doors, & windows • Evidence • Date, time, location, sketchers name, case number • Show a compass heading designating northa top of sketch
Rough Sketch Hand drawn with notes.
Documentation 3. Sketches (continued) Final Sketches MUST include: • All features listed for rough sketch • Legend • Assign each item a number or letter and list it in the legend. • Scale
Final Sketch Computer-aided drafting (CAD) is often used.
Search & Secure Evidence • Grid method—basically a double-line search (effective, but time-consuming). • Line or strip method—best in large, outdoor scenes. • Zone method—most effective in houses or buildings (teams are assigned small zones for searching). • Spiral method—may move inward or outward (best used where there are no physical barriers).
Taking Evidence • Only one individual should be the evidence collector. • Each item must be placed in a separate container, sealed, and labeled with date of collection + location of evidence. • Most fragile is collected and packaged first. • If evidence is lodged in a larger structure, part of that structure should be removed with the evidence.
Taking Evidence • Items should be placed inside containers such as paper bags, plastic bags, canisters, packets and envelopes depending on the type and size of the evidence. *Everything must be properly logged!!!
Taking Evidence • Chain of Custody = A written record of all people who have had possession of an item of evidence. • The collector’s initials should be placed on the seal. • If evidence is turned over to another person, the transfer must be recorded.
Medical Examiner vs Coroner • A medical examiner is a medical doctor, usually a pathologist and is appointed by the governing body of the area. There are 400 forensic pathologists throughout the U.S. • A coroner is an elected official who usually has no special medical training. In four states, the coroner is a medical doctor. Cyril Wecht
Autopsy • The medical examiner carefully examines the victim to • Identify the deceased • Establish the time and date of death • Determine a causeof death • Classify the manner of death (Natural, Accidental, Suicide, Homicide, Undetermined) • Notify the next of kin