Download
1 / 23
250 likes | 487 Views
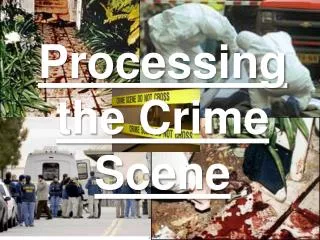
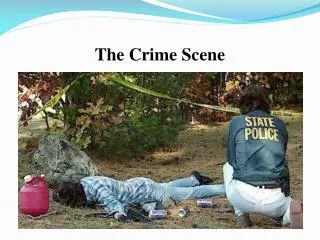
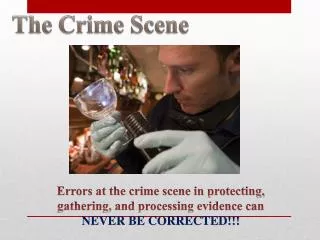
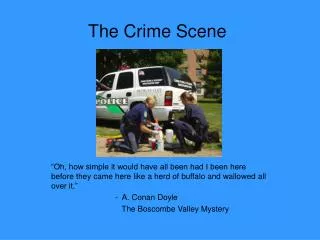
Processing the Crime Scene. First responders job:SAFETY first (scene and victims)Secure the scenepeople, pressDon't move body w/o consent of coronerKeep witnesses separateGloves, goggles, shoe coversNo eating, drinking. Are all crime scenes processed the same way?. No, major work ups are d

E N D
1. Processing the Crime Scene Chapter 2
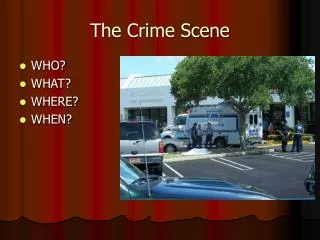
2. Processing the Crime Scene First responders job:
SAFETY first (scene and victims)
Secure the scene
people, press
Don�t move body w/o consent of coroner
Keep witnesses separate
Gloves, goggles, shoe covers
No eating, drinking
3. Are all crime scenes processed the same way?
No, major work ups are done only for
a) severe crimes
b) big-time burglaries
4. Primary crime scene: site of crime
Ex. Murder scene
Secondary crime scene: related to the primary scene
Ex. Site where body is dumped
Ex. Suspect�s house
5. Processing the Scene 1. preliminary walk-through (survey)
2. documentation
3. Proper collection (detailed search)
4. packaging
5. Preservation
6. Scene reconstruction
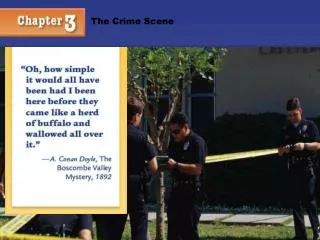
6. 1. The walkthrough- Survey Be curious
Be skeptical
Identify the scope of the crime-scene and possible locations for evidence.
7. Be curious!
Murder / Burglary?
Murder or Suicide?
Insurance Fraud?
Arson to cover another crime?
8. 2. Documentation I)Photos
II)Sketches
III)Notes
IV)Video
9. I. Photos Start from wide-angle view and move in
# all evidence
Picture with ruler/picture w/o ruler
Video used but should not be narrated or edited
10. II. Sketches Rough sketch at scene
Final sketch later
Perspectives for sketches
A. overhead (bird�s eye)
B. Elevation (side view)
11. Sketches Use at least 2 fixed points for each object
Forensic surveyor may create 3-D models
GPS may be used at large scenes
12. III. Notes Be VERY detailed.
Need to make sense years later
13. IV. Video Do not add sound
Do not edit
Low resolution compared to a camera
Do not interrupt once you have started taping.
General --> specific
14. 3. Proper Search/Collection Daylight better than artificial light
Oblique lighting � from an angle
15. Type of search Line or strip
Grid
Zone
Wheel, ray
spiral
16. 4. Packaging
Package fragile first (fingerprints)
Send whole articles of clothing
Bloodstains
A. scrape
B. transfer to wet swab
C. cut out
17. Packaging Forceps, pill bottles, envelopes, vials
Druggist fold
Do NOT put bloodstains in airtight cont.
DO put charred fire debris in airtight container.
18. Controls
known standards for
comparison to evidence
19. Examples of Controls Ex. Control paint from suspect vehicle in hit and run
Ex. Control hair from victim/suspect
Ex. Control�Blood or cheek swab from victim/suspect
Ex. Control (Unburned) samples of wood or carpet
20. Packaging Submit to lab for testing
Personal delivery
mail
21. 5. Preservation Secure area
Chain of custody
22. Chain of Custody Record of who handles the evidence
Case #
Description
Initials
Date
Time
Location
Evidence #
23. 6. Scene Reconstruction Hypothesize the likely sequence of events using:
Shoeprints
Fingerprints
Tool marks
Blood
Bullet trajectories
body