Download
1 / 31
350 likes | 790 Views
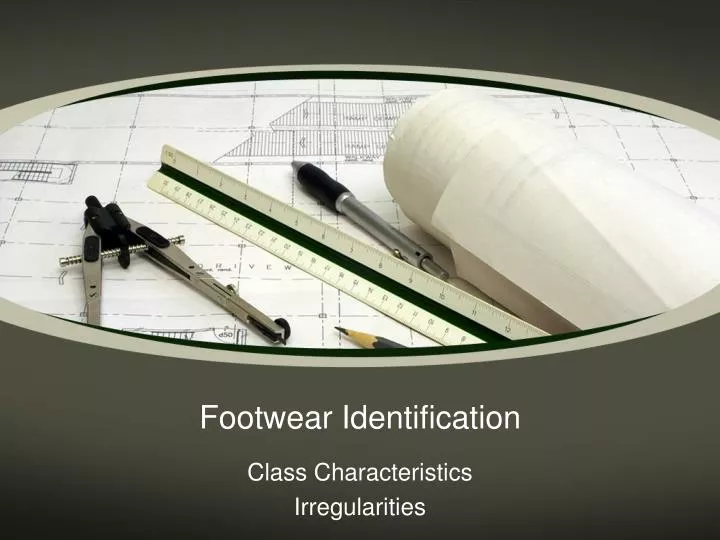
Footwear Identification. Class Characteristics Irregularities. Footwear Examination. To conduct a footwear examination :. The examiner must be able to detect class and random or unique characteristics of the questioned footwear impression.

E N D
Footwear Identification Class Characteristics Irregularities
Footwear Examination • To conduct a footwear examination: • The examiner must be able to detect class and random or unique characteristics of the questioned footwear impression. • Equipment: Accurate ruler, magnifier, bright torch, high resolution photographs
Footwear Examination • Class characteristics are characteristics that are common to a group such as shape, style, size and model. • Characteristics created from the manufacturing process
Footwear Examination • Random or unique or identifying characteristics are characteristics that happen by chance such as cuts in the sole or rocks imbedded in the tread of the shoe.
Intelligence • Brand • Model(s) • Season of introduction • Anything else, e.g. • from US • large sizes only • special range • All coded to assist search procedure in SICAR
Value of footwear - Evidence Class Characteristics – Mould features Footwear manufacturer, model and size: Examination of footwear impression for "Class Characteristics" such as general outsole patterns and shapes, footwear design features and feature markings can help examiners identify the manufacturer , model and size of the footwear. This Information can be used to help profile the suspect and provide leads on who may have bought or worn the footwear which created the impression. 1. Patterns – Do the patterns match? 2. Moulds – Different moulds can be used for the same pattern – Are these the same are they any specific differences or points of identification? 3. Size – Is the size the same – are there any differences which can be explained?
Value of footwear Evidence – Wearer information Approximate height and wearer: Measurements of footwear impression dimensions can be used to provide the approximate height of a suspect. With shoeprint size information, investigators can refer to statistical data to approximate the height of the person since shoeprint vs. height relationship follows a normal distribution. Height can also be approximate by stride length which could be measured from a set of footwear impressions. Sometimes a footwear size can be unusual which reduces the number of people wearing that specific shoe.
Unique Irregularities Size 7mm + with + 6 components – High evidential value Size 3mm + with 2+ components – Average evidential value High Value – 2 Dimensions on a cast Low value on a gelatine lift
Value of the Irregularity Similarity between Damage and Irregularity
Result of Shoe examination depending on the similarity of the irregularity in the shoe and the crime scene print H1 = value of 6 – 9 H2 = value of 3 – 6 M1 = value of 1.5 - 3 M2 = value of 0.8 to1.6 L1 = Value of 0.6 – 1.2 L2 = Value of 0.4 to 0.8 Add in wear similarity and walking pattern Identification = 8 or above Very Probable = 5.5 or above Probable = 3.0 or above Possible = 1.0 or above
Schallamach - Macro lens • In 1971, Schallamach discovered that friction of soft, elastomeric interfaces is often dominated by the onset and propagation of elastic instabilities in the form of surface waves. • The arrows in the lower right-hand corners depict the ridge spacing of the Schallamach pattern in the questioned footwear impression and the corresponding ridge spacing on the outsole of the known shoe.
Schallamach • The Schallamach pattern is a ridge-like design, similar to a fingerprint, that appears on the flat part of the shoe outsole. This pattern changes within 48 to 50 hours of continuous wear (Tart et al. 1996). Davis and Keeley (1997) conducted additional research and concluded the following regarding the Schallamach pattern: • Of the 258 footwear identifications made by the Metropolitan Police Forensic Science Laboratory from 1991 to 1994, 28 involved the Schallamach pattern. • The Schallamach pattern was observed mainly in the toe and heel area of the outsole, ran horizontally across the outsole of the shoe, and was not affected by the design of the outsole. • The ridge spacing of the Schallamach pattern varied from 0.05 to 0.5 mm. • Schallamach patterns were observed on two of the outsoles after less than 9 hours of wear. • The Schallamach patterns started to change completely after 6 hours of wear on one outsole and 16 hours on another outsole. • The Schallamach patterns observed from shoe to shoe were distinct. (Davis and Keeley 1997)
Test prints • Test print must replicate exactly how the crime scene mark was recovered • 2 dimensional – place a foot (of around the same size) into the shoe. Lightly spray the shoe with WD40 and walk across a piece of paper. Powder as required • 3 dimensional – take a cast of the shoe using Bio-Foam – or compare directly against the shoe with a crime scene cast.
Photograph a footwear cast • Do not over clean the cast – this can remove evidential characteristics • Light evenly on each side – side lighting • If required photograph the irregularities individually
Black Gelatine lift – Gel lifters All black gel lifts produce a mirror image – reverse before you do the comparison Invert the image to provide a white background with clearly visible footwear irregularities. Detail this information in the footwear case report and the court statement.
Footwear case report • Court Statement • Footwear examination report • 1:1 photograph of the shoe • 1:1 photograph of the crime scene mark • 1:1 copy of the test print from the suspect shoe • Overlay on the crime scene shoe high lighting the ‘Irregularities’ • Overlay of the crime scene mark high lighting the irregularities
Court Statement • Information about the examination required • The Crime Scene Mark • The suspect shoes • The interpretation • Appendix