Download

1 / 24
320 likes | 432 Views
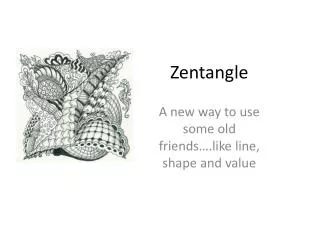
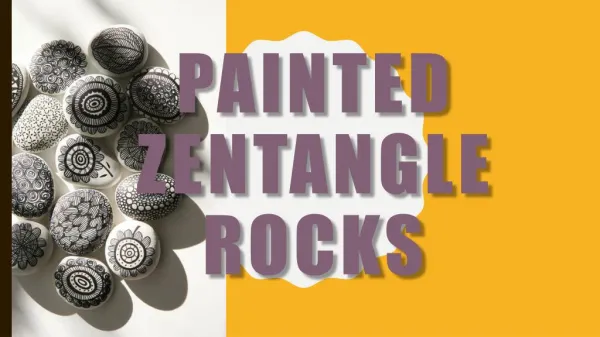
The Art of Zentangle. Andrea Donovan Central New Brunswick Academy Andrea.Donovan@nbed.nb.ca. Origins. Zentangling was first coined by Rick Roberts and Maria Thomas

E N D
The Art of Zentangle Andrea DonovanCentral New Brunswick AcademyAndrea.Donovan@nbed.nb.ca
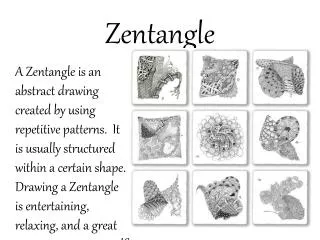
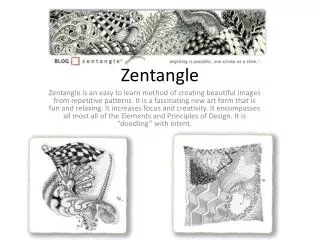
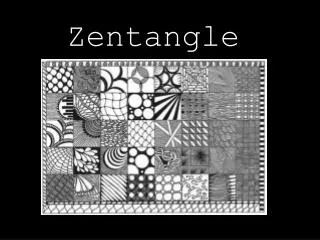
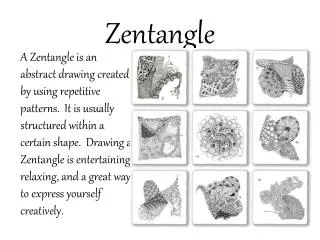
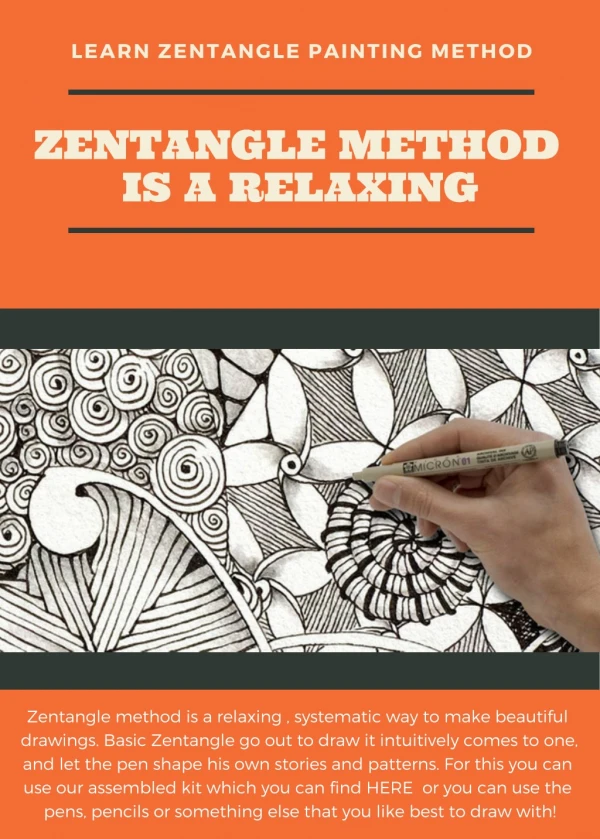
Origins • Zentangling was first coined by Rick Roberts and Maria Thomas • While drawing background patterns for a manuscript she was creating, Maria described a feeling of timelessness, freedom, well being, and complete focus on what she was doing with no worry about anything else. • Rick recognized this as a form of meditation and wondered if they could create a simple system so others could experience this as well.
Why Zentangle? • Relaxation • Journaling • Insomnia • Inspiration • Create beautiful art • Relieve stress • Nurture creative abilities • Increase attention span • Artistic warm up
Benefits in the Classroom • Promotes confidence in artistic ability • Increases concentration and focus • Reduces stress • Accessible to all skill levels • Creates moments of calm and peace • Fosters creativity and provides inspiration for other work • Students will create original work, no copying • Mistakes don’t matter!
This was created by a student who “would never be able to do art”
Necessary Materials • Fine point sharpies or other bold tip marker • Ultra find point sharpies or other suitable fine tip marker • Rulers • Paper That’s it! (though other items such as round objects, painting materials, etc, can help take it to the “next level”)
How Do I Teach This? • Start with an introduction to Zentagle, what it is, and the benefits of it • Show examples of various Zentangles • Give students 10 minutes to try it on their own • Teach “ideas” of how to fill in the space (I do 3 at a time) • Give students a chance to work on a good copy • After practice, invite them to explore various shapes or incorporations into other artwork • Consider having an “idea” board
General Tips • Keep work area limited or students will feel overwhelmed and/or avoid fine details I use a 10cm square to start. • Allow students to listen to music or put music on in the room (I do both). This allows students to let go and avoid over thinking. It also aids in stress reduction • Outline sections in bold marker, but use fine liner for details • Do NOT do in pencil! This creates extra work and defeats the purpose. • If using paint, apply paint first, then Zentangle.
Additional Resources • http://www.zentangle.com/ (general) • http://tanglepatterns.com/tag/zentangle (patterns) • http://zentangle.blogspot.ca/ (ideas for branching out) • Zentangle Basics, Suzanne McNeill. Available from Amazon.ca • One Zentangle a Day, Beckah Krahula. Available from Amazon.ca
Taking it Further • Add background colour • Tangle inside of shapes • Color in your tangles • Incorporate drawing, watercolour or acrylic • Be creative!
Ideas to Try • Apply a flat wash or use wet on wet technique with watercolour paints to make a background. When dry, Zentangle it! • Use a shape or cut out to create an image. Apply paint to the background as desired (watercolour or acrylics) and Zentangle in the image. • Draw a shape or image and Zentangle only portions of the image (like a collar on a dog, or hair on a girl) • Work with others to pass a Zentangle back and forth to make a Zentangle “quilt” or mural • Zentangle names or symbols • If a student is really keen, have them check out mandalas!
Let’s Do This! • Choose watercolour or acrylic for your background • Choose an image from the image bank to trace, or draw an original image • Zentangle within the image • Add colour if you wish! • Hairdryers provided to reduce dry time • I always suggest the background first • Please clean and return materials when finished