Download
1 / 14
150 likes | 318 Views
Photo Story 3 Project. How to use . Objective. How to download Microsoft’s Photo Story 3 to the computer. Introduction to Photo Story 3. Get started with Photo Story 3 Download digital pictures. Arrange pictures, put type to pictures. Add narrations to your project. Background music.

E N D
Photo Story 3Project How to use
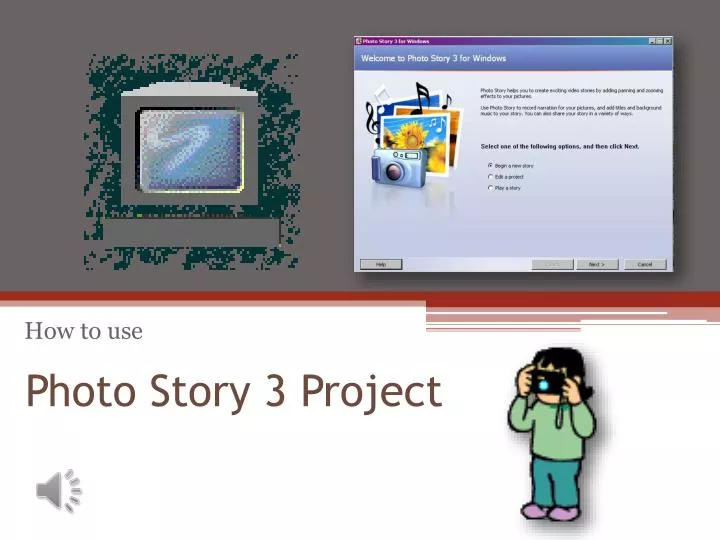
Photo Story 3 Project Objective • How to download Microsoft’s Photo Story 3 to the computer. • Introduction to Photo Story 3. • Get started with Photo Story 3 • Download digital pictures. • Arrange pictures, put type to pictures. • Add narrations to your project. • Background music. • Develop photo movement. • Create the video!
Photo Story 3 Project Get a free download of Photo Story 3 from Microsoft! • If your computer uses Microsoft Project you can get a free download software Photo Story 3. • Go to http://www.microsoft.com/en-us/download/details.aspx?id=11132 • and get started!
Photo Story 3 Project Downloading Photo Story 3 • Windows Photo Story 3 Setup Wizard will come up • Accept the agreement • Just follow the set wizard and you will receive Photo Story 3 FREE for your computer.
Photo Story 3 Project Introduction of Photo Story 3 • Photo Story 3 is a great way to show your digital pictures with movement and music. • Sharing your pictures of events your friends will enjoy. • Photo Story 3 is easy, creative and fun to do. • Lets get started!
Photo Story 3 Project Photo Story 3: Getting started • Click on the Start button on the taskbar on the bottom-left of the screen select “All Programs” and select “Photo Story 3. • The welcome screen will ask you three options: • Begin a new story • Edit a project • Play a story • Select the proper option. • Begin a new story.
Photo Story 3 Project Import your pictures • First, click on the import button and select the files that the pictures you want to download. • Select the pictures that you want to download to your project. • Don’t forget to use Ctrl or the Shift key to choose multiple pictures.
Photo Story 3 Project Arranging your pictures • Once the pictures are downloaded, now it is time to arrange your pictures in an order to tell a story. • Simply use drag-and-drop techniques to move pictures forward and backward. • Use the viewer to help you see your thumbnails better. • You can delete pictures or add more pictures at time as well.
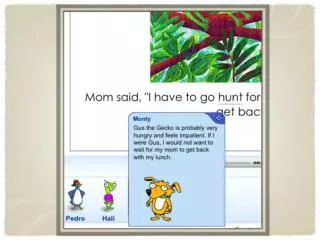
Photo Story 3 Project Narration of your project • With Photo Story 3 and a digital microphone you give a narration of your picture slides. • The large round button starts recording your voice for narration. • When you finish click on the stop button next to the recording. • Preview your slide for your narration to see if it is correct. • If not,click the Undo button and try again.
Photo Story 3 Project Create background music • If you want to use your favorite song from your I-pod, mpg or CDs you can download them to your project. • Simply click the first button • Select Music. • Photo Story has many prerecorded music to use for your project. • Select the second option • Create Music • If you want to change simply hit the third option and try again. • Delete Music • The music will load into your project. This could take a minute or two.
Photo Story 3 Project Saving your project • You can save your project in many different formats. To use in many different ways. You can save your project to use for the following: • The Computer • Your “Smart Phone” • Your I-pod or mpg • E-mail • Pocket PC, like Palm Pilot
Photo Story 3 Project Completing your project • The last window of your project is to decide to: • View your project • You will see your project like a video format, like Real Player or other formats • Create a new project • You can begin another project quickly and efficiently.
Photo Story 3 Project Lets take a look at a Photo Story 3 Project!
Photo Story 3 Project Enjoy working with Photo Story 3!