Download
1 / 13
130 likes | 275 Views
The Interactive Notebook. Why an “interactive” notebook?. Traditional notebooks simple require you to record information that is then expected to be memorized for formal quizzes and tests. You are not expected to necessarily understand what you are copying.

E N D
Why an “interactive” notebook? • Traditional notebooks simple require you to record information that is then expected to be memorized for formal quizzes and tests. You are not expected to necessarily understand what you are copying. • Monkey copying, memorizing, and regurgitating is not real learning! • Your teachers want you to really learn! • In order for you to truly understand and draw meaning from the information that you are writing in your notebook, you must actively do something with it. And that’s where the interactive notebook comes in!
The Cover Must say: SCIENCE Your Name Mr. Meyers Period Picture/Drawing Set-up your notebook cover like this…
Follow along, page by page very carefully to set up your notebook correctly. Table of Contents 1 Page# Topic Date 1-9 Table of Contents 8/22
2 Number your pages in the upper, outer corners of your notebook. Number the first 50 pages.
Flip to the back of your notebook. Count 10 pages in for your glossary. Start on the right side of the spiral and label this pageGlossary. This will be page A. This is where we will be adding vocabulary terms throughout the year. Glossary A
My Goals a Now count in another 2 pages from your glossary page. Label this page My Goals. This will be page a. The next 3 pages will be b, c, and d. Paste in your Qtr. 1 Goals on this page.
Label Post-It Notes With Glossary and My Goalsand add them to pages a and A. This will help you easily find both of these sections in your notebook.
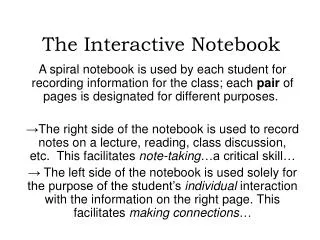
Input • The left-hand side of the notebook - the "input" side - is used for recording class notes, in-class worksheets, handouts-text, maps, graphs or charts. Most "testable" information will be found here. • You must write a page number on the top outer corner of every page.You will write these page numbers in the table of contents in the front of your book so you can find specific entries quickly.
Output • The right side - the "output" side - is used for processing ideas. You will work out your understanding of new material • You may be asked to use illustrations, Thinking Maps, journaling, etc. You will explore your opinions and clarify your values on controversial issues, wonder "what if" in hypothetical situations, and ask questions about new ideas. You will review what you have learned and preview what you will learn.
Don’t forget 3-15-11 Input Output Teacher-directed material e.g. notes Student-directed processing e.g. thinking maps 1 2
In conclusion • The BOTTOM LINE: Your notebook will become a portfolio of what you have actually learned. And once you truly learn something who knows what might come next!
Now you may work on your cover! Must say: SCIENCE Your Name Period Picture/Drawing