Download
1 / 28
280 likes | 488 Views
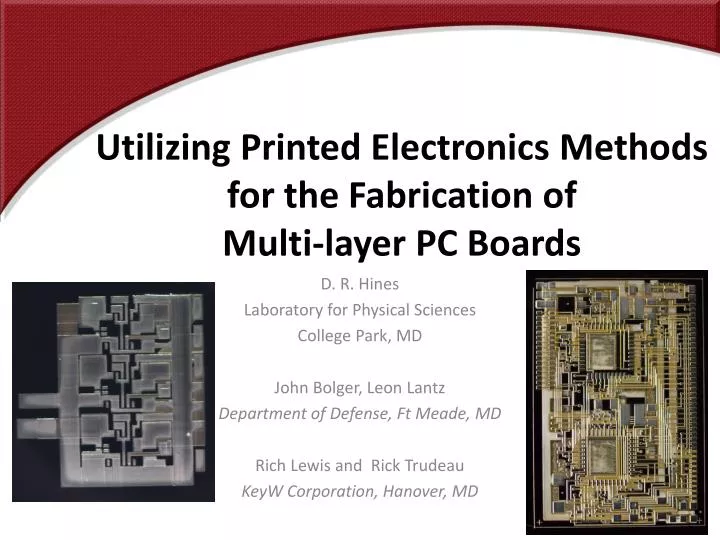
Utilizing Printed Electronics Methods for the Fabrication of Multi-layer PC Boards. D. R. Hines Laboratory for Physical Sciences College Park, MD John Bolger, Leon Lantz Department of Defense, Ft Meade, MD Rich Lewis and Rick Trudeau KeyW Corporation, Hanover, MD. Overview.

E N D
Utilizing Printed Electronics Methods for the Fabrication of Multi-layer PC Boards D. R. Hines Laboratory for Physical Sciences College Park, MD John Bolger, Leon Lantz Department of Defense, Ft Meade, MD Rich Lewis and Rick Trudeau KeyW Corporation, Hanover, MD
Overview • Goal: Demonstrate the capability of additive manufacturing to fabricate multi-layer PC boards on demand. • Utilize a 2-layer power supply design requiring a 1 Amp current carrying capability. • Print alternating layers of Silver nano-particle (AgNP) and polyimide (PI) inks. • Populate, functionally verify, and perform reliability testing of 14 boards.
Requirements layer 1 Metal Ink layer 2 Dielectric Ink 16 mm Electrical Current Requirement: 1 Amp 20 mm Feature Sizes: Biggest 2 – 5 mm Smallest 250 um Future Layers : Minimum Feature size & pitch <100 um
Printing Methods Syringe Ink-Jet Aerosol-Jet
Considerations for Materials Selections Drying/Sintering Temperature Droplet Formation Substrate Wettability Solvent Compatibility Thermal Compatibility
Materials • Polyimide coated SiO2/Si substrate • Ag nanoparticle ink • Solvents: IPA, Ethylene Glycol • Thermal: requires sintering at 255 ˚C to obtain resistivity 6 x 10⁻⁸Ω m • Polyimide ink • Solvent: NMP • Thermal: requires thermal cure up to 300 ˚C • Selected materials are stable to all solvent and thermal processing requirements
Print Parameters • Ag ink: • Print speed 3 mm/sec • Tip Diameter 150 um tip • Ink Stream Diameter 40 um • 200 pL/sec (est.) • PI ink: • Print speed 6 - 8 mm/sec • Tip Diameter 300 um tip • Ink Stream Diameter 180 um • 7000 pL/sec (est.)
Process Flow Board Fabrication Steps • Thermally oxidized Si wafer • Spin coated polyimide (5 um) • Cure: 255 ˚C, 90 min • First Metal Layer (5 um, 2 Passes) and sinter • Dielectric Layer (10 um, 2 Passes) and cure • Second Metal Layer (5 um, 2 Passes) and sinter • Mount substrate on carrier board • Stencil print conductive adhesive • Pick-and-place • Thermal Cure using reflow oven • Removal from Carrier board • Mounted on test board Component Assembly Steps
Pattern Fill Schema Printer Process Issues Aerosol-jet printing requirement for the fabrication of Solid Features Serpentine Fill Pitch Fill Border Perimeter Fill
Printed Test Structures Cartoon of Test Structure Ag nanoparticle Ink Sintered at 255 ˚C 40 mm wide line Polyimide Dielectric layer 200 mm wide line
Evaluation of Printed Structures Cross-sectional Measurements Printed Interconnected Layers Printed two-layer Structure Ag Ag PI PI Si Si
Evaluation of Printed Structures Width Measurements Number of Print Passes Measured Width, mm Targeted Width, mm
Evaluation of Printed Structures Thickness Measurements Number of Print Passes Measured Thickness, mm Targeted Width Targeted Thickness, mm
Evaluation of Printed Structures Resistance Measurements R = r L (1/A) = (6.4 ± 0.1)x10-8W m Resistance, W Calculated Measured Measured Area-1, mm-2
Evolution of 2-layer Board Design 1-layer Power Supply Board (Ink-Jet printed) 1st Gen 3rd Gen 2nd Gen
2-Layer Board Artwork Metal Layers and Interconnects Required connections ‘vias’ Bottom Layer Top Layer
2-Layer Board Artwork Creation of Dielectric layer Remove overlap at ‘vias’ Metal Layers overlap
Final Artwork 2-layer Power Supply Board Bottom Metal Layer Dielectric Layer Top Metal Layer
Build up of 2-layer Boards ~1 mm (26) 2-layer Power Supply Boards Fabricated and Submitted for Reliability Testing
Reliability Evaluation • Eight (8) boards in Temperature Cycling • 2000 cycles from 0 to 90 ˚C • Six (6) boards in HTOL @ 90 ˚C • Over 2200 hours to date • Six (6) boards to Enter Humidity Testing • 85 ˚C/85% RH
Performance Test Results After more than 2000 hours at 90 ˚C 14 Still Operational 2 Show fluctuations & 2 ‘Dead’ High Temperature Operational Life Testing at 90 ˚C Total of 18 Individual Voltage Regulators -
4-Layer Boards - Original Artwork Dielectric 3 Dielectric 2 Dielectric 1 Metal - Sig2 Metal - Bottom Metal – Sig1 Metal – Top
4-Layer Boards - Direct-write Artwork Dielectric 3 Dielectric 2 Dielectric 1 Metal - Sig2 Metal - Bottom Metal – Sig1 Metal – Top
Future Work • Continue reliability evaluation (2-layer boards) • 85 ˚C/85% RH • Fabrication of 4-layer boards
Printed Capacitors Dielectric constants of high-k Materials SiO2 3.9 Al2O3 9 HfSiO4 11 ZrO2 25 HfO2 25 Ta2O5 27 La2O3 30 LaAlO3 30 Nb2O5 35 TiO2 30–40 (Anatase), 80–100 (Rutile) BaTiO3 1700 SrTiO3 2000 Pb(Zr,Ti)O3, (Pb,La)(Zr,Ti)O3 2500 CaCu3Ti4O12 80 000 C = r 0 (A/d) M. Osada and T. Sasaki, Adv. Mater. 24, 210 (2012)
Integrated Components Power Supply Layers Capacitor Interconnect layer Si Capacitors as Substrate
Hybrid Printed Electronic Device on Kapton Source Drain Ag Nanoparticle Ink 2x4 array of 200 nm Thick Si Semiconductor Elements Transfer Printed onto a Kapton Substrate Next Step: Add dielectric Layer and Gate Electrode.