Download

1 / 20
200 likes | 284 Views
How to Register for classes on OASIS. Go to http://www.usf.edu Click “OASIS” on the right menu. Click “Log In”. Enter your USF Net ID and click “Sign In.”. Click “Student”. 1##########.

E N D
How to Register for classes on OASIS
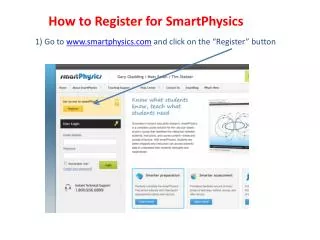
Go to http://www.usf.edu Click “OASIS” on the right menu
Click “Student” 1##########
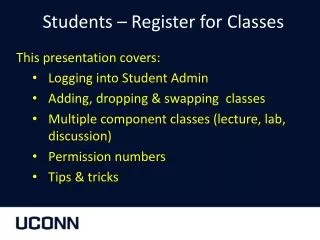
First, determine your registration status. Any holds you have will prevent you from registration. You must take care of these first. You will also be able to view your assigned registration date via the “Registration” option as shown below.
Click “Registration Status” to viewyour holds and registration date.
Any holds or other items preventing registration will appear on this screen.
Now that you have taken care of your holds, you can begin your class schedule search.
Start by selecting the appropriate term and campus from the drop-down menus. Select appropriate term Use this if searching for an online class Choose your campus
As you will find, there are several different criteria you can use when searching for a class. The easiest way is to enter the course subject and number as indicated below. Choose a subject (Ex: ENC) Enter a course # (Ex: 1102)
The “Status” option allows you to search for open, closed or “All” sections of a class. The default setting selects the status of your search as “Open” to display only classes that have seats available. Search for open, closed or select “All” to view a full list of courses
You can also search for courses that meet a specific requirement. If you choose this option, leave the subject and course number fields blank above.
Once you have decided which section of the course you want to add to your schedule, you will need to make note of the “course reference number” also known as the CRN # or REF #.
You are now ready to register for classes. At the “Registration” screen, select the “Register, Add or Drop Classes” option.
Enter the CRNs for the courses you want to add and then click “Submit Changes.”
Once you have submitted your course additions, the next screen will list your schedule of classes as seen below.
To view and print your schedule, return to the Registration menu and click “Student Detail Schedule.”
Now print your schedule by right-clicking your mouse and selecting “Print”.