Download
1 / 19
190 likes | 283 Views
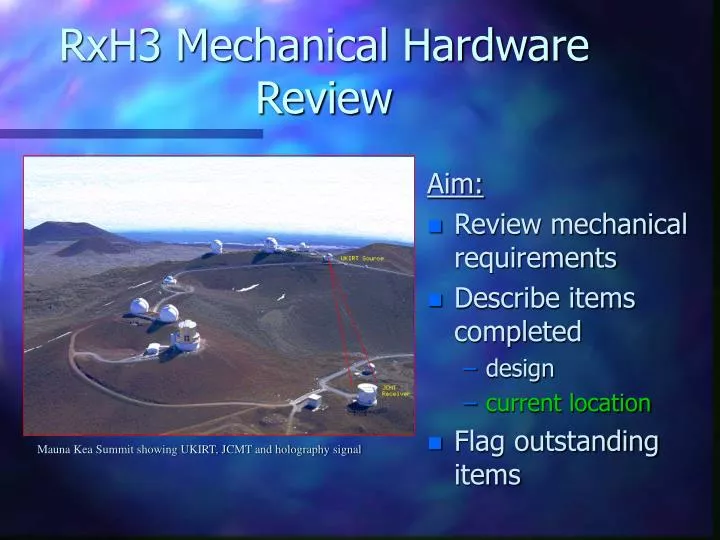
RxH3 Mechanical Hardware Review. Aim: Review mechanical requirements Describe items completed design current location Flag outstanding items. Mauna Kea Summit showing UKIRT, JCMT and holography signal. Overview of Components (Main supplier ID in brackets). Source (RAL/MRAO)

E N D
RxH3 Mechanical HardwareReview Aim: • Review mechanical requirements • Describe items completed • design • current location • Flag outstanding items Mauna Kea Summit showing UKIRT, JCMT and holography signal
Overview of Components(Main supplier ID in brackets) • Source (RAL/MRAO) • Source mount (JAC/MRAO) • Receiver (RAL/MRAO) • Receiver Mount (JAC/RAL) • Optical Relay Mount (JAC) • Optical Relay Mirror (MRAO) • Infrastructure (JAC)
Source • Source • Built and at MRAO. • Source Mount (Adjustable). • Designed • Built and at MRAO
Source Mount • UKIRT wall hole & bracket • bracket designed & on order at JAC ($460) • hole to be ready by end Nov.99 ($800?) • 6” dia. • 8.6 deg down angle
Source WindowAim : duplicate existing hole & window • Problem: no documentation on window/frame • Window either 6mm PTFE or Gore-Tex membrane. • Frame & sealant non-critical. • Required: • Design check (IP) • Window/clamp design & order by Nov.99 • Cost ~$100-200
Receiver RxH3(built and at MRAO) View on front View on side
Receiver Mount in JCMT Rx Cabin • Cabin Mounting arms LH & RH (JAC). Built and at JAC (micro lab) • Receiver base (Made by RAL, at MRAO, ships with RxH3). Slider Arm Dowel Although true rack sliders have not been provided, the design allows for a sliding interface of RxH3 on it’s baseplate and the interface rail (blue).
Optical Relay The optical relay is one of the most complex areas of the JAC infrastructure in terms of geometric layout and alignment requirements. Four slides detail this area: • Initial Survey • Design • Components • Hole Cutting & Alignment Procedure
Optical Relay: Survey • initial calc and sketches by REH • IP ‘string & wire’ survey • final calcs • 3D CAD design
Optical Relay: Design Mirrors (2) Mirror mounts (2) Mounts in JAC microwave lab Mirrors: 1 in JAC micro lab, 1 at summit in Receiver Prep Room
Optical Relay: Hole Cutting & Alignment Procedure • Install Mounts • Align to nominal dimensions and positions • drill and tap structure for mounting bolts • Add mirrors to mounts • Hole Cutting • position RxH3 in bay and identify rough hole loc’n and/or infer from drawing geometry. Cut hole. • Cut hole in right place • Align mirrors (on holey panel centre) • by eye initially : check mirrors see hole etc • install RxH3 and use laser to align optical axis • Check no obstructions to beam • structural members (Echo-sorb?) • cables • Surface Electronics
Mechanical Infrastructure Miscellaneous infrastructure includes: • The “Holey-Panel” which the reference holography beam passes through. • A move of the IF patch panel required to provide space for RxH3. This required re-design work. • A mount to allow the RxH3 control micro to be located in the cabin.
Infrastructure: Holey-Panel re-installed in 1998 Also Required: Panel insulation & echo-sorb (on order)
Infrastructure: Patch panel • design new patch panel for lower bay (done) • Manufacture (done) • Install & swap over (Rx cabin installation in progress Oct.99)
Infrastructure: Micro-Mount • Mount for RxH3 control micro. • Locates just above patch panel • Shared micro with Surface control electronics • Built and at JAC (microwave lab) Micro mount additional space Interface to Rx cabin rails
Summary of outstanding items: • Source • Hole cutting • Hole Window • wall bracket • When RxH3 arrives • Cut hole in Rx cabin roof • Mount mirrors & align