Download
1 / 17
210 likes | 389 Views
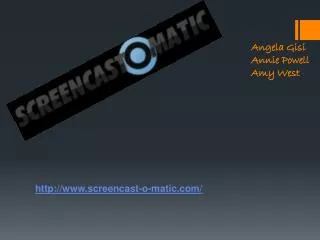
Using Screencast-O- Matic For Tutorials. A Presentation By. Darrin Jones. First, go to. www.screencastomatic.com. Click here to begin screencasting. If you get a message regarding a Java update, update Java and return to Screencast-O- Matic .

E N D
Using Screencast-O-Matic For Tutorials A Presentation By Darrin Jones
First, go to www.screencastomatic.com
Click here to begin screencasting If you get a message regarding a Java update, update Java and return to Screencast-O-Matic.
The small boxes around the perimeter allow the recording area to be re-sized. The recording area can also be re-sized through pre-loaded screen sizes on the control bar. This line marks the recording area.
The Control Panel Record Button Microphone Volume Adjustment—Clicking the Auto Adjust Volume Button will suffice for now. Webcam Button—To have the webcam on during the screencast. Microphone Button—for choosing the microphone to be used during the recording Recording Area size choices Exit Screencast-O-Matic
When you are ready to record, enter the address of the page you will begin your tutorial with. This can be a web page or anything else that is on your screen.
Then be sure that you have checked the volume on your microphone.
When you are finished, you can click Pause, Restart, or Done. Clicking Done will take you to the publishing screen.
This screen allows you to preview and publish your screencast. Publishing to SOM requires setting up a free account with Screencast-O-Matic, which allows you to save multiple videos on their server. Publishing to YouTube HD allows you to publish your video directly to YouTube, provided you have a Gmail or YouTube account. Publishing to a Video File allows you to save your file to your computer. For this presentation, we’ll take a look at Publishing to a Video File
You can choose from MP4, AVI, FLV, or GIF Choose to create a Captions file Or add or take out some various options.
Advanced features