Download
1 / 17
170 likes | 323 Views
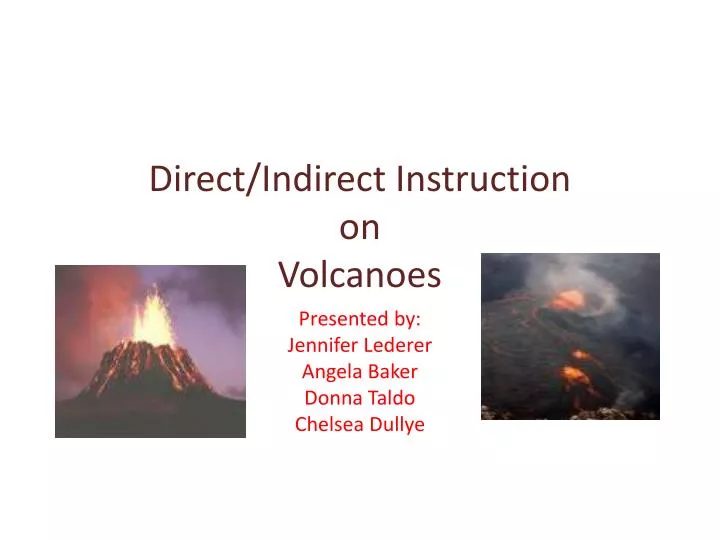
Direct/Indirect Instruction on Volcanoes . Presented by: Jennifer Lederer Angela Baker Donna Taldo Chelsea Dullye. Subject: 3 rd G rade Science Direct Instruction.

E N D
Direct/Indirect Instructionon Volcanoes Presented by: Jennifer Lederer Angela Baker Donna Taldo Chelsea Dullye
Subject:3rdGrade ScienceDirect Instruction Behavioral Objective: The Student will name the different parts of volcanoes and types of lava when given a unit quiz with 80% accuracy.
Anticipatory Set: • The teacher will start the lesson with a video clip of a volcano exploding. Then the teacher will assess prior knowledge by asking students questions how much they recall about earthquakes to tie it in to how volcanoes are formed. Where does one find a volcano, and what comes out of an erupting volcano. Based on the responses, the teacher will review or continue on with the lesson. http://www.youtube.com/watch?v=bgRnVhbfIKQ&feature=PlayList&p=CA0FA260FB461961&index=1
II. Input: • The teacher will introduce different parts of volcanoes, types of lava, pass out lava rock samples and pass out a visual display (physical model) for the kids to see. The teacher will work with the class using the PowerPoint to help them label the parts of a volcano and lava using hyperlinks to active webcams.
III. Modeling: The teacher compares the different parts of volcanoes and types lava on the blackboard and explains that the students now have to compare and contrast with a graphic organizer worksheet.
Checking for Understanding: • The students are provided with a crossword puzzle that contains vocabulary words from this lesson. The students can work individually or with another student to complete the puzzle. The teacher will walk around the classroom and guide students as needed.
Guided Practice • The students are grouped at computer stations and are asked to look at the before and after pictures of Mount St. Helens from a specified website. The students are asked to write down the differences they see from the before and after using the new vocabulary words provided from the input lesson. The teacher will have a class discussion about the results.
Closure • After the discussion ends, the teacher will review key points of volcanoes, the different parts of volcanoes, the lava varieties, and how volcanoes change the landscape, based on the previous exercise of naming the parts. The teacher will go write on the board specific vocabulary words that are singular to this lesson and their definition. A quiz will be given after a review to make sure students have an understanding of the content.
Independent Practice: • The students take home a worksheet on labeling the parts of a volcano to be competed within the week and brought back to school to reinforce their learning.
Lesson Review Use the terms in the box to label the parts of the volcano. magma lava vent crater cone dust, ash, and rock
Indirect Instruction Creating a Volcano
Anticipatory Set • Hook: Riddle – I am the red tongue of the Earth that buries cities what am I? (Lava from a volcano). • Discuss and review prior knowledge from direct instruction lesson plan about volcanoes • State objective- Today you will be given to opportunity to create your own
Input • Explain to the students that they will be creating their own volcano using the knowledge they have recently learned. Show all the materials available to make the volcanoes and pass out rubric clearly explaining what will be expected of them.
Rubric • Crater is labeled (1 pt) • Summit is labeled ( 1 pt) • Conduit is labeled (1 pt) • Student showed creativity and used a variety of materials (1 pt) • Volcano is clearly named (1 pt) • Brief paragraph about the volcano that has 2 or less spelling/punctuation/ grammar errors (1 pt) • Paragraph describes the type of volcano (dormant, active, extinct) (1 pt) • Paragraph includes location of the volcano (1 pt) • Paragraph includes some history about their volcano ( ex- past eruptions, age, what caused the volcano) (1 pt) • Student showed effective use of class time
Check for Understanding and Closure • Check for Understanding: The teacher goes around to each student making sure the students are staying on task and answering any questions. • Closure: After the students are done with their volcano they will put it on the display table. Students will be given time in class to walk around and read about each volcano.