Download
1 / 34
510 likes | 699 Views
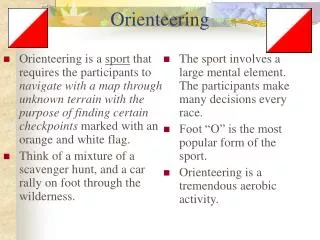
Introduction to Orienteering. Agenda. Introduction to Orienteering An Orienteering Course Orienteering Maps Basic Techniques How to get started Questions. What is Orienteering all about?.

E N D
Introduction to Orienteering
Agenda Introduction to Orienteering An Orienteering Course Orienteering Maps Basic Techniques How to get started Questions
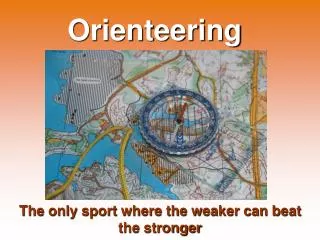
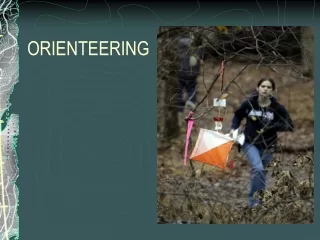
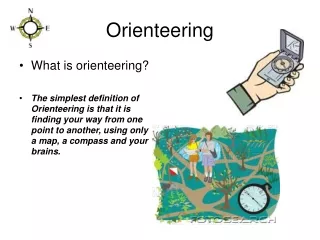
What is Orienteering all about? Navigate to a series of points (controls) shown on a specialized topo map, choosing routes - on or off trail - that will help you find all the controls and get to the finish.
How did Orienteering develop? Began in Scandinavia around 1900 - Exercises in land navigation for the military Gradually spread throughout the world - Kjellstrom brothers (founders of Silva) exported Orienteering to UK and USA - Silva Holds the Trademark for Orienteering Now practiced on six continents - World championships held every year - Millions of competitors each year
Who goes Orienteering Kids – Learning to read maps – Through Scouts, building team work and earning merit badge – Through School and through the Cadet Corps • Families exploring a new (or familiar) park • Outdoors lovers looking for a change • Hikers looking to improve their navigational skills • Adventure Racers wanting to get a leg up on the competition • Seniors looking to stay healthy • Businesses looking for team building activities • Competitive Orienteers addicted to the challenge
Where are Orienteering events held? • Forests • State and Regional Parks • City Parks • Suburban neighborhoods • School / University campuses
What am I looking for? • Orange and white “Control” • Clue-sheet (words or symbols) tells you exactly where the control is and the control number • Number on the control confirms you are at the right one • Use the punch on the punch card to prove you visited the site
What is a clue-sheet for? • Tells you exactly where inside the circle the control is • Two versions with the same information: Words (beginners and intermediate) Symbols (advanced) Distance and climb Order of control Distance and climb Control location inside the Circle on the map
What does the punch card look like? Finish: _____:_____ Start: _____:_____ Time : Name: ___________ Course: __________ Class: ___________ License: _________ Name: ______________ Course: _____________ Class: ______________ License: ____________ Finish: ______:______ Start: ______:______ Time :
Example Course Start is at the center of the triangle Controls located at the center of the circle Complete controls in order Finish is at the center of the double circle
Orienteering • 3D representation of terrain for fine land navigation • 1:5,000-1:15,000 • Typically 5m • Magnetic North (no declination required!) • None • Aerial base map, extensive land survey • 1-5 years • Highly accurate USGS • 3D representation of terrain for general purposes • 1:24,000+ • 25 feet or greater • True North • Coordinates, altitude shown • Primarily aerial photography • 10-50 years • Often very inaccurate Purpose Scale Contour interval Orientation Grid/references Survey method Update period Accuracy How do Orienteering maps differ fromUSGS maps?
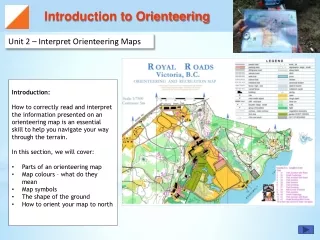
Orienteering MapLegend • Man-made features primarily black • Rock features black • Contour features brown • Open areas yellow • Forest white, thicker vegetation green • Water blue • Courses and restricted areas purple
Navigational Techniques • Orient the map using a compass • Visualize the terrain from the map • Recognize where you are on the map from the terrain • Plan your route and check off features • Taking a bearing (more advanced) • Aiming off (more advanced) • Attack point (more advanced) • Traffic lights (more advanced) • Pace counting (more advanced)
Techniques: Orienting the map 1. Place the compass on the map 2. Turn the map so the RED (North) compass needle points in the same direction as the North lines on the map THE MAP IS NOW ORIENTED – Features on the ground will be aligned with the map • Tip: Try to keep the map oriented all the time (need to turn the map as you change direction) • Tip: Fold the map over so only the portion of the map you are interested in is visible
Technique: Recognize where you are on the map from the terrain
Some advanced techniques Aiming off – if taking a bearing to a line feature, ‘aim off’ to one side or the other so once you hit the line feature you know whether to turn left or right to find the point feature Plan your route in reverse – identify an easily recognizable attack point to hit that you can use to ‘attack’ the harder to find control feature Traffic-light approach – Go fast (green) when looking for large, easy to identify features (a major trail junction – Go steady (yellow) when looking for smaller, harder to identify features – Go slow (red) when looking for small, easily missed features Pace counting – when the terrain is vague and you want to ensure you don’t go too far/stop too early
Advanced techniques: Taking a Bearing 1. Lay compass on the map 2. Line up the base-plate with direction you want to go in 3. Turn the dial so the North marking on the dial is aligned with the North markings on the map 4. Turn the compass so that the North needle is pointing in the same direction as the North marking on the dial. The direction on the base-plate is the direction of travel • Tip: You only need to take bearings when there are no reliable mapped features to navigate by. Don’t overuse!
What are the different colors of courses? • White – beginners courses, follow trails and other linear features. Good for first timers and kids age ~9- 12. 1.5 – 3.0km • Yellow – controls in less obvious locations, more off-trail. A great next step after successfully trying white course. 2-4km • Orange – Intermediate controls that require cross-country travel. Can be quite challenging, physically and mentally. • Brown, Green, Red, Blue – Advanced courses with the most demanding navigational requirements. NOT RECOMMENDED until some success with orange. Different lengths from Brown up to Blue (longest)
What should I wear? Beginner (white/yellow) • Sun hat • Layered top • Compass • Long or short pants • Sturdy shoes
What should I wear? Intermediate/advanced • Lightweight nylon top • Lightweight nylon pants • Compass • Gaitors • Shoes with cleats or short spikes
Does Orienteering damage the land? • Orienteers go off trail, raising environmental concerns • We care deeply about the parks we use • Actual environmental impact is very low and short-lived – Not using pristine wilderness areas – Work with park rangers to avoid sensitive areas – Courses visit different controls – dispersed impact – Affected areas recover within weeks at worst – Low impact confirmed by scientific studies • Orienteering builds a tremendous love and respect for our environment
What about safety • ALWAYS REPORT TO THE FINISH whether you complete your course or not • ALWAYS RETURN TO THE FINISH BEFORE THE COURSE CLOSING TIME whether you complete your course or not • Carry a whistle • Know your limits (physical and navigational) and stay within them • Take precautions if allergic to poison oak, bee stings, etc.
Are there different ‘flavors’ ofOrienteering? • Point-to-point (standard) • Score-O • Rogaine (Adventure Orienteering) • Ski-O • Many other minor variations, but all involve maps and navigation
What’s new in Orienteering? • Computer mapping – Continuously updated maps – On-demand printing • Electronic punching – Split times for each leg • Tracking competitors in real-time – A few demonstrations so far