Download
1 / 13
250 likes | 466 Views
Orienteering. What is orienteering? The simplest definition of Orienteering is that it is finding your way from one point to another, using only a map, a compass and your brains. Orienteering. Should I run or walk?

E N D
Orienteering • What is orienteering? • The simplest definition of Orienteering is that it is finding your way from one point to another, using only a map, a compass and your brains.
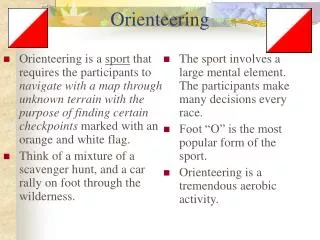
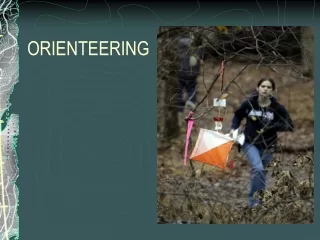
Orienteering • Should I run or walk? • Orienteering can either be a race, or a casual recreational activity, depending totally on your own attitude towards the event • At typical events, you will find people of all inclinations and athletic abilities. • Orienteering is considered a competitive sport by some • the winners being the ones who've been to all the control points in the least amount of time, usually running the whole way. But, it's also considered a recreational activity by casual walkers.
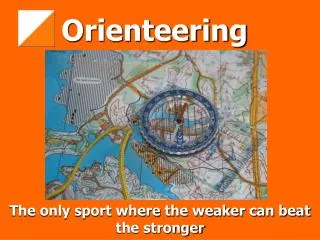
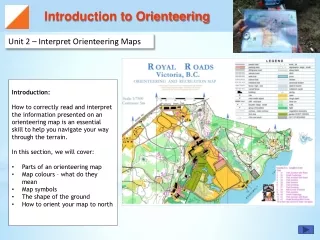
Orienteering • Maps • Orienteering maps use five standard colors. • Blue - water features like lakes, ponds and streams. • Black - man-made objects or rock features like roads, trails, buildings, cliffs, boulders. • White - open woods you could run through • Green - thick vegetation (light green) or fight (dark green) that you might want to avoid • Yellow - open land, semi-open land, where you can look up and see the sky like fields or power lines. • Brown/red - land features like earth banks or contours
Orienteering • Scale • Scale refers to the relationship between the size of the map and the actual size of area that is mapped, or relative distance. • When you first start Orienteering, one way to simplify scale is to use your thumb to measure the distance between two easy to find points, like the start and end of a parking lot. Then walk that distance and count how many times your left foot hits the ground • This gives you an easy way to "eyeball" the relative distance on your map.
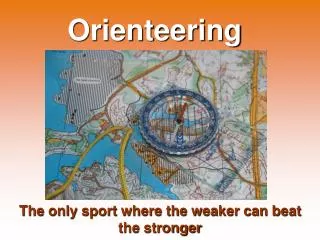
Compass • How do you navigate? By using a compass
Compass markings • The first thing you need to learn, are the directions. North, South, East and West. Look at the figure and learn how they are. North is the most important. • You see this red and black arrow? We call it the compass needle. Well, on some compasses it might be red and white for instance, but the point is, the red part of it is always pointing towards the earth's magnetic north pole. Got that? That's basically what you need to know. It's as simple as that.
Using the compass • To read your compass, • Hold your compass steadily in your hand so the baseplate is level and the direction-of-travel arrow is pointing straight away from you. • Hold it about halfway between your face and waist in a comfortable arm position with your elbow bent and compass held close to your stomache. • Look down at the compass and see where the needle points.
Using the compass • Turn your body while keeping the compass right in front of you. • Notice that as the compass rotates, the needle stays pointing the same direction. • Keep turning until the needle points East like the picture below, keeping the direction-of-travel arrow and North mark facing straight in front of you
Using the compass • Important: This is a very common mistake! The compass needle is pointing towards East so I must be pointing East, right? No, no, no!To find my direction, I must turn the compass dial until the North mark and the "Orienting Arrow" are lined up with the North end of the needle. Then I can read the heading that is at the Index Pointer spot (the butt of the direction-of-travel arrow).Since the Orienting Arrow is usually two parallel lines on the floor of the compass housing, a good thing to memorize is: • RED IN THE SHED
Take a bearing • Take a Bearing • By simply moving your compass with your body and using the N-E-S-W markings, you can get a good idea which way you are going. This is often all you need from your compass. But, you've probably noticed on your compass, there are also numbers and tiny lines. These represent the 360 degrees in a circle that surrounds you no matter where you are.
Examples • When you need to find your way from one particular place to another, you need to use these numbers to find out the bearing to that remote place. The direction you are going is called your heading. Heading and Bearing are pretty much the same thing. The image above is a heading of about 250 degrees. • Using your compass, take a few bearings. Move your body until the direction-of-travel arrow points at the following items and then turn the dial until "RED is in the Shed". Then, read the bearing at the Index Pointer: • Split into four sixes – each six go to each corner of the gym • Find North. • Find the bearing to the next corner • Write the bearing down • Proceed to the next corner and find the bearing to the next corner
Red # 3 Blue #4 Green #1 Yellow #2 Red # 2 Blue #3 Green #4 Yellow #1 GYM AREA Each six color goes to their start point #1 Each six then takes a bearing to the next point Red # 4 Blue #1 Green #2 Yellow #3 Red # 1 Blue #2 Green #3 Yellow #4
Bearing chart (each six to complete) • Six _____________ • Bearing from #1 to #2 ________ • Bearing from #2 to #3 ________ • Bearing from #3 to #4 ________ • Bearing from #4 to #1 ________ • Bearing from #1 to #3 ________