Download
1 / 7
70 likes | 76 Views
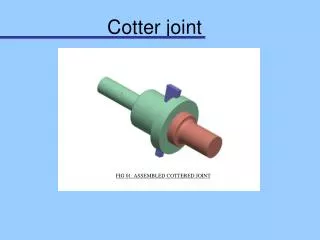
Cotter joint. FIG 01: ASSEMBLED COTTERED JOINT. F. TENSION FAILURE. F. Cotter joint – modes of failure. FIG 02: STEEL SPIGOT BREAKING IN TENSION OUTSIDE THE JOINT. TENSION FAILURE. FIG 02: STEEL SPIGOT BREAKING IN TENSION OUTSIDE THE JOINT. FIG 05: SPIGOT BREAKING IN TENSION ACROSS SLOT.

E N D
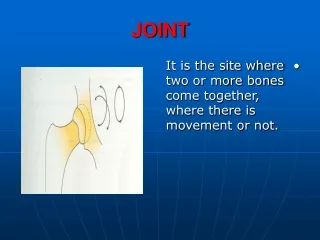
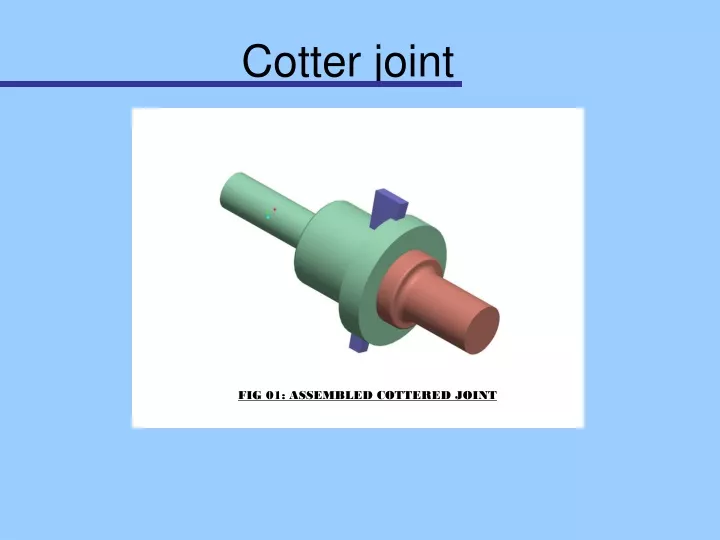
Cotter joint FIG 01: ASSEMBLED COTTERED JOINT
F TENSION FAILURE F Cotter joint – modes of failure FIG 02: STEEL SPIGOT BREAKING IN TENSION OUTSIDE THE JOINT
TENSION FAILURE FIG 02: STEEL SPIGOT BREAKING IN TENSION OUTSIDE THE JOINT FIG 05: SPIGOT BREAKING IN TENSION ACROSS SLOT WROUGHT IRON ROD BREAKING IN TENSION OUTSIDE THE JOINT Cotter joint – modes of failure
TENSION FAILURE Cotter joint – modes of failure FIG 07: SOCKET BREAKING IN TENSION ACROSS SLOT
SHEAR FAILURE FIG 06: DOUBLE SHEARING OF COTTER PIN FIG 09: DOUBLE SHEARING OF SOCKET END Cotter joint – modes of failure
SHEAR FAILURE FIG 11: SHEARING AWAY OF THE COLLAR IN THE SPIGOT FIG 12: SHEARING AWAY OF SOCKET (IF dw < dl) FIG 10: SHEARING OF SPIGOT END Cotter joint – modes of failure
BEARING FAILURE FIG 04: CRUSHING OF COTTER PIN AGAINST ROD END FIG 08: CRUSHING OF COTTER PIN AGAINST SOCKET Cotter joint – modes of failure