Download
1 / 21
210 likes | 217 Views
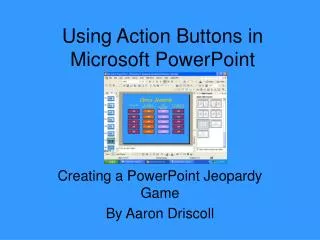
Action Buttons. Link to another place in your presentation Link to web pages, videos, etc. Interactivity – gives the viewer a choice of what happens next, lets you make quizzes etc. Adding an Action Button. Select the Slide Show drop-down menu. Select Action Buttons

E N D
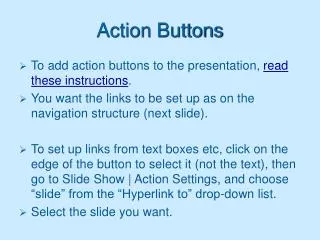
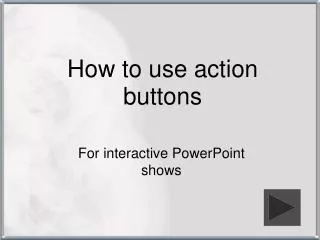
Action Buttons • Link to another place in your presentation • Link to web pages, videos, etc. • Interactivity – gives the viewer a choice of what happens next, lets you make quizzes etc.
Adding an Action Button • Select the Slide Show drop-down menu
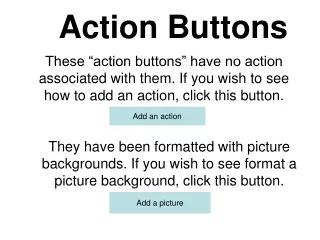
Select Action Buttons • A menu will appear with the different buttons available. • Hover over each once Select the one you want to see what it does.
Click on the slide where you want the button to go. • You can drag and drop the button and/or resize it. • Right click on the button for hyperlink options etc.
Custom Animation • Right click on the object you want to animate • Select Custom Animation • A new menu will appear on the right hand side of the screen
Use the Add Effect button to pick an effect • Preview the effect by pressing Play (bottom right)
Adding Sounds and Movies • Open the Insert drop down menu • Select Movies and Sounds • Pick the type of file you want to add • Drag and drop the icon, adjust it’s size etc.
Recording your own sounds • From the Movies and Sounds menu, pick Record Sound • Name your file and record the sound.
Click OK. A sound icon will appear on the slide. • You can edit the sound (volume, looping etc.) by right clicking it.
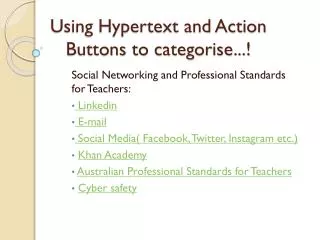
Hyperlinks • A hyperlink allows you to link up a word/picture etc. to a web page, another slide, a video, a sound etc. etc. etc.
To hyperlink a word, highlight the word and then right click on it. • For any other object, right click on it. • From the drop down menus that appear, click on Hyperlink
Hyperlinked words will appear in a different colour and underlined • Pictures can be hyperlinked too
Home Help Information Custom Previous slide End Next slide Start Video Return Document Sound
You can use action buttons to return to the last slide viewed
Points to remember • Always keep video / multimedia clips in the same folder as the PowerPoint (otherwise they won’t run) • Use custom animation to make it more visual