Download
1 / 2
20 likes | 24 Views
https://issuu.com/luxurybathroomtiles/docs/leather_tiles_-_luxury_and_elegance - Although a professional tiler may have years of experience when it comes to fitting wall tiles, the average DIYer can obtain a professional looking finish if they have the right tools, some clear instructions and a bit of patience. Even if you have absolutely no experience you should be able to complete a small to medium sized bathroom in a weekend and it can add a really fantastic finish to the room plus ceramic tiles also provide a waterproof barrier.

E N D
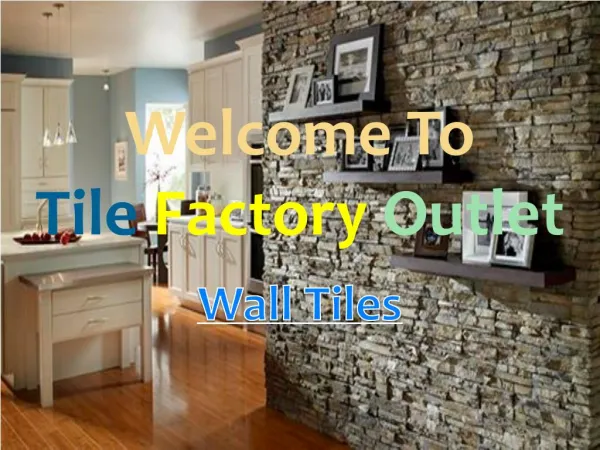
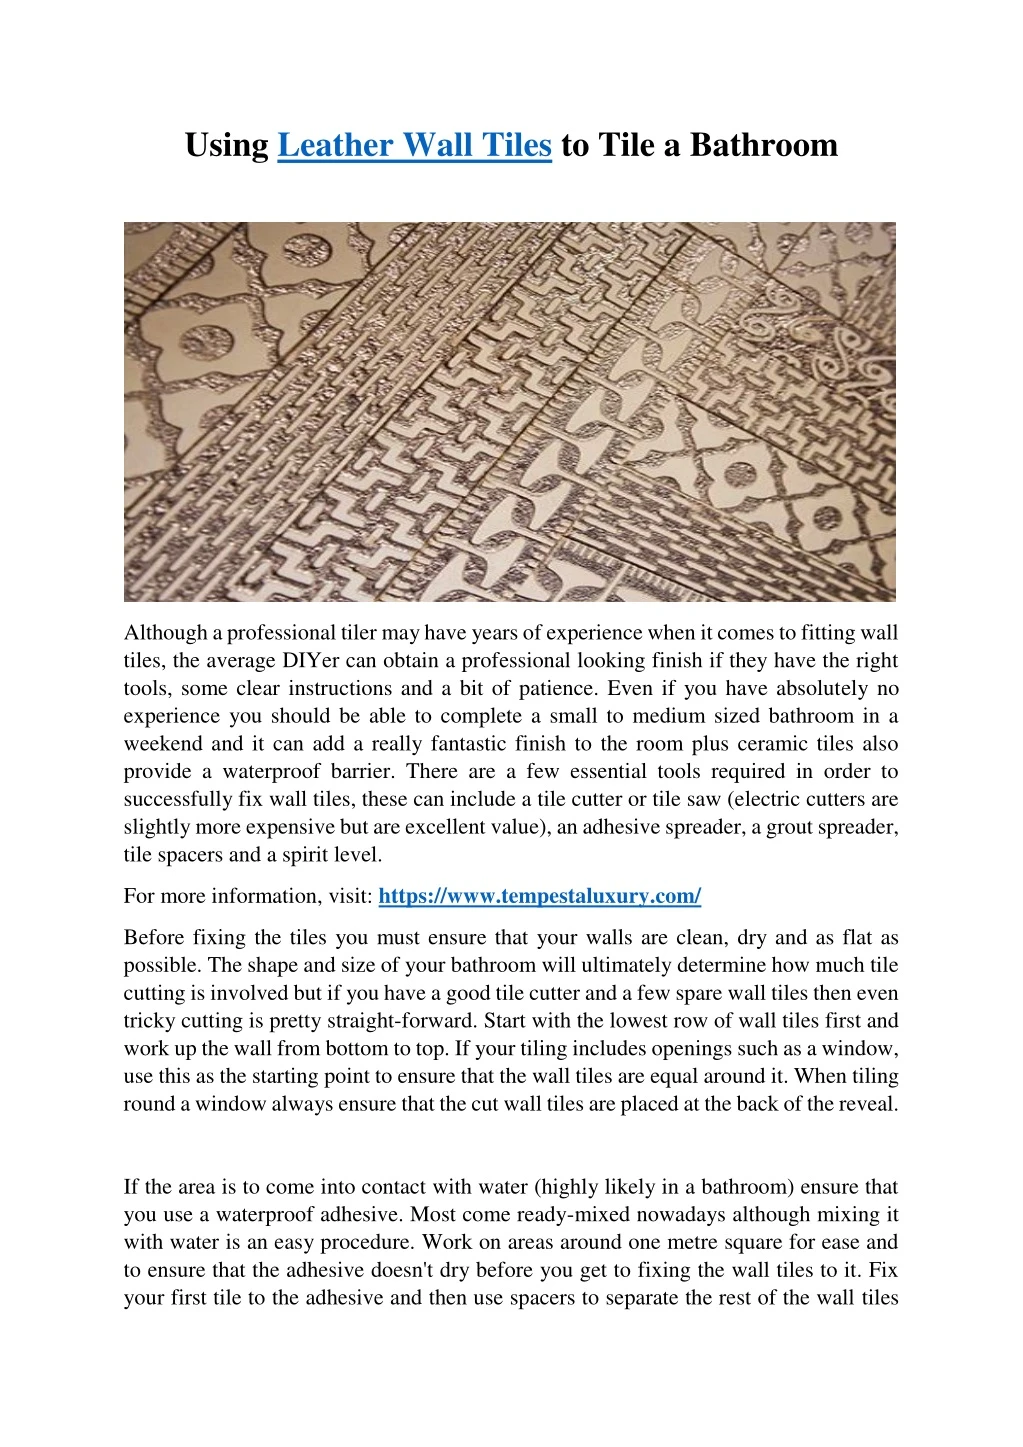
Using Leather Wall Tiles to Tile a Bathroom Although a professional tiler may have years of experience when it comes to fitting wall tiles, the average DIYer can obtain a professional looking finish if they have the right tools, some clear instructions and a bit of patience. Even if you have absolutely no experience you should be able to complete a small to medium sized bathroom in a weekend and it can add a really fantastic finish to the room plus ceramic tiles also provide a waterproof barrier. There are a few essential tools required in order to successfully fix wall tiles, these can include a tile cutter or tile saw (electric cutters are slightly more expensive but are excellent value), an adhesive spreader, a grout spreader, tile spacers and a spirit level. For more information, visit: https://www.tempestaluxury.com/ Before fixing the tiles you must ensure that your walls are clean, dry and as flat as possible. The shape and size of your bathroom will ultimately determine how much tile cutting is involved but if you have a good tile cutter and a few spare wall tiles then even tricky cutting is pretty straight-forward. Start with the lowest row of wall tiles first and work up the wall from bottom to top. If your tiling includes openings such as a window, use this as the starting point to ensure that the wall tiles are equal around it. When tiling round a window always ensure that the cut wall tiles are placed at the back of the reveal. If the area is to come into contact with water (highly likely in a bathroom) ensure that you use a waterproof adhesive. Most come ready-mixed nowadays although mixing it with water is an easy procedure. Work on areas around one metre square for ease and to ensure that the adhesive doesn't dry before you get to fixing the wall tiles to it. Fix your first tile to the adhesive and then use spacers to separate the rest of the wall tiles
you stick. Use a damp sponge to then wipe away excess adhesive from the surface of the wall tiles. When cutting ceramic tiles use a felt-tip pen to mark then which can then be wiped off so that no marks are left on the surface. If using a manual tile cutter, score the tile and then snap it, if using an electric cutter simply line up you marked line with the blade. Once cut, smooth any sharp edges with a tile sander.