Download
1 / 2
20 likes | 23 Views
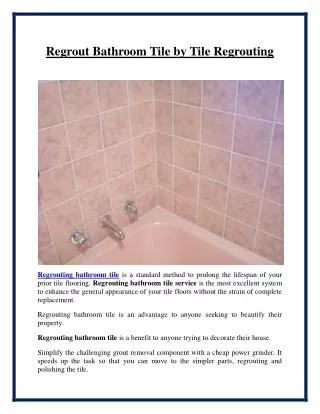
The professional Tiling Contractors will charge a good amount for the service. But if you are looking for self-build or renovation, you can DIY this project.

E N D
How To Tile A Bathroom Wall Tiling is an attractive and practical alternative in a bathroom, providing a cost- effective method to create a low-maintenance finish. The professional Tiling Contractors will charge a good amount for the service. But if you are looking for self-build or renovation, you can DIY this project. STEP 1: The first step is to start making a gauging stick. Take the length of timber and lay it on the floor. Place a tile, flush with one end of the stick and mark the timber where this tile finishes. STEP 2: Place another tile in sequence with the first and make a mark. Repeat this procedure until you fill up all the space on the stick. Saw off any excess timber. STEP 3: Measure the width of the wall. Find out the center of the wall. Use a spirit level and pencil to mark a vertical line from floor to ceiling before finding and marking the horizontal center line. STEP 4: Check where the tiles will start and end by providing your gauging stick up to the lines you have drawn on the wall. Aim for even cuts at the extremes of the wall for a good finish. STEP 5: Starting at floor level, prop your tile with spacers to allow for a gap. Hold the tile on your wall and mark up for the first cut. Place the tile in your cutter with the blade lines up perfectly with the marked line. STEP 6: Draw the blade using a single stroke of the scoring wheel. Apply pressure to score all the way along the surface. Move the wheel and pull down the handle to snap along your scored line.
STEP 7: Spread adhesive on the back with using a notched trowel. Set the tile on the wall and press smoothly. The wall includes cuts around a bath, so we have fixed a single column of tiles vertically with spacers between each one. STEP 8: Wear goggles and gloves, use the tile to cut the tile down both sides and keep making cuts 10mm apart through the section. STEP 9: Spread adhesive onto the back and push it into position. Cut the rest of the tiles according to the need and fix them to the wall. This way you can tile your bathroom wall and if you feel like not doing it, you can avail services from the best Tilling Contractors.