Download
1 / 5
50 likes | 124 Views
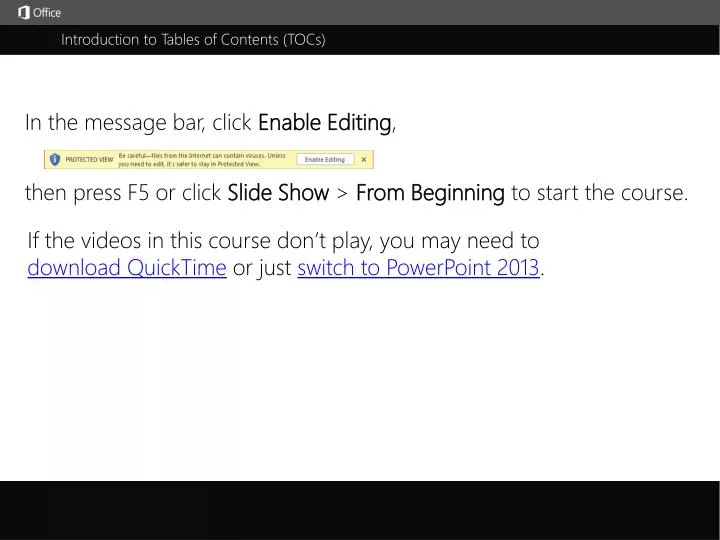
Introduction to Tables of Contents (TOCs). In the message bar, click Enable Editing , . then press F5 or click Slide Show > From Beginning to start the course. . If the videos in this course don’t play, you may need to download QuickTime or just switch to PowerPoint 2013 . j.

E N D
Introduction to Tables of Contents (TOCs) In the message bar, click Enable Editing, then press F5 or click Slide Show > From Beginning to start the course. If the videos in this course don’t play, you may need to download QuickTime or just switch to PowerPoint 2013. j
Introduction to Tables of Contents (TOCs) Closed captions For example, you could use Heading 1 for major parts or sections, Heading 2 for chapters and Heading 3 for subchapters. You can add a table of contents to a document by typing all the chapters and page numbers manually. But not only is this a lot of work, you have to remember to update the table every time you make a change. There are more ways to customize a table of contents. To see what your options are, check out the links in the course summary. automatic tables of contents. Here’s how that works. First, go through the document and add a heading with a heading style wherever you want a table of contents entry. In this video, we’re going to skip the manual method and focus on a much better way – Let’s say we want the table of contents to point to this summary. First type a heading. Then, on the Home tab, open the Styles gallery. And select the Heading 1, 2 or 3 style. By default, any text that you apply these styles to will show up as an entry in the table of contents. You decide how you want to use the three heading levels. Then, insert an automatic table of contents, and update it automatically whenever you make a change. Continue adding styled headings throughout your document. In this last section, let’s apply the Heading 2 style to these subsections. For this document, let’s assign Heading 1 to this heading. We can always change it later. For example, if you’re distributing the file on the Web, When you’re finished, click where you want to add the table of contents. This is the easy part. Go to the References tab and click Table of Contents. Then, choose which automatic table style you want, and click. And Word instantly creates a table of contents, based on your styled headings. And it indents Headings 2 and 3. readers can navigate the document by clicking links instead of using page numbers. Let’s say you continue working on the document, and add sections, move text around, remove pages or change headings. When it comes time to let other people see your document, all you have to do is click Update Table. That’s pretty convenient, but it gets better. So that’s all you have to know to insert an automatic table of contents. If you want to customize your table, click Table of Contents and Custom Table of Contents. Look through the options and decide what you want to do. For example, you can show more levels. Then, click Options and change how you want to map the styles to each table of contents level. You can also modify the table to work for print or the Web or both. And choose whether to update just the page numbers or the entire table. Press F5 to start, Esc to stop 1/1 videos 2:59 Help Intro to TOCs Feedback Summary
Help Course summary—Introduction to Tables of Contents (TOCs) Course summary Create a table of contents • First, apply heading styles – Heading 1 and Heading 2, for example – to the text that you want to include in the table of contents. Select the text, click Home,and move the pointer over different headings in the Styles gallery. Notice as you pause over each style, your text will change so you can see how it will look in your document. Click the one that you want. • Click where you want to insert the table of contents – usually near the beginning of a document. • Click References > Table of Contents and then choose an Automatic Table from the gallery of styles. Update a table of contents To update a table of contents that was created automatically from heading styles, click References > Update Table. You can choose to Update page numbers only or Update entire table if you want to update the page numbers and the text. Format the text To change the formatting of the text in the table of contents, change the style for each level in the table of contents. • Click References > Table of Contents > Custom Table of Contents. • In the Table of Contents dialog box, click Modify. If the Modify button is grayed out, change Formats to From template. • In the Styles list, click the level that you want to change and then click Modify. • In the Modify Style dialog box, make the formatting changes that you want, and then click OK. • Repeat steps 3 and 4 for all the levels that you want to display in your table of contents. Word will remember these customizations each time you update the table of contents (References > Update Table). See also • More training courses • Office Compatibility Pack • Create a table of contents • Change or add levels in a table of contents • Format or customize a table of contents Press F5 to start, Esc to stop 1 • 2 • 3 4 2:59 Help Intro to TOCs Feedback Summary
Check out more courses Help Rating and comments Course summary How did we do? Please tell us what you think Thank you for viewing this course! Press F5 to start, Esc to stop 1 • 2 • 3 4 2:59 Help Intro to TOCs Feedback Summary
Help Help Course summary Using PowerPoint’s video controls Point at the bottom edge of any video to start, stop, pause, or rewind. You drag to rewind. Stopping a course If you’re viewing online, click your browser’s Back button. If you’re viewing offline, press Esc. If you’re watching a video, press Esc once to stop the video, again to stop the course. Going places You can go to any part of a course by clicking the thumbnails (light or shaded) below the video. You can also click the forward and back arrows, or press Page Up or Page Down. If you download a course and the videos don’t play Click Enable Editing if you see that button. If that doesn’t work, you may have PowerPoint 2007 or earlier. If you do, you need to get the PowerPoint Viewer. If you have PowerPoint 2010, you need the QuickTime player, or you can upgrade to PowerPoint 2013. Press F5 to start, Esc to stop 1 • 2 • 3 4 2:59 Help Intro to TOCs Feedback Summary