Download

1 / 26
260 likes | 538 Views
Connect your two lenovo system by taking the services of Lenovo technical support in Australia. Call us at 1800-823-141 or visit site:- http://lenovo.supportnumberaustralia.com/

E N D
Connecting two Lenovo computers directly to each other allows you to transfer files faster than any other method, and can also let you share one computer's internet connection with the other. The process varies depending on whether you are sharing files or an internet connection, as well as what operating system(s) you are using. Lenovo Technical support in Australia helping these problem by following steps.
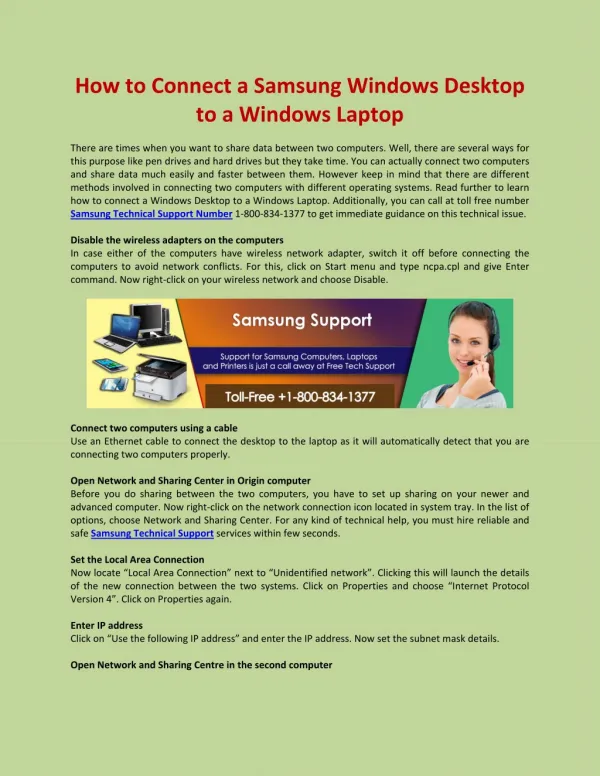
Right-click on the network connection icon in the System Tray. Select "Open Network and Sharing Center"
Click the "Local Area Connection" link next to “Unidentified network”
Click on Properties. Select "Internet Protocol Version 4" and click on Properties
Select "Use the following IP address". This will allow you to manually enter an IP address.
Enter an IP address. Since you aren't using the internet, the IP address can actually be anything.
Go to the second computer. Open the Network and Sharing Center like you did on the first PC
Click the "Local Area Connection" link next to "Unidentified network"
Click on Properties.Select "Internet Protocol Version 4" and click on Properties
Locate the drive, file, or folder that you want to share with the second computer
Right-click on the object you want to share and click "Properties". Click the Sharing tab.
Click the Permissions button and check the "Allow" box next to "Full Control". This allows the second computer to read and write to the shared folder. Click Apply.
Return to the objects Properties window and select the Security tab
Click the Start menu on the computer that is accessing the shared folder
Navigate the shared files. You will now see all of the folders that you have shared on the first computer. If your permissions were set correctly, you can copy, delete, and add files to these shared folders.
OR Visit Site http://lenovo.supportnumberaustralia.com/