Download
1 / 81
860 likes | 1.09k Views
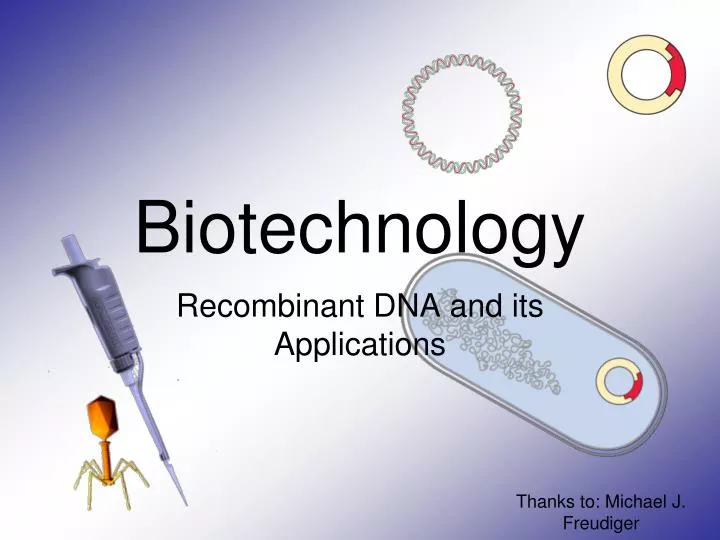
Biotechnology. Recombinant DNA and its Applications. Thanks to: Michael J. Freudiger. What will we be doing for the next three weeks?. You will be using restriction enzymes to cut plasmids. You will be ligating the cut restriction fragments together to form recombinant plasmids.

E N D
Biotechnology Recombinant DNA and its Applications Thanks to: Michael J. Freudiger
What will we be doing for the next three weeks? You will be using restriction enzymes to cut plasmids. You will be ligating the cut restriction fragments together to form recombinant plasmids. You will be confirming that you created recombinant plasmids using gel electrophoresis. You will be transforming E.coli bacteria with the recombinant plasmid. You will be culturing the E.coli bacteria to determine if the correct transformation occurred. You will be purifying the mFP protein produced by the transformed E.coli bacteria
Overview of what you already know • At the beginning of the year you learned: • Micropipette Use • Loading an agarose gel • Reading the results of gel electrophoresis from the agarose gel We will review these
Micropipette Use • 1. Twist dial to desired volume • . Add disposable pipette tip • . Press plunger to first stop • . Insert pipette tip into solution to be • transferred • . Slowly release plunger to retrieve liquid • . Move pipette tip into desired tube • . Press plunger past first stop to second stop • to transfer liquid, watch liquid stick to wall • of tube. Remove tip, then release plunger. • 8. Eject tip
Reading a Pipette P-20 For Lab 2,3,4: You will use P-20’s Pipette Limits: Never below 2.0 µL Never above 20 µL 5.0 µL
Reading a Pipette P-200 P-1000 P-20 5.0 µL 50 µL 500 µL
Agarose Matrix: Introduction to Gel Electrophoresis
Loading Gels: • Insert pipette tip: • Under buffer level • Above gel well
Micropipette tip punched right through the gel See dye under the wells
Review of the how gel electrophoresis works • An electrical current AND a gel matrix are used to separate molecules. • Negatively charged molecules will migrate toward the positive side, and positively charged molecules will migrate toward the negative side. • The distance the molecules travel is based on several factors including: • Molecule size • Molecule configuration • Degree of charge on the molecule
Lab 2 Lab 3 Lab 1 Lab 4 Lab 6 Lab 5
Lab 2 Lab 3 Lab 1 Lab 4 Lab 6 Lab 5
Lab 2 Lab 3 Lab 1 Lab 4 Lab 6 Lab 5
What will be expected of you during this lab series • Unlike other labs, part of your grade for this unit will be based on the result you achieve in lab #5 (growing a bacterial culture) • You will also be working in groups of 3 (or 2), and be able to choose your partners. • There will be specific assignments that will need to completed BEFORE and AFTER each lab • There will be 2 quizzes between the labs, and a bigger quiz after all of the labs are completed • In order to do well, you need to understand what will be happening BEFORE you actually perform the lab
Pre-Lab assignments 1) Create a flowchart of the lab you are about to do. What is a flowchart? A flowchart is a diagram of the actions that will happen in an activity.
Flowchart ExampleBelow is a flowchart for the series of labs we will be doing Ligate the cut restriction fragments together to form recombinant plasmids Confirm you created recombinant plasmids using gel electrophoresis Use restriction enzymes to cut plasmids Purify the mFP protein produced by the transformed E.coli bacteria Transform E.coli bacteria with the recombinant plasmid Culture the E.coli bacteria to determine if the correct transformation occurred
Flowcharting • Remember not to get bogged down in details • Your flowchart should follow the steps you will be taking • Use the written procedure for the details if you need them • Flowchart will be stamped prior to the lab, and if revisions need to made, make them during the lab, right on your flowchart.
Pre-Lab assignments 2) Identify the following: • What is the objective of the lab? • What items do you start with? • (Consumables & Hardware) • What is produced at the end? • (Be specific)
Pre-Lab assignments 3) Define important vocabulary terms You will be given terms related to your lab, define these terms.
Important Vocabulary before we begin: • Aspirate: To draw up liquid • Dispense: To release liquid • Reagent: A chemical or compound • Microfuge Tube: The epitube or reagent tube • Plunger: The button on top of the micropipette • Aliquot: To measure out
Introduction • What are Plasmids? • How can we modify plasmids? • Restriction Enzymes • Origins of restriction enzymes. • A close look at restriction enzymes. • Understanding plasmid diagrams.
Circular DNA that is used by bacteria to store their genetic information. Modifying plasmids to include extra genes allows for the production of new proteins. What are Plasmids? In this Lecture…
Restriction Enzymes BamHI, HindIII, etc. Where do they come from? How do they work? Different restriction enzymes do different things. DNA Ligase How Can We Modify Plasmids? In this Lecture… Restriction Enzyme attached to DNA before cleavage
Origins of Restriction Enzymes • Bacteria produce restriction enzymes to protect against invading viral DNA/RNA.
Origins of Restriction Enzymes • The enzymes cut the invading DNA/RNA, rendering it harmless.
Sticky Ends Restriction Enzyme in Action • DNA strand with EcoRI restriction site highlighted. • EcoRI restriction enzyme added (outline of separation about to occur). • Restriction fragments separate, with “sticky ends” at each edge.
Sticky Ends Adding DNA Ligase • DNA ligase bonds sticky ends cut with the same restriction enzyme. • Sticky ends cut with different restriction enzymes will not bond together. • Why? • Because the base pair sequence of the two sticky ends will be different and not match up.
In this diagram: Blue and Orange are drawn as genes. Triangles are indicating the known restriction sites for a restriction enzyme. (shapes can vary) Plasmid Maps are more complex. Plasmids Can Be Drawn to Show the Genes They Carry Plasmid Name Bp size
Application Exercise Make Recombinant DNA Using Restriction Enzymes
DNA From Two Sources(Restriction Sites Labeled) Circular DNA Linear DNA
Many possible recombinant DNA plasmids can be produced, but this was the desired plasmid for the experiment. Recombinant DNA Plasmid
Many Other Recombinant Possibilities …and many more!
Lab Experiment (Part 1) Running Digested DNA Through Gel Electrophoresis
Take plasmid DNA that has been previously cut with restriction enzymes and compare that to a plasmid NOT cut with restriction enzymes, by running them through a gel. Look for different banding patterns and understand how to read them. Predict what kind of banding pattern a plasmid will make based on: The restriction enzyme used. The plasmid’s structural shape. Goals of this Hands-On Lab
Look directly down the axis of the pipette. Loading dye makes the sample heavy, but it can still easily swish out of the well. Squirt down slowly. Take the tip out of the buffer. Then release the plunger. If you don’t do that, you will suck the sample back up. Gel Box Loading Techniques
10 kb 8 kb 6 kb 5 kb 4 kb 3 kb 2 kb 1 kb .5 kb Sample fragments move toward positive end.
Lab Experiment (Part 2) Analyzing Your Gel
The restriction enzyme cleaves the DNA into fragments of various sizes. Each different size fragment will produce a different band in the gel. Remember that fragments separate into bands based on size. What Makes Up the Banding Pattern in Restricted DNA? 1400 Bp 2000 Bp Lancer Plasmid 6700 Bp 3300 Bp
Several combinations of plasmids will result from the reaction. The many forms will contribute to different bands. What Makes Up the Banding Pattern After Adding DNA Ligase? (See following slides for chemical and structural forms)
Adding DNA Ligase does not always make the desired plasmid! Few if any could be what you wanted. Think about the large number of possible combinations. Different Recombinant Forms
Different Structural Forms circle “multimer” Nicked Circle Linear Supercoiled “nicked-circle” Different structural forms produce different bands.
A- A+ 10 Kb Ladder 10 Kb Ladder 10 Kb Ladder Multimer Nicked Super Coiled 5 Kb Linear Fragment Linear Fragment