Download
1 / 15
250 likes | 447 Views
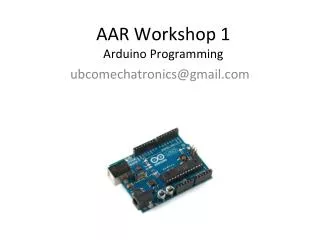
Arduino Introduction & Programming. What is an Arduino?. Open Source electronic prototyping platform based on flexible easy to use hardware and software. Uses of Arduino:. Educational Projects Home Automation Learn Programming And the most important is to Have FUN.

E N D
What is an Arduino? • Open Source electronic prototyping platform based on flexible easy to use hardware and software.
Uses of Arduino: • Educational Projects • Home Automation • Learn Programming • And the most important is to Have FUN
Bare minimum code: void setup() {// put your setup code here, to run once: } void loop() {// put your main code here, to run repeatedly: }
Bare minimum code: • setup : It is called only when the Arduino is powered on or reset. It is used to initialize variables and pin modes • loop : The loop functions runs continuously till the device is powered off. The main logic of the code goes here. Similar to while (1) for micro-controller programming.
PinMode: • A pin on Arduino can be set as input or output by using pinMode function. • pinMode(13, OUTPUT); // sets pin 13 as output pin • pinMode(13, INPUT); // sets pin 13 as input pin
Reading/writing digital values: • digitalWrite(13, LOW); // Makes the output voltage on pin 13 , 0V • digitalWrite(13, HIGH); // Makes the output voltage on pin 13 , 5V • int buttonState = digitalRead(2); // reads the value of pin 2 in buttonState
Analog to Digital Conversion: • What is analog ? • It is continuous range of voltage values (not just 0 or 5V) • Why convert to digital ? • Because our microcontroller only understands digital.
ADC in Arduino • The Arduino Uno board contains 6 pins for ADC • 10-bit analog to digital converter • This means that it will map input voltages between 0 and 5 volts into integer values between 0 and 1023
Reading/Writing Analog Values • analogRead(A0); // used to read the analog value from the pin A0 • analogWrite(2,128);