Download
1 / 59
620 likes | 1.06k Views
FLDigi for Narrow-Band Emergency Messaging System. FLDigi NBEMS Suite. Why NBEMS Communications?. Voice communication is not always best Data communication is often needed: Supply list, especially one with part numbers Roster of Personnel Telephone Directory for a incident Images

E N D
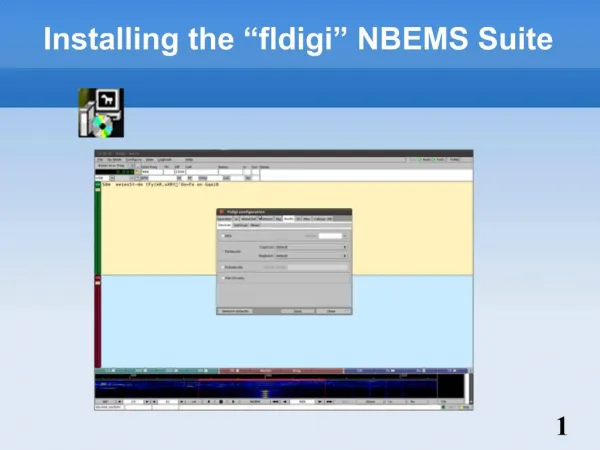
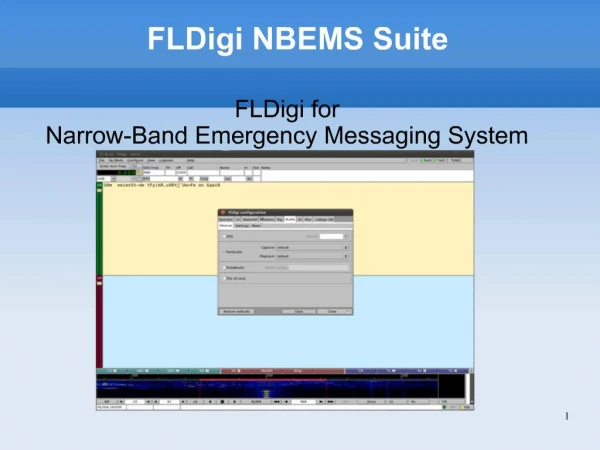
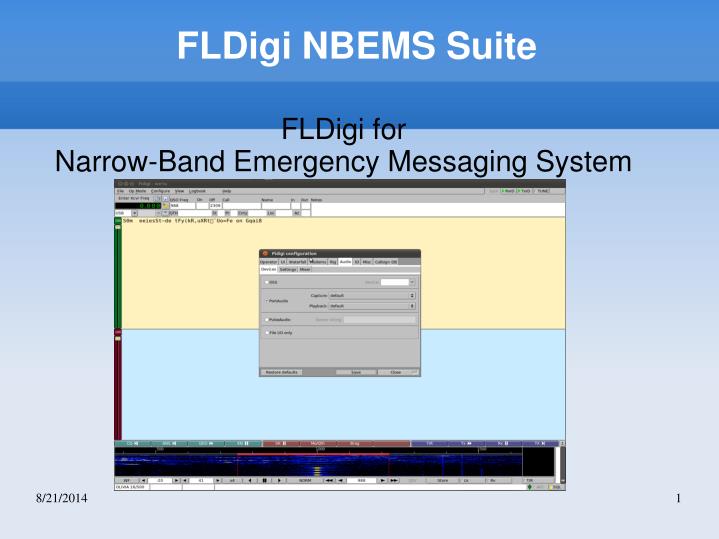
FLDigi for Narrow-Band Emergency Messaging System FLDigi NBEMS Suite
Why NBEMS Communications? • Voice communication is not always best • Data communication is often needed: • Supply list, especially one with part numbers • Roster of Personnel • Telephone Directory for a incident • Images • Binary files
What do you need? • Radio • Laptop • Built-in speaker and microphone can be used • Wireless mouse is recommended • Touchpads are RF sensitive
Useful Items • External microphone is helpful • Interface box • That isolates radio from computer • Generates PTT signal(Skip Teller, KH6TY)
The FLDigi Suite • fldigi • Digital sound card modem • flwrap • Checksum verifier and (un)compressor • flmsg • Form-based Message Generator
FLDigi -Digital Modem • Uses sound card to encode and decode signal • Record Audio to a“wav” file • Capture incoming audio • Save outgoing audio • Playback saved audio into decoder • Control some Radios • Save and Compile Log files
Flmsg-Message Form Editor Flmsg has common message forms templates Incident Command System forms Radiogram or just a blank page
Flwrap-Outgoing Message Wrapper Delineates Message with start/end text markers • Binary files are first converted to a base-64 • http://en.wikipedia.org/wiki/Base-64 Adds a checksum Can compress a message
Flwrap-Incoming Message Unwrapper Verifies Checksum Recover Binary file from any base-64 text Uncompress Message if needed
fldigi Windows Installation • The three setup files install in the same steps: • fldigi-3.21.9_setup.exe • flmsg-1.1.6_setup.exe • flwrap-1.3.1_setup.exe • The Default setting should be fine. • Do the four steps for each program • Window Security may require you to verify additional steps • Be aware the programs are being actively developed and updates are frequent
Setup Step 1-License Information Click Continue Button
Step 2 Installation Options Click “Next” Button
Step 3-Installation Folder Click the “Install” Button
Step 4-Completed Click “Close” Button
Fldigi -Configuraton Wizard Step 1 Click “Next” Button
Fldigi -Configuraton Wizard Step 2 Enter your information and Click “Next” Button
Fldigi -Configuraton Wizard Step 3 Select your Audio Devices and Click “Next” Button
Fldigi -Configuraton Wizard Step 4 Leave this as is for now and Click “Finish” Button
Config flmsg Open flmg Click on flmsg's “Config” Menu Edit Settings and Click “close” Button
Closer look at Fldigi's Configure Menu and Dialogs The “Configure” Menu items bring up a tabbed dialog except for the “Colors and Fonts” and “Notifications” items
Audio Settings Check Sound Card with CheckSR http://panbems.org/fldigi_calibration.htm Some setups experience errors with the “Sample Rate” set to “Native” on the Settings Tab Try 12000 or 16000 avoid 11025 if you can
Setup Test Set fldigi to “CW” mode Use the “CQ” macro Adjust Mixer for Audio Volume Level Calibrate Soundcard Correcting Sample Rate
Right-click on Speaker for Volume Control options... aka the Mixer
“TUNE” to help set Audio Levels • “Tune” Button upper right corner • Generates a continuous single frequency audio signal at the exact frequency to which the waterfall cursor has been set. • Peak amplitude of this signal is the peak amplitude of every modem signal generated by fldigi.
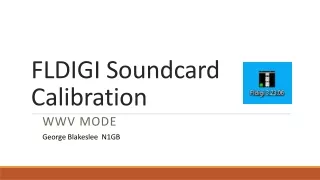
Not all Sound Cards are Equal Adjust(Correcting) sound cards using: • Time Standard Station in AM, no DSP etc • WWV 5, 10 ,15, 20MHz or • CHU 3.330, 7.850, and 14.670MHz • Adjust Corrections in Audio > Settings tab • Using the WWV Mode or • MMSSTV Calibration Function
Installing MMSSTV Download MMSSTV from: http://hamsoft.ca/pages/mmsstv.php Run the install program Default setting are a safe bet
Clock Adjust function Under “Option” Menu select “Setup MMSSTV” Click the “Misc” tab Press the “Adj” button in Clock section
MMSSTV Calibration Screen Maximize the Calibration Screen and Follow the Instructions
Copy the ppm for fldigi Reopen the Calibration Function and copy the ppm from the bottom left to fldigi
Enter ppm Value in Audio > Settings Enter ppm into the Corrections Section In both Rx ppm and Tx ppm boxes And click on the “Save” button
Waterfall Center Point Fldigi decodes at the Waterfall's Center Point,in the center of the red outline area(bandwidth) The Waterfall's Cursor, the three yellow lines to right, can move it by clicking anywhere in Waterfall Display.
Now for a trick Open flmsg (Radiogram Icon) Select Blank form tab Write a note Then …. • Autosend • Save the form file