Download
1 / 19
200 likes | 330 Views
Technology Tools for Teachers. How to increase communication opportunities with your students and parents. Log in to your teacher web site. Access the “lists and libraries” section on the left side of your web site.

E N D
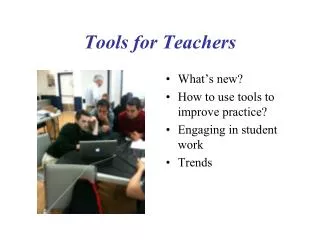
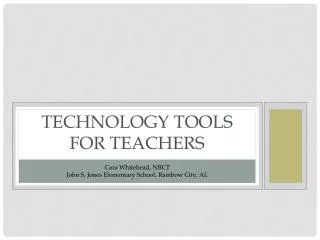
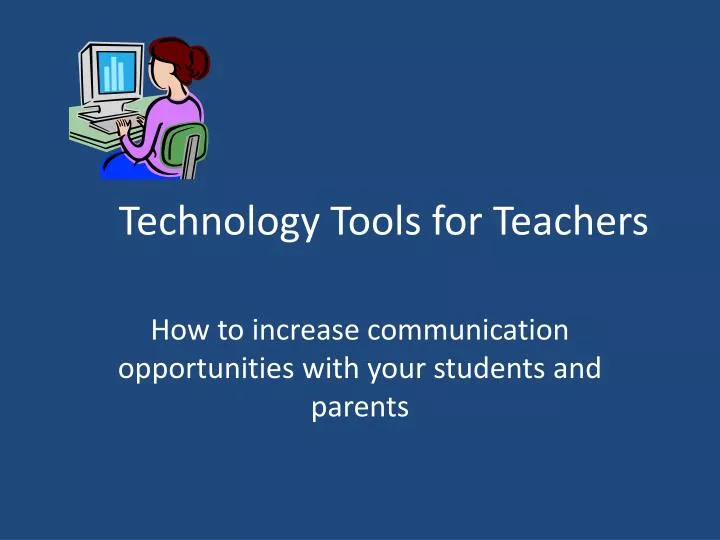
Technology Tools for Teachers How to increase communication opportunities with your students and parents
Log in to your teacher web site. Access the “lists and libraries” section on the left side of your web site.
If your lists and libraries does not show a shared documents folder, you will need to create a new document folder and title it “shared documents” (I’ll show you how if you don’t know how to do that.) Click on shared documents. (I find it helpful to make a new folder for each unit to make my documents easier to locate.) Click on new and choose the new folder from the drop down menu. Type a name for your new folder (Technology Tools) and press ok.
Your shared documents should now include the folder “Technology Tools.”
Click on the “Technology Tools “ folder. Click the upload button. Click on the drop-down box “upload a new document.”
When the next box opens, use the browse button to locate a document you can use for this exercise and click it. (You can later delete the document if you choose)
Return to the home page of your web site. Click on pages tab on the left side.
“Manage EdPoint Pages" box will open. Click on New. Click on drop-down menu “Create Basic Web Page.”
Once the “Technology Tools” page shows on the screen, click “Visible on Navigation” so visitors to your web site can see the page. “Technology Tools” should pop up on your site navigation list.
Double click “Technology Tools” at the bottom of the page.“Edit Page” box will open. Click “Edit Page.”
Type in a sentence that includes words you want site visitors to click on. Highlight the words you want visitors to click on.Click the link-attachment icon at the top of the page.
Document manager window will open. Click on shared documents.
Double click Technology Tools. Another window will open. Click to highlight Technology Tools. Click insert.
Now your words are highlighted in blue. Click “ Save as Draft.”
Log out of the teacher site. Check the public site to make sure the attachment works.
Some additional thoughts: Posting class materials is most helpful for students who need to review the class material and for students who are absent and want to study the class material. I post test reviews on the site for each unit test. The test reviews are in powerpoint format with a questions on one screen and possible answers on the following screen. Students and parents love it because students can access practice questions and check themselves. Some students may not have Microsoft powerpoint program to open the review at home so I also post a pdf version of it. It does not allow students to see the questions without the answer showing but it does give them review questions and answers on a screen together. You don’t have to post every day or post every material you use in class. Make the postings work for both you and your students and parents.