Download
1 / 11
110 likes | 239 Views
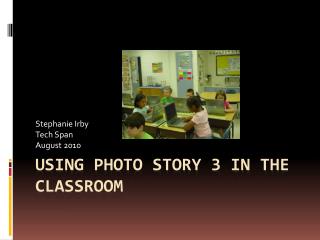
Using PhotoStory 3 in the classroom. To begin, log onto PhotoStory and choose “Begin a new story” then click the next button.

E N D
To begin, log onto PhotoStory and choose “Begin a new story” then click the next button.
Next, click on the “Import Pictures” button and select the pictures you want to use in your story. You can choose up to 300. You can select more than one picture at a time by holding down the control button while clicking on the pictures.
Arrange the pictures by dragging them in the film strip window so that they are in the order in which you want them to appear in your slideshow.
Once you are in edit mode, use the tabs above the pictures to edit. Choose each picture and decide if you want to edit it. To edit, click the “Edit” button.
It is a good idea to save your PhotoStory at this point. To do so, click the “Save Project” button.
Next, you can add titles to your photos. After you type the title, use the buttons at the tops of the text box to determine placement of the title on the picture. You can also change the font and add effects to each picture on this screen.
On the next screen, you can narrate your pictures by clicking the red record button. Use the film strip on the below your picture to narrate each one. On this screen you can also customize the motion of your photos by clicking on the “Customize Motion” tab beneath your photo. You can choose each transition or allow PhotoStory to automatically choose it for you.
You can also add background music to your story. To select music, click the “Select Music” button. This will open a box for you to select music that is already on your computer. You can add music for as many pictures as you have or just choose one.
Voila! Your PhotoStory is now complete. On this screen, you can view your story or begin another one.